New Tim Holtz Distress Color | Uncharted Mariner Card Inspiration
Hey friends! I'm so excited to be sharing some card inspiration with you using the new Tim Holtz Distress Color Uncharted Mariner. I have 3 cards to share with you AND I made a video for one of them! You can find all the details on how I created each of the cards in this blog post, along with some swatches I created comparing the new color.
I want to thank Scrapbook.com for their generosity in sending me this New Distress Color to create with!
Distress Ink Swatches
Before I get into the card details, I want to share the swatches I created for the new ink. I'll admit I wasn't so sure about another blue, but after swatching all of the blues in the Distress family, I'm sold! At first I thought for sure that it was close to Faded Jeans, Broken China or even Peacock Feathers. As you can see, it's not even close. Maybe kind of to Broken China, but it's a much darker, moodier color than that and it's a perfect color to pair with this one if you are wanting a slight color gradient!
These swatches are created using Distress Ink and were done like I did my swatches for Saltwater Taffy. And guess what? These are the only butterflies you will see in this blog post!
As always, if you're looking for even more swatch details, make sure to check out Tim's YouTube Live!
Now, let's get on with the making! Here's the video I created using Uncharted Mariner and the Stamp and Smudge Technique. You can check it out below. If the video isn’t showing up, click HEREto watch it.
Be Fearless Card | Stamp & Smudge Technique
On this card, I began with a piece of Distress Heavystock paper cut to 4 x 5.25 inches. For the stamping, I used the Tim Holtz Sea Life and Eccentric stamp sets and Distress Oxide in Uncharted Mariner, Cracked Pistachio, and Abandoned Coral.
The Stamp and smudge technique is pretty simple. You stamp the image using Distress Oxide ink and then smudge the ink using a paper towel or rag. Oxide ink is the best type of ink to use for this technique because it has a slower drying time which gives you time to smudge it before it dries.
With the stamping and smudging completed, I added a bit more stamping using images from the Eccentric Stamp Set and stamped them in Frayed Burlap Archival Ink. For some extra texture, I stamped the Bubbles stamp in Pumice Stone Distress Oxide Ink in the upper right and bottom left hand corners.
After I finished the background I moved on to the focal point...the little sailor photo. I knew I wanted to create some layers to place behind it and I thought it would be fun to create a porthole.
To do this, I used Scrapbook.com Mint Tape to hold 2 circle dies in place on a piece of Silver Metallic Kraftstock. I then ran this through my die cutting machine. I repeated this process and cut 2 more pieces from Distress Heavystock and later glued these circles together to give the piece more dimension. I then took the Silver Metallic Kraftstock one and applied a thin layer of Distress Grit Paste to the piece and set it to the side to dry.
Once the Grit Paste was dry I began applying a mix of Alcohol inks to it in Pitch Black, Rust and Mushroom and used Alcohol Ink Blending solution to help blend the colors. I also used an Ink Blower to help blend and move the inks around. To finish off the porthole, I adhered some Idea-ology Hardware Heads that I grunged up Mushroom alcohol ink using Distress Collage Medium.
The layer behind the photo and porthole was created by die cutting a piece of Distress Watercolor paper using a die from the Labels Thinlits Die Set. After cutting it, I smooshed the paper into some Old Paper Distress Ink that I had placed on my craft mat, spritzed it with a little bit of water and then dried it with my heat tool.
Next, I applied Brushed Corduroy Distress Ink to a script stamp and stamped it onto the die cut. I then spritzed the piece with water using my Distress Sprayer, dabbed it with a paper towel to lift off some of the ink and then dried it with my heat tool. I finished it off by inking the edges with Brushed Corduroy Distress Ink.
The sentiment strip is from the Noteworthy stamp set and was stamped in Uncharted Mariner Distress Oxide ink, onto a piece of Distress Watercolor paper that I also die cut using a die from the Labels Thinlits Dies. Before die cutting the paper or stamping the sentiment, I used the same ink smooshing technique I did on the other piece. I then inked the edges with Brushed Corduroy Distress Ink.
To assemble the card, I adhered the label die cut and the porthole piece to the card front using Distress Collage Medium. I also added a couple of tabs using stamps from the Eccentric Stamp Set with Uncharted Mariner Distress Oxide. For added dimension I adhered the photo and the sentiment strip using double sided foam adhesive. To give the card a little more texture and to mimic fish netting, I added some Mummy cloth behind the photo. I also did a little machine stitching around the outside edge. I then inked around the edges of a piece of Distress Heavystock cut to 4.25 x 5.5 inches with Uncharted Mariner Distress Oxide to create a color coordinated layer to place behind the card front.
Condemned Card | Distress Spray and Translucent Crackle Paste
To create this card, I began with a piece of Distress Watercolor paper cut to 4 x 5.25 inches. I sprayed it with Uncharted Mariner Distress Spray along a diagonal inside my splat box. I then spritzed it with a bit a water to blend the color and dried it with my heat tool. Next, I added some splatters of Pumice Stone Distress Oxide Spray and Picket Fence Spray Stain and dried them with my heat tool.
For more interest, I stamped the Bubbles stamp in Pumice Stone Distress Oxide Ink in the upper right and bottom left hand corners. I also added some images from the Eccentric stamp set using Black Soot Archival Ink.
This next step doesn't show up well in the photos, but in real life it definitely adds a nice touch. I tool the Linked Circles Layering Stencil and applied Distress Translucent Crackle Paste over it along the area of the Uncharted Mariner Distress Spray. To cover the card front I did the upper left hand corner and then moved the stencil down and over to get the bottom right hand corner. I used my fingers to hold the stencil up so it didn't touch the still wet section while still using this area to line up the design. I then set the paper to the side to dry and washed my stencil. Once the crackle paste was dry, I inked the edges with Vintage Photo Distress Ink.
To embellish the card, I stamped the octopus from the Sea Life Stamp Set onto Distress Watercolor paper and watercolored it using a water brush and Distress Ink in Aged Mahogany and tiny touches of Uncharted Mariner, Antique Linen and Peeled Paint. I then fussy the image using scissor and an craft knife. During the process I was reminded how I don't really enjoy this sort of fussy cutting! I used a black marker to hide some of the edges that weren't so perfect from my fussy cutting.
For the sentiment and label, I stamped some images from the Eccentric Stamp Set in Aged Mahogany Distress Oxide. I then added a couple of Hardware Heads inked with a bit of Mushroom Alcohol Ink to finish. The octopus and handle with care label were adhered with double sided foam adhesive. To finish off the card, I layered it onto a piece of black cardstock cut to 4.25 x 5.5 inches.
You Do You Card | Stamping On Die Cuts
On this final card, I moved away from the nautical theme and went to flowers! I began with a piece of Distress White Heavystock and die cut it using the Brushstroke No. 3. I inked the main flower piece with Broken China Distress Oxide Ink and the detail pieces with Uncharted Mariner Distress Oxide Ink. Before assembling the flower I stamped one of the images from the Botanic Collage Stamp Set in Uncharted Mariner Distress Oxide Ink. The center part of the flower was inked in Mustard Seed and Ground Espresso Oxide and then adhered with a piece of double sided foam adhesive. The leaves/foliage are inked in Peeled Paint and Iced Spruce Distress Oxide.
For the background, I stamped another image from the Botanic Collage Stamp Set using Black Soot Archival Ink onto a piece of Distress White Heavstock and inked the paper with some Vintage Photo Distress Ink. I then die cut it using the Scrapbook.com Nested Hexagon Die Set and tore the paper along the edge of the stamped image to give the effect of a torn book page. I then inked the edges of the die cut area. This piece was then layered onto a piece of Distress Watercolor Paper that I had sprayed with Uncharted Mariner Distress Spray and die cut with the hexagon die.
Next, I took another of the hexagon dies and cut a piece of gold metallic kraftstock and layered it onto a piece of Distress White Heavystock that I die cut with an even larger hexagon die and then inked the edges with Vintage Photo Distress Ink.
The sentiment is from the Noteworthy Stamp Set and is stamped onto Distress Heavystock in Black Soot Archival Ink. I then finished off the card by adhering some Pinkfresh Studio Matte Gold Metallic Pearls with Distress Collage Medium.
I sure hope you enjoyed the card inspiration and video I've shared featuring the new Tim Holtz Distress Color Uncharted Mariner. Thanks so much for your visit!
Supplies
Below you can find the products I used to create this project along with compensated affiliate links to Scrapbook.com. These links are at absolutely no cost to you. When you shop through the links below, I receive a small commission from Scrapbook.com. These links are at absolutely no cost to you and the commission I receive helps me cover the costs of my blog and other expenses, which allows me to continue to provide you with FREE inspiration and tutorials. If you want to learn more about what an affiliate link is, you can see my full affiliate and product disclosure statement here. Thank you so much for your love and support!
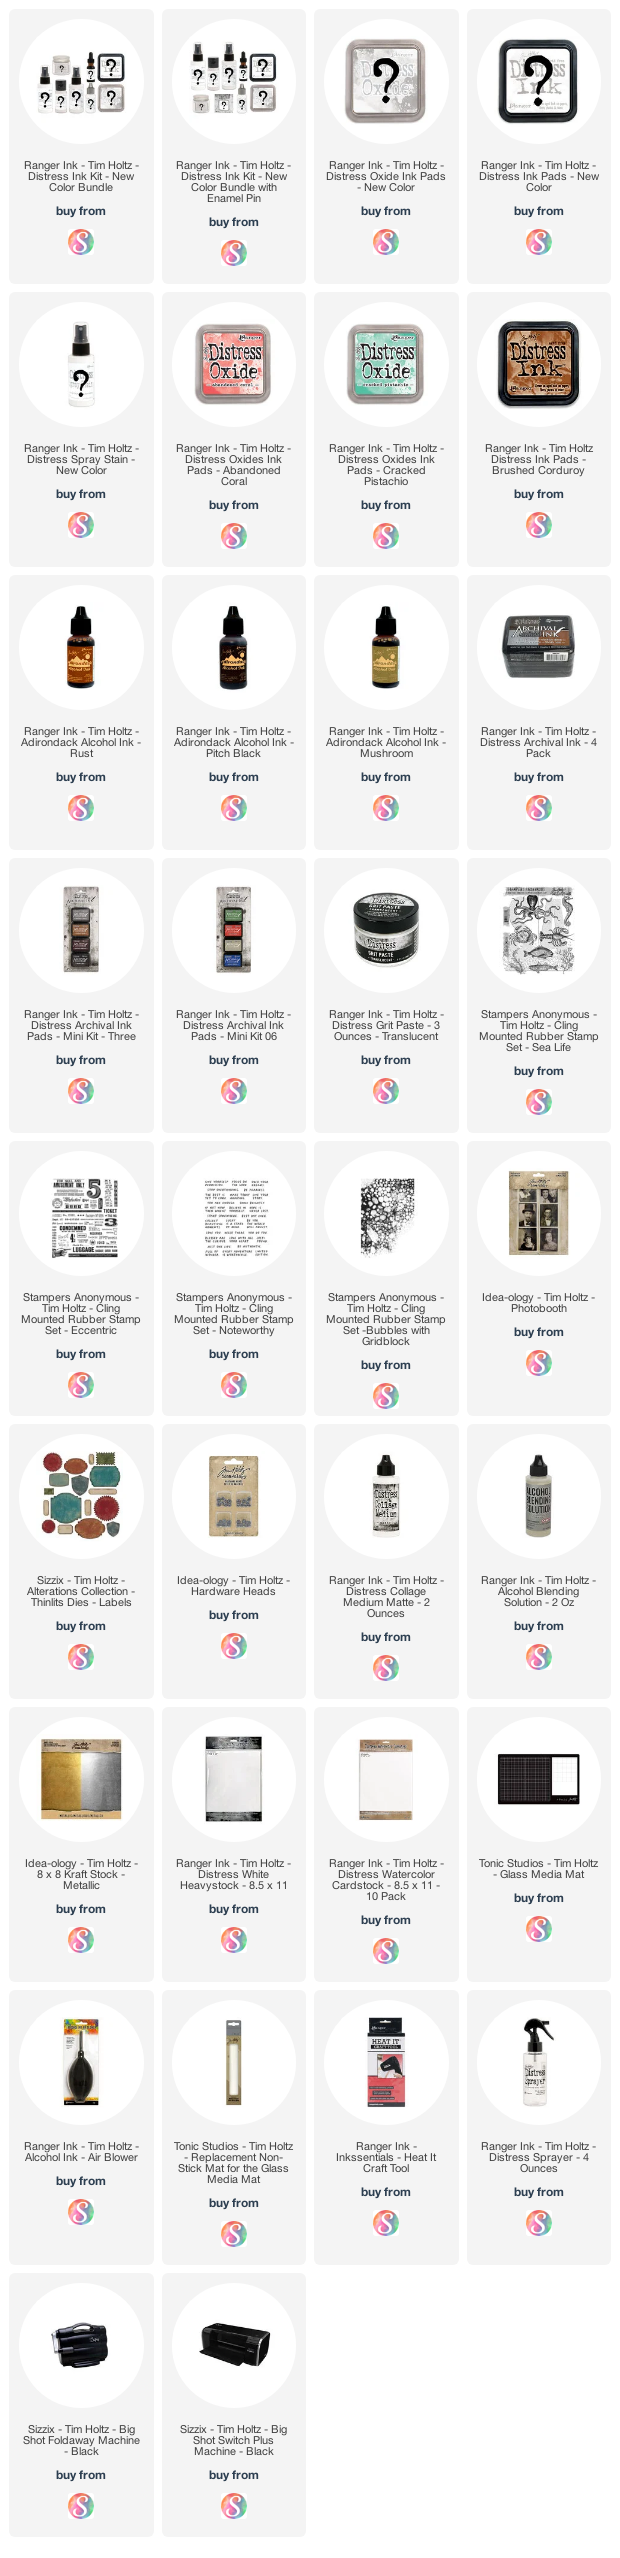
Be Fearless Card Supplies:
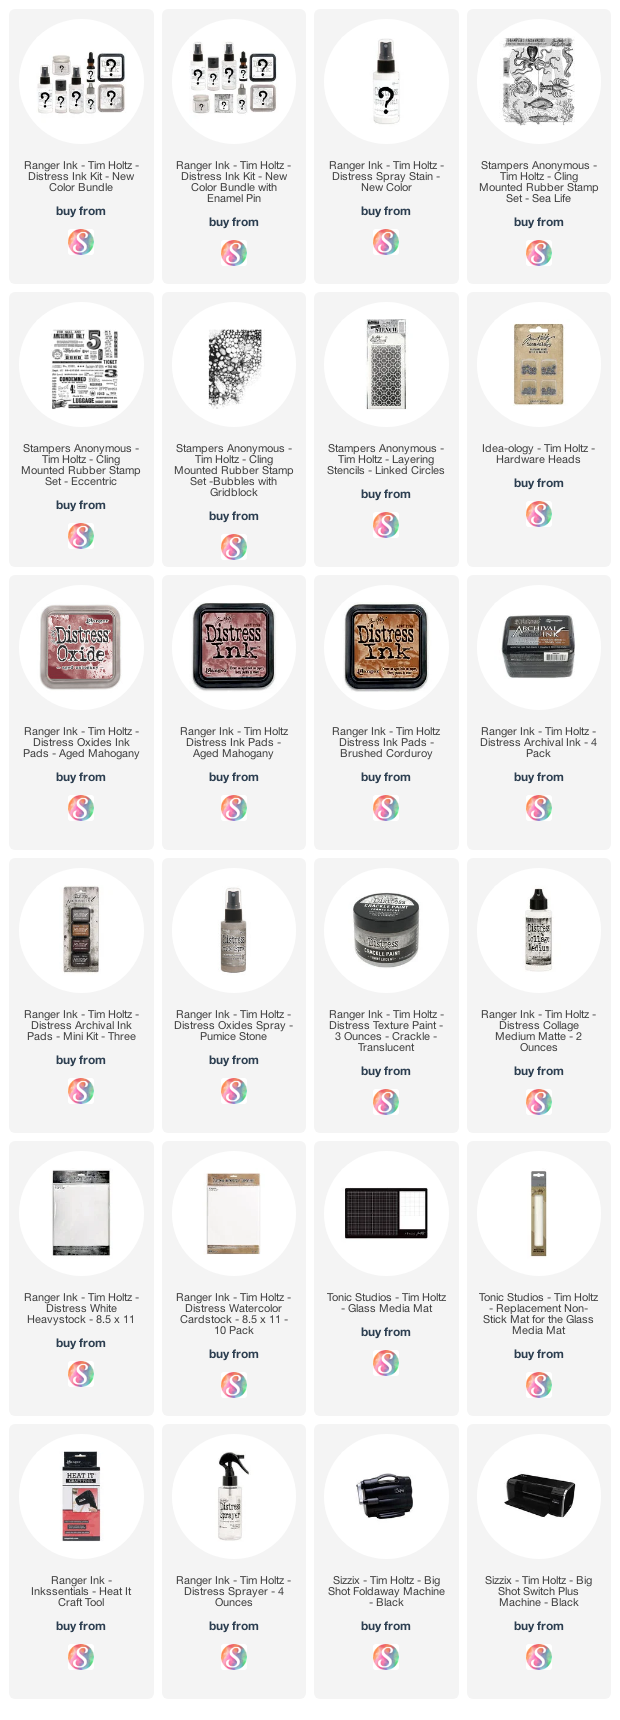
Condemned Card Supplies:
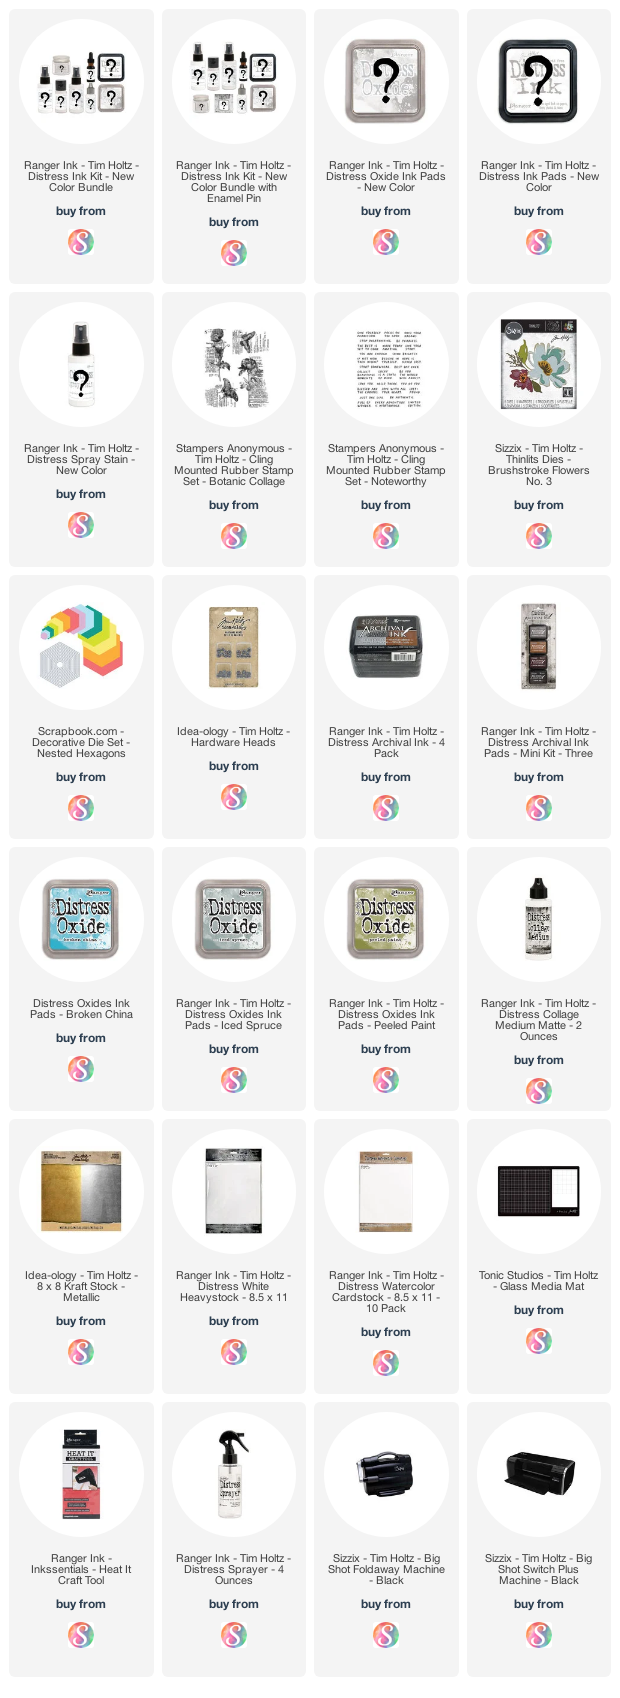
You Do You Supplies:
loading..
No comments
Every time you smile at someone, it is an action of love, a gift to that person, a beautiful thing. ~Mother Teresa


No comments
Every time you smile at someone, it is an action of love, a gift to that person, a beautiful thing. ~Mother Teresa
HUGS!
JULIANA