Newton's Nook Designs September Release | Day 1

Hello Friends and welcome to Day 1 of the Newton's Nook Designs September Release! This release is packed full of all things fall and you are sure to fall head over heels in love with it!

Truly Grateful Card | Shades of Autumn Stamp Set


First up I'm sharing a card I created using the Shades of Autumn Stamp Set. This set is so unique in that the stamps have a textured look to them that makes them a blast to stamp with. I used the stamps to create a custom background that has the look of falling leaves. This is always one of my favorite ways to create a card.

Truly Grateful Card by Juliana Michaels featuring Shades of Autumn Stamp Set by Newton's Nook Designs

I then stamped the sentiment with Versamark Embossing Ink and heat set it with gold embossing powder. The final touch was a bit of green twine for a touch of color and texture.

Detail photo of Truly Grateful Card by Juliana Michaels featuring Shades of Autumn Stamp Set by Newton's Nook Designs

Be Thankful Card | Falling Leaves Stencil


Next up, I'm sharing a card I created using the new Falling Leaves Stencil. If you didn't know, Newton's Nook has added stencils to their product offering and this is one of their latest designs.

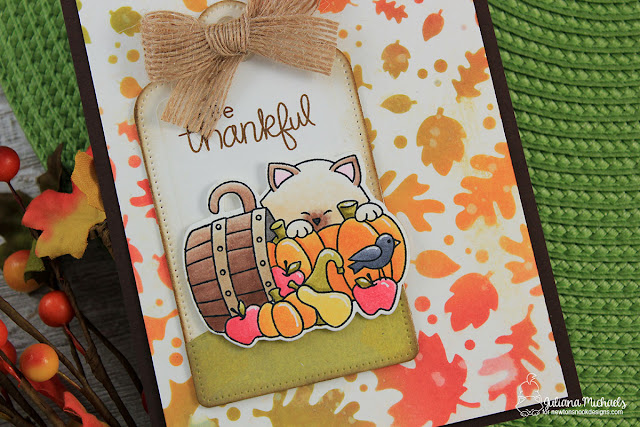
Be Thankful Card by Juliana Michaels featuring Falling Leaves Stencil and Autumn Newton Stamp Set by Newton's Nook Designs

I used the stencil to create the background for my card. After taping the stencil in place on my craft mat, I inked it up with a mix of Distress Oxide Inks in Fired Brick, Peeled Paint, Spiced Marmalade and Fossilized Amber. I then sprinkled a little water on and dabbed it dry to give it a bit more interest.

Detail photo of Be Thankful Card by Juliana Michaels featuring Falling Leaves Stencil and Autumn Newton Stamp Set by Newton's Nook Designs

To embellish the card, I created a tag. First I stamped and colored the cute Newton from the Autumn Newton Stamp Set using my Chameleon Pens. I then took a die cut tag and inked the edges with some Vintage Photo and Walnut Stain Distress Ink. Finally, I added the sentiment, adhered Newton with some double sided foam tape and attached a bow.

Shades of Autumn Stamp Set by Newton's Nook Designs


Blog Hop & Giveaway


Would you like to win the “Shades of Autumn” Stamp Set? This set will be given away to one lucky winner! To win all you have to do is comment on the NND blog and each of the Design Team blogs. The winner will be chosen at random from one of the reveal posts. You have until Thursday September 14th at 9pm CST to comment and the winners will be announced on the Newton's Nook blog post on Friday, September 15th.

Check out all the awesome Design Team Blogs below to enter:

Newton's Nook Designs
Amanda Bodine
Holly Endress
Ellen Haxelmans
Larissa Heskett
Samantha Mann
Juliana Michaels (you are here)
Naki Rager
Maria Russell
Jennifer Timko
Tatiana Trafimovich

Simon Says Stamp | Stamptember with Gina K Designs

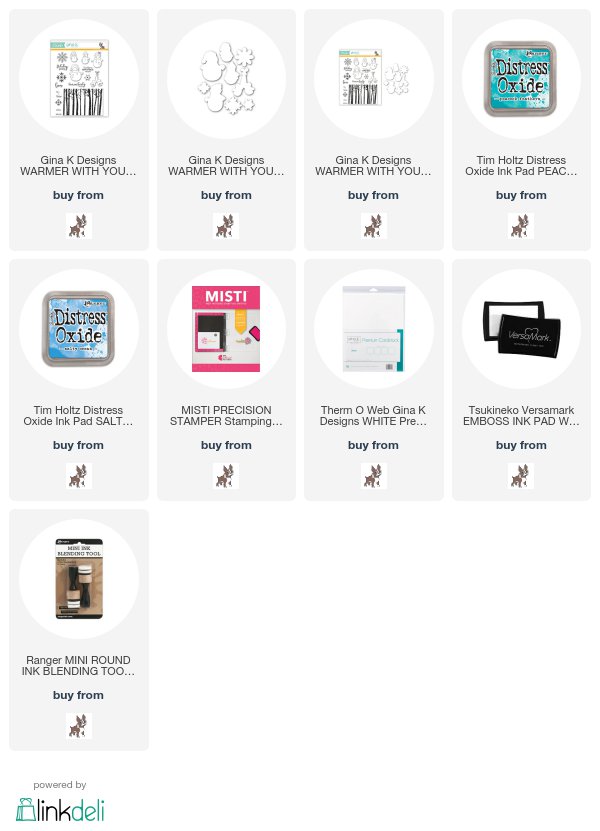
Stamptember® is here and today I'm excited to share that Gina K Designs has an exclusive stamp set being released as part of this month long celebration with Simon Says Stamp. Gina designed this new stamp set called Warmer With You, that also has a coordinating die to go along with it. The Warmer With You stamp and die sets are only available at Simon Says Stamp while supplies last and they won't be available in the Gina K Designs store. So, make sure you head on over to grab yours today because once these are gone, they are gone forever!


Seriously check out all the cuteness with those adorable snow people and that gorgeous birch tree stamp in this set!
Warmer With You Stamp Set by Gina K Designs for Simon Says Stamp Stamptember

I was quickly drawn to the birch trees and snowflakes and during my creative play came up with 3 ways to use this background image to create a trio of Holiday cards. For all three cards the trees where stamped onto white cardstock with Versamark Embossing Ink and then heat set with white embossing powder. I then ink blended over them with Distress Oxide Ink in Salty Ocean and Peacock Feathers. Keep reading for more specific details on how I created each card.

Winter Birch Trees Background 3 Ways


1. Die Cutting 

For this first card, I stamped the image onto white cardstock and simply die cut it out using a stitched rectangle die. I popped it up and then layered it onto another die cut stitched rectangle before adhering it to the card front.

Winter Birch Trees Holiday Card with Die Cutting and Distress Ink by Juliana Michaels. Stamp set is Warmer With You by Gina K Designs for Simon Says Stamp Stamptember.

For the snowflake on each card, I used the same stamping and embossing method that I used on the trees. I then fussy cut out the snowflake and adhered it with some double sided foam tape for a touch of dimension.

Winter Birch Trees Holiday Card with Die Cutting and Distress Ink by Juliana Michaels. Stamp set is Warmer With You by Gina K Designs for Simon Says Stamp Stamptember.

2. Masking 

The second technique I used was masking. I began by stamping the image onto white cardstock and heat embossed it with white embossing powder.

Winter Birch Trees Holiday Card with Masking and Distress Ink by Juliana Michaels. Stamp set is Warmer With You by Gina K Designs for Simon Says Stamp Stamptember.

I used Post It Tape to mask of a rectangle around the trees and then applied the Distress Oxide.


These images help give you a better sense of how it started before I added the Distress Oxide Ink and how it looked after the ink blending was complete.


I used the same sentiment as the first card and attached another snowflake.


3. Shaker Card 

For my final Winter Trees Background, I created a shaker card. For this card, I stamped the image as noted above in the center of the white cardstock. To create the shaker I die cut the frame using an stitched rectangle die and cut out the center rectangle to create a window. I repeated this 5 times and glued all of these layers together to create the shaker box.

Winter Birch Trees Holiday Shaker Card with Embossing and Distress Ink by Juliana Michaels. Stamp set is Warmer With You by Gina K Designs for Simon Says Stamp Stamptember.

To create the window, I cut a piece of transparency to the size of the shaker box and glued it to the top of the 5 layers. I then die cut one more frame and glue it on top of the transparency. Next, I flipped it over and filled the shaker with a mix of sequins. The final step was to adhere the birch tree background to the back side of the window to complete the shaker.

Winter Birch Trees Holiday Shaker Card with Embossing and Distress Ink by Juliana Michaels. Stamp set is Warmer With You by Gina K Designs for Simon Says Stamp Stamptember.

Here you can see each of the techniques - die cutting, masking and shaker card - before they were added to finish the card.


I hope you enjoyed this bit of inspiration! Now have some fun hopping along with the Gina K Design Team to see what everyone has created using this new set and make sure you check out Simon Says Stamp for all the Stamptember details!

Blog Hop

Gina K
Bethann Silaika
Cathy Tidwell
Chris Dayton
Claire Brennan
Donna Green
Juliana Michaels
Karen Hightower
Melanie Muenchinger
Rema DeLeeuw


Supplies


Are you interested in the supplies I used to create this card? To make them easy for you to find, I have listed them below. Affiliate links are used at no additional cost to you and I've linked to them because I use them and love them!

Black and White Background | Newton's Nook Designs

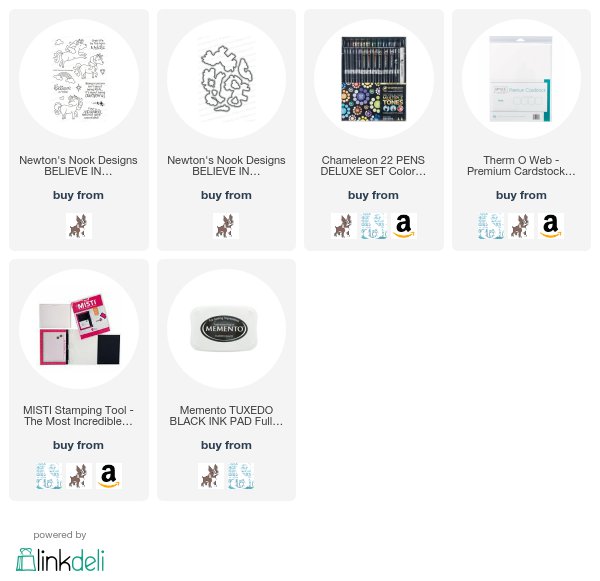
Using stamps to create custom background paper is one of my favorite stamping techniques. I love to do this technique by combining a mix of stamps and then laying out the design using my MISTI stamping tool. Today I'm sharing a black and white background design using the Believe In Unicorns Stamp Set by Newton's Nook Designs.

Black and White Background Stamping


To create a background, I begin by laying out the designs on one end of the card. I then ink them up and stamp them all at one time. Then, I move the stamps around to fill in the rest of the space and stamp again.

Black and White Background Stamping by Juliana Michaels featuring Newton's Nook Designs Believe in Unicorns Stamp Set

For this card, I wanted to do a little something different. I thought it would be fun to pop up one of the images and add the sentiment to the background design as well. Again, using my MISTI, I determined the placement of the sentiment and the image I wanted to pop up. I actually stamped that unicorn image onto the background to remind me where that piece would go.

Black and White Background Stamping by Juliana Michaels featuring Newton's Nook Designs Believe in Unicorns Stamp Set

After the background was complete, I stamped, colored and die cut the unicorn image and adhered it to my card using some double sided foam adhesive.

So do you like to create your own backgrounds with stamps? What technique do you use to create them?

Supplies


Are you interested in the supplies I used to create this card? To make them easy for you to find, I have listed them below. Affiliate links are used at no additional cost to you and I've linked to them because I use them and love them!

Gina K Designs August Release Blog Hop | Day 2

Hello friends and welcome to Day 2 of the Gina K Designs August Release Blog Hop! Today we're featuring two more brand new stamp sets - Todd Turtle and Perfect Poinsettia! Make sure you check out the details on how I created both of my cards and then check out how you can win a $50 gift certificate to Gina K Designs.


Happy Holidays Card | Perfect Poinsettia Stamp Set


This first set is called Perfect Poinsettia Stamp Set by Claire Brennan. I was so excited to see a Christmas stamp set. Yes, we still have awhile before Christmas, but I was quite delighted to get a jump start on my Christmas cards. This set is perfect for creating a gorgeous layered image or a simple outline. The options are unlimited. To create this card, I stamped the outline images onto colored cardstock with Versamark embossing ink and heat set them with gold embossing powder.

Happy Holidays Card by Juliana Michaels featuring Perfect Poinsettia Stamp Set by Gina K Designs

I then stamped and embossed the sentiment on the Fabulous Label Die. I then layered this onto a piece of Red Velvet cardstock and trimmed around it. I then layered this onto an embossed piece of white cardstock before.


Turtley Awesome Card | Todd Turtle Stamp Set


You may have noticed the name of my blog, 17turtles and if you guessed correctly, I kind of love turtles. So, when I saw this Todd Turtle Stamp Set by Beth Silaika, I immediately fell in love! There are several adorable sea critters on this set, but the darling turtle just called to me. The other thing I love about this set, is that it coordinates perfectly with her other recents designs - Karen Dolphin and Vicky Mermaid.

You Are Turtlely Awesome Card by Juliana Michaels featuring Todd Turtle Stamp Set by Gina K Designs

To create this card, I stamped the turtle onto Gina K White Cardstock with Memento Ink and then colored it with my Chameleon Pens. I then fussy cut it and adhered it using double sided foam tape to give it a touch of dimension. The circle and square die cuts were created using Gina K Designs Single Stitched Circle Dies, the Double Stitched Circle Dies and the Single Stitched Square Dies.

You Are Turtlely Awesome Card by Juliana Michaels featuring Todd Turtle Stamp Set by Gina K Designs

Get Through This Card | Nurturing Blooms Incentive Stamp Set


Last, but not least, is a card I created using the new Incentive Set called Nurturing Blooms. To create this card, I used my MISTI to help stamp the various bloom images in a mix of green inks. I love creating my own backgrounds using inks and this set was perfect for this.

Get Through This Card by Juliana Michaels featuring Nurturing Blooms Stamp Set by Gina K Designs

I then used the Fabulous Label Die to die cut the ovals from white cardstock and vellum. I then stamped the sentiment onto the white cardstock. Before adding the sentiment pieces, I adhered a length of Gina K Sheer Satin Fancy Ribbon in White and Gold to add a touch of elegance to the design.

Get Through This Card by Juliana Michaels featuring Nurturing Blooms Stamp Set by Gina K Designs


Blog Hop + Giveaway


Would you like to win a $50 gift certificate to Gina K Designs? If your answer is yes, then all you have to do is visit each blog along the hop (listed below) and leave a comment. One lucky winner will receive a $50 Gina K Designs gift certificate.

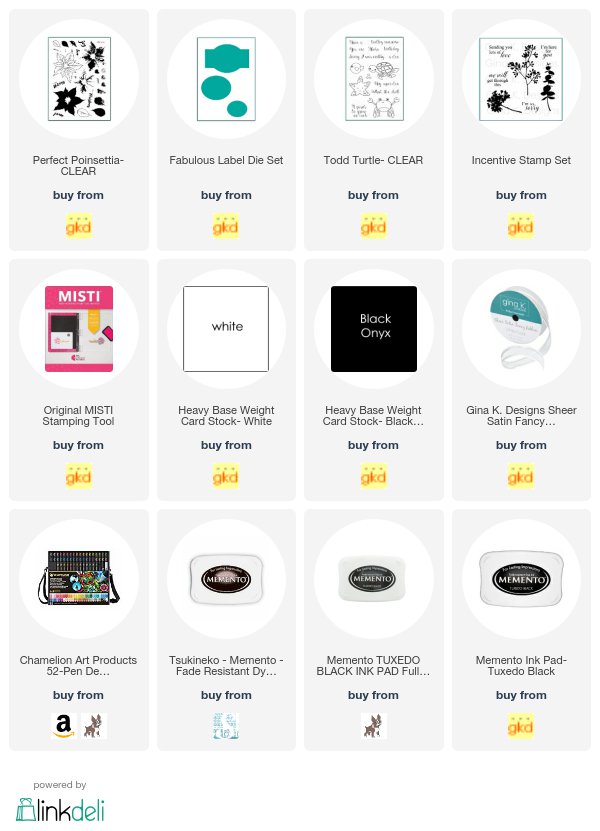
Are you interested in the Gina K Designs supplies I used to create these cards? To make them easy for you to find, I have listed them below. Affiliate links are used at no additional cost to you and I've linked to them because I use them and love them!


Gina K Designs August Release Blog Hop | Day 1

Hello friends and welcome to Day 1 of the Gina K Designs August Release Blog Hop! Today we're featuring two brand new stamp sets - Wetlands 2 and Fabulous Rose Frame. Make sure you check out the details on how I created both of my cards and then check out how you can win a $50 gift certificate to Gina K Designs.

Dragonfly Cattail Card | Wetlands 2 Stamp Set


The first card I'm sharing used the new Wetlands 2 Stamp Set by Theresa Momber. This set is full of serene water images including cattails, dragonflies and cranes.

To create this card, I stamped the image in black ink on watercolor paper and then used a foam blending tool to apply a variety of Distress Oxide Inks in a rainbow of colors. I then used the Gina K Designs large Double Stitched Oval to die cut the paper. Before adhering it to the card front, I flicked it with a little water and dabbed it dry. I then layered it onto a piece of black cardstock die cut using the large Single Stitched Oval die.

Dragonfly Cattail Card by Juliana Michaels featuring Wetlands 2 Stamp Set by Gina K Designs

I also stamped one of the extra dragonflies onto the card. After stamping it, I kind of thought I should have masked it first. However, after a little more thought, I realized that the way I stamped it helps add a little more depth to the design. For an added touch of dimension, I applied Glossy Accents to the wings and body of the dragonfly in the forefront.

Dragonfly Cattail Card by Juliana Michaels featuring Wetlands 2 Stamp Set by Gina K Designs

Thinking Of You Card | Fabulous Rose Frame Stamp Set


Next up is the beautiful new Fabulous Rose Frame Stamp Set by Melanie Muenchinger. Along with a gorgeous floral stamp set, this set also coordinates with two new die sets that cut out the banner or the flowers. Together this set gives you unlimited design possibilities.

I began by stamping the rose frame image onto watercolor paper using Versamark Embossing ink and then heat embossed it with gold embossing powder. To color the image, I used Zig Clean Color Real Brush Markers and a water brush to achieve a watercolored look.  I then finished off this part of the card by die cutting it using the coordinating Fabulous Rose Frame Die and attached this piece to the card front.

Thinking Of You Card by Juliana Michaels featuring Fabulous Rose Frame Stamp Set by Gina K Designs

To create the label or banner, I stamped the image with Versamark Embossing ink and again heat embossed it with gold embossing powder. The label also comes with a coordinating die called Fabulous Label Die that I used to die cut this piece as well. I then stamped the "thinking of" sentiment and then added the "you" using the You Die before attaching this piece to complete the card.

Thinking Of You Card by Juliana Michaels featuring Fabulous Rose Frame Stamp Set by Gina K Designs

I hope you enjoyed the cards I shared with you today and I hope you enjoy the rest of the hop!

Blog Hop + Giveaway

Would you like to win a $50 gift certificate to Gina K Designs? If your answer is yes, then all you have to do is visit each blog along the hop (listed below) and leave a comment. One lucky winner will receive a $50 Gina K Designs gift certificate!
Melanie Muenchinger - Today's Featured Illustrators

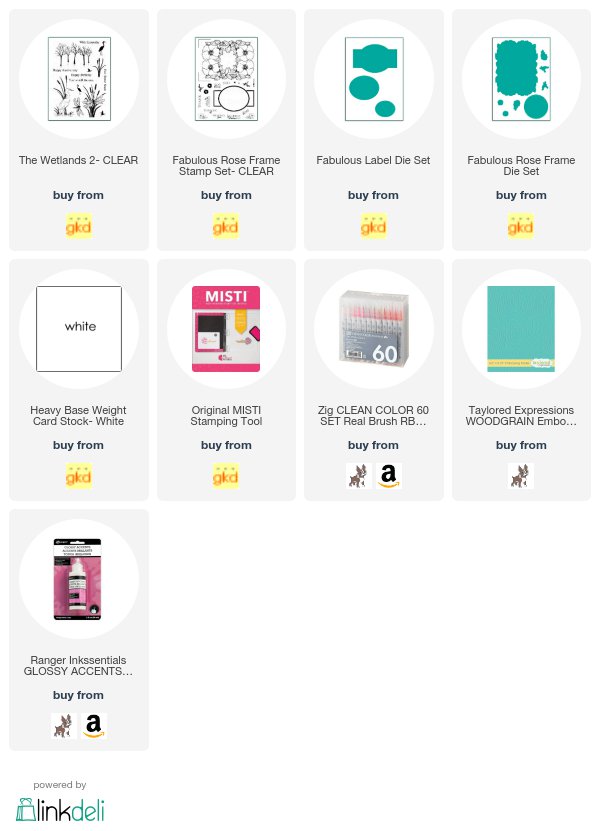
Are you interested in the Gina K Designs supplies I used to create these cards? To make them easy for you to find, I have listed them below. Affiliate links are used at no additional cost to you and I've linked to them because I use them and love them!

Subscribe