DIY Pumpkin Pail Shaker Card | Tim Holtz Halloween Card Tutorial

Last year, I came across a Halloween card by Tonya Brooks that featured the cutest pumpkin pail filled with treats, and I’ve been dreaming of making my own version ever since. I just needed the right products to bring it to life. With the re-release of the Tim Holtz Layered Jack-O-Lantern Die Set, I finally had what I needed!

With a few simple modifications, I was able to turn the die into a treat pail—and then I gave it an extra twist by transforming it into a Halloween shaker card filled with the brand-new Tim Holtz Rock Candy Chunky Glitter.

Keep reading to see how it all came together!

Happy Halloween DIY Pumpkin Pail Shaker Card by Juliana Michaels featuring Tim Holtz Layered Jack-O-Lantern, Distress Rock Candy Glitter and Rock Candy Chunky Glitter

CREATING THE BACKGROUND

Inspired by Tonya’s original design, I wanted a bold, spooky backdrop. I started with Distress Watercolor Cardstock and the Halloween Stencil from Mini Layering Stencil Set 17. Using a blending brush, I ink blended Black Soot Distress Ink through the stencil, concentrating the color in the center and fading it out toward the edges.

To add more depth, I blended Seedless Preserves around the outer edges, then softened everything with just a touch of Black Soot. A few water splatters and Black Soot ink splatters (applied with a paintbrush) finished off the background with that perfect distressed, spooky vibe.


COLORING THE DIE CUTS

Most of the die cuts were cut from Distress Watercolor Cardstock with the exception of the black pieces (the bow, skull base, Jack-O-Lantern base, and handle), which I cut from black cardstock. The skull and bones were cut from white cardstock.

Using the Scrapbook.com GripMate, I held each die cut in place and ink blended with these Distress Ink colors:
Jack-O-Lantern – Rusty Hinge, Wild Honey
Flowers – Seedless Preserves, Fossilized Amber
Leaves – Peeled Paint
Fern – Black Soot
Candy Corn – Carved Pumpkin, Fossilized Amber
Green Candy – Twisted Citron, Mowed Lawn
Purple Candy – Dusty Concord, Villainous Potion
Striped Candy – Black Soot, Dusty Concord

I assembled everything with Distress Collage Medium, then added shine and texture. The candy pieces got a coat of Glossy Accents followed by a dusting of Rock Candy Glitter using the Glitter Duster. The skull and bones also got a glossy finish for a little extra dimension.


CUSTOM SHAKER FILLER

For the shaker element, I created custom filler using Rock Candy Chunky Glitter. To color it, I followed Tim Holtz’s method of adding Pitch Black Alcohol Ink—so easy and it gave me the perfect Halloween sparkle.


BUILDING THE PUMPKIN PAIL SHAKER

To turn the Jack-O-Lantern into a pail, I left off the solid base layer and trimmed the top flat to create an opening. A piece of acetate adhered behind the pumpkin created the shaker window.

I built up a wall with double-sided foam adhesive around the edge, added the custom-colored glitter, and then sealed it with the solid base layer. Instant shaker!

The handle was made using an oval die, trimmed to size.

Finally, I arranged the candy, flowers, and greenery inside the pail, tucking a few elements along the bottom corner for balance. And just like that, my pumpkin pail shaker card was complete!

Thanks so much for stopping by! I hope this card inspires you to look at your dies in new ways and try turning them into something a little unexpected this Halloween.

SUPPLIES

Below you can find the supplies I used to create this card. When you shop through those links and whether you purchase that exact item or something else entirely, you’re supporting me at no extra cost to you. The commission I receive helps me cover the costs of my blog and other expenses, and allows me to continue to provide you with FREE inspiration and tutorials. If you want to learn more about what an affiliate link is, you can see my full affiliate and product disclosure statement here. Thank you so much for your love and support!

Halloween Love at First Bite: Pumpkin Pail Die Cut Card

I don’t know about you, but nothing says Halloween nostalgia quite like a plastic pumpkin pail overflowing with candy! So when I spotted the Hey Sugar Die Set from Scrapbook.com, it was Halloween love at first bite. I just had to put together my own pumpkin pail—complete with candy…and a few flowers, of course!

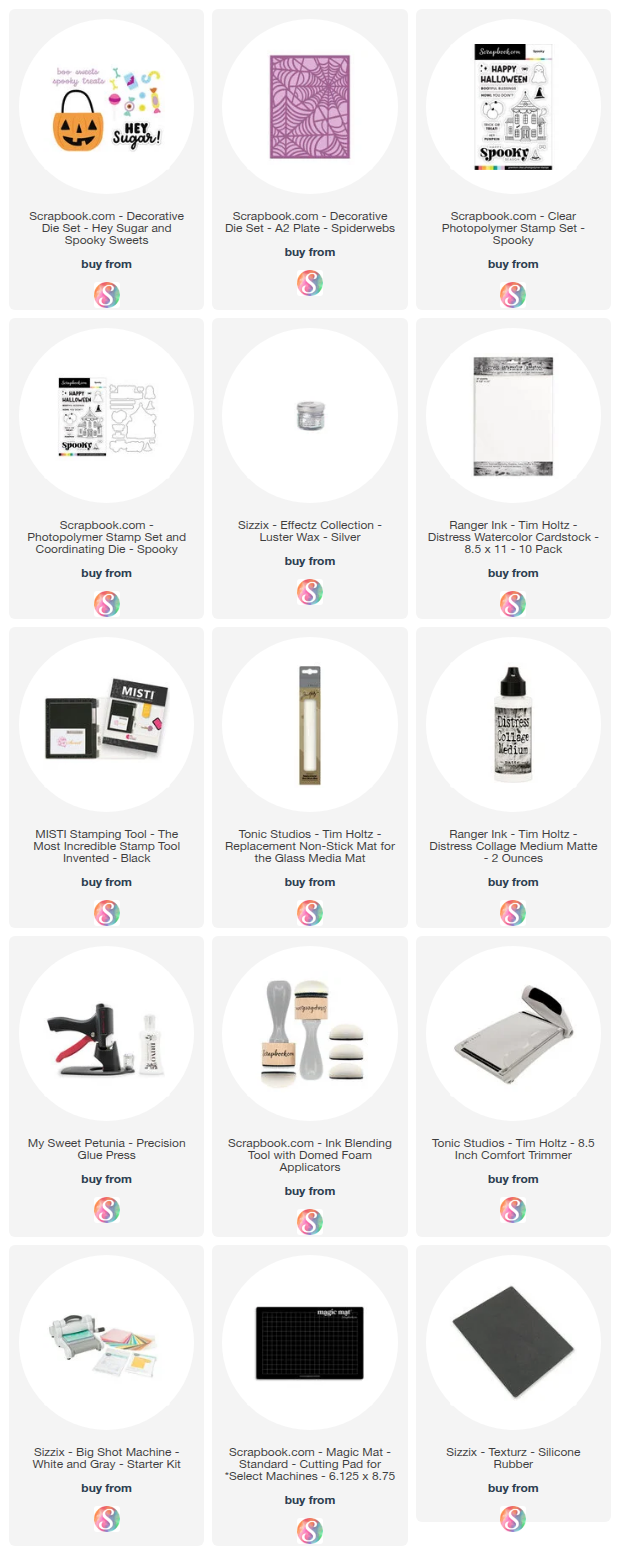
Happy Spooky Season Pumpkin Pail Halloween Card by Juliana Michaels featuring Scrapbook.com Hey Sugar and Spiderwebs Die Sets

PUMPKIN PAIL DETAILS

I die cut all the pieces from Distress Watercolor Cardstock and ink blended them with a mix of Distress Inks in these spooky-sweet shades: Dusty Concord, Villainous Potion, Seedless Preserves, Twisted Citron, Peeled Paint, Carved Pumpkin, Crackling Campfire, Fossilized Amber, Forest Moss, and Black Soot. Once the colors were down, I layered and adhered everything to fill up the pail with treats.

For the background, I reached for black cardstock and ran it through with the Spiderwebs Coverplate Die—but instead of cutting, I embossed it. A touch of Silver Sizzix Luster Wax brushed across the raised design made those webs shimmer just right.

To finish it off, I stamped a sentiment from the Spooky Stamp Set in crisp black ink and cut it out with the coordinating die for the perfect Halloween-ready touch.

SUPPLIES

Below you can find the supplies I used to create this card. When you shop through those links and whether you purchase that exact item or something else entirely, you’re supporting me at no extra cost to you. The commission I receive helps me cover the costs of my blog and other expenses, and allows me to continue to provide you with FREE inspiration and tutorials. If you want to learn more about what an affiliate link is, you can see my full affiliate and product disclosure statement here. Thank you so much for your love and support!

LET'S STAY CONNECTED
✔️ Subscribe on YouTube for more cardmaking tutorials, tips, and seasonal inspiration
✔️ Follow me on Instagram for sneak peeks and behind-the-scenes
✔️ Sign up for my Newsletter to stay updated on new releases and crafty resources
✔️ Take one of my online Classes to learn fun techniques and build your cardmaking confidence at your own pace


Thanks for stopping by—and until next time, stay crafty, my friend!

Sparkle and Shine with Tim Holtz Distress Holiday Products: Twinkle Paste & Snowflakes

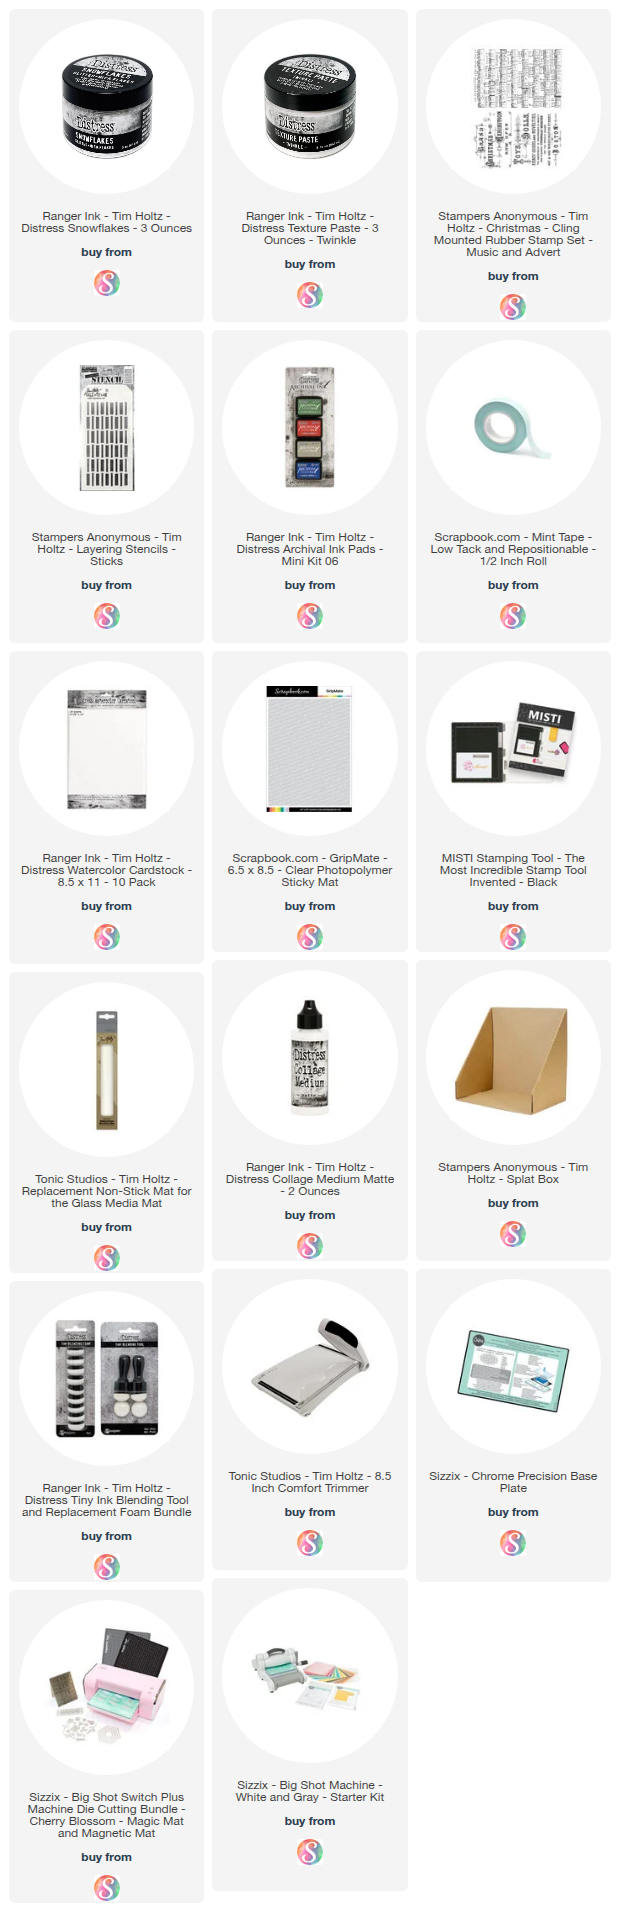
The holiday crafting season is here, and I’m excited to share a festive card project that sparkles and shines thanks to the brand-new Tim Holtz Distress Holiday release! This year, Tim Holtz and Ranger Ink have introduced two stunning products designed to bring texture and twinkle to your winter creations: Distress Texture Paste Twinkle and Distress Snowflakes.

Merry & Bright Deer Christmas Card by Juliana Michaels featuring Tim Holtz Ranger Ink Distress Twinkle Paste and Distress Snowflakes

DISTRESS TWINKLE & SNOWFLAKES

Distress Texture Paste Twinkle is a translucent gloss paste filled with tiny glitter flecks. It adds beautiful dimension and shimmer, perfect for creating textured backgrounds that catch the light just right.

Distress Snowflakes are a custom blend of twinkling glitter mixed with translucent mica flakes. They bring a nostalgic, wintry sparkle that’s ideal for embellishing holiday cards and crafts.


MERRY & BRIGHT CHRISTMAS CARD

In my latest video, I created a Christmas-themed card that highlights both these products. The background features a blend of Distress Inks layered with the Twinkle Paste to give it that festive shimmer and textured glow. To top it off, I used the Snowflakes to embellish the card and shared my tips on how to adhere these delicate flakes securely so they stay put.


STEP BY STEP TUTORIAL

If you want to see exactly how I made this sparkling card, the video walks you through each step—from blending the Distress Inks to applying the Twinkle Paste for texture, and finishing with the Snowflake embellishments. I also share practical tips for using these new products to get the best results on your own holiday projects.


GET READY TO SPARKLE

Whether you’re a seasoned card maker or just looking for a fun, festive project, these new Distress Holiday products add just the right amount of shimmer and magic to your crafting. You’ll love how easy it is to bring sparkle and texture together for a truly eye-catching card.


I hope this inspires your holiday crafting! If you give this card a try, I’d love to hear how it goes—drop a comment or share your photos with me on social media.

Stay crafty and sparkle on!

SUPPLIES

Below you can find the supplies I used to create this card. When you shop through those links and whether you purchase that exact item or something else entirely, you’re supporting me at no extra cost to you. The commission I receive helps me cover the costs of my blog and other expenses, and allows me to continue to provide you with FREE inspiration and tutorials. If you want to learn more about what an affiliate link is, you can see my full affiliate and product disclosure statement here. Thank you so much for your love and support!


LET'S STAY CONNECTED

✔️ Subscribe on YouTube for more cardmaking tutorials, tips, and seasonal inspiration
✔️ Follow me on Instagram for sneak peeks and behind-the-scenes
✔️ Sign up for my Newsletter to stay updated on new releases and crafty resources
✔️ Take one of my online Classes to learn fun techniques and build your cardmaking confidence at your own pace

Poinsettia Perfection: Holiday Card Ideas with 49 & Market Sizzix Christmas Stamps & Dies

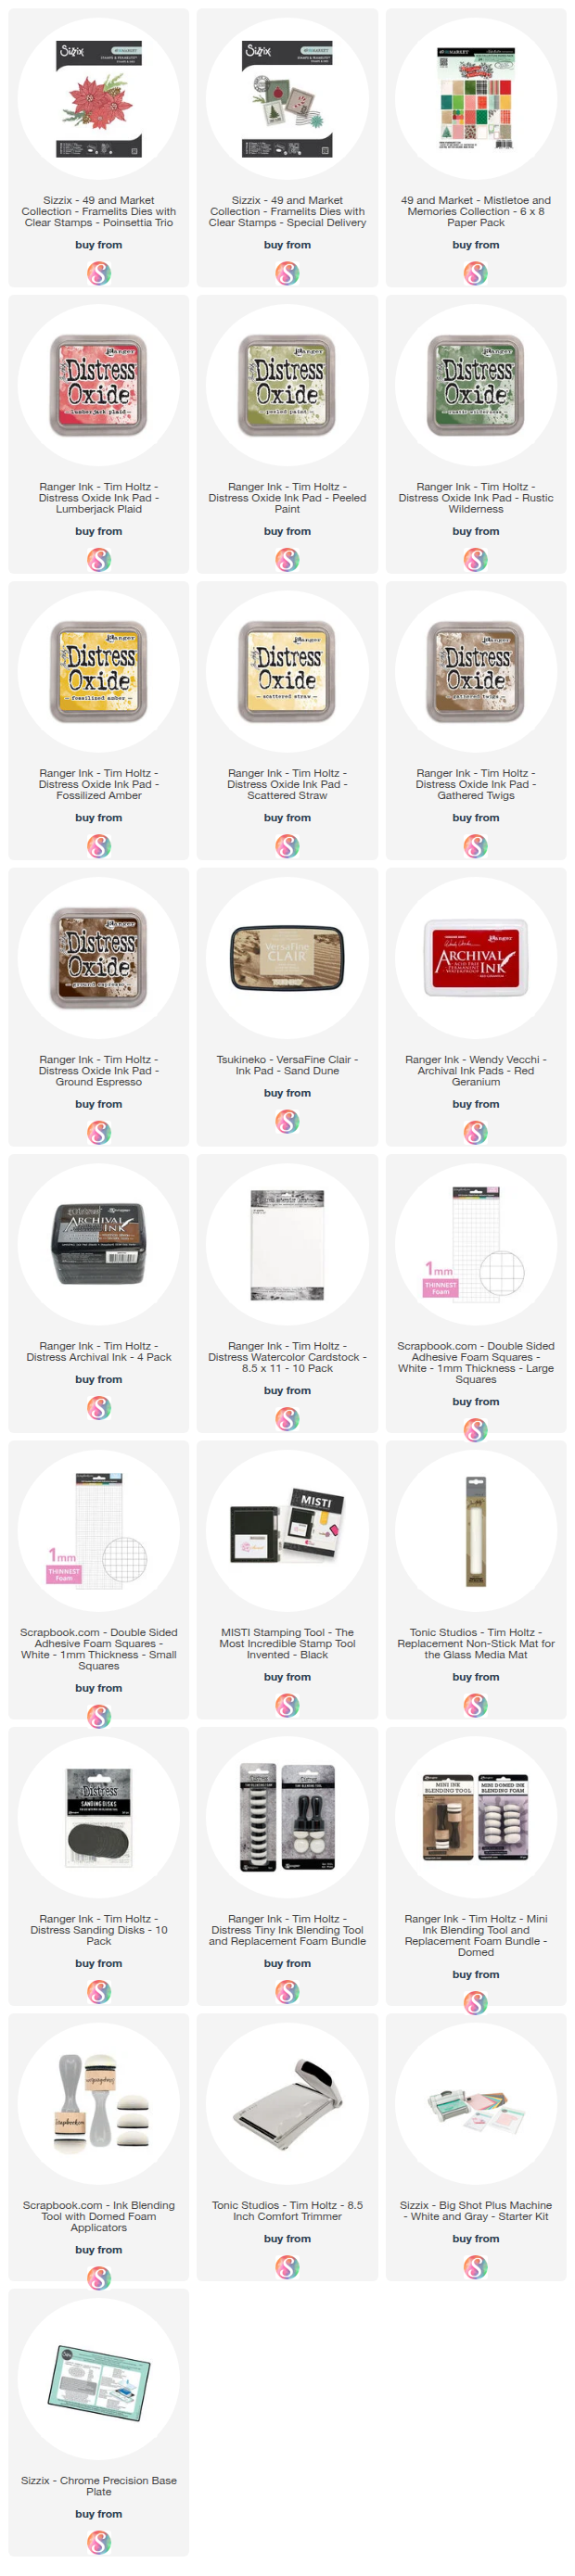
Today I’m sharing a card that’s bursting with holiday cheer, featuring some of the brand-new 49 & Market Christmas stamps and dies from Sizzix. I’m a total sucker for a poinsettia, so the Poinsettia Trio Stamp & Die Set had me at “hello.”

This set includes three different sizes of poinsettia blooms you can use solo or layer up for extra drama. With both outline and solid layering images, the mix-and-match possibilities are endless. And just when you think it couldn’t get better—there’s also a sweet pinecone and a perfectly festive pine branch to help you build your own winter floral arrangement.

Warm Hugs Christmas Card by Juliana Michaels featuring 49 & Market Sizzix Poinsettia Trio and Special Delivery Stamp and Die Sets

WARM HUGS CHRISTMAS CARD

For my card, I stamped the poinsettia outlines in Archival Ink Red Geranium and layered them with Distress Oxide Lumberjack Plaid for that rich, cozy holiday red. I used the two largest flowers, die cut them, and popped them up with 1mm foam adhesive for dimension. The centers got their golden glow from Archival Ink Fossilized Amber (outline) and Distress Oxide Scattered Straw (solid), also with a bit of foam adhesive to make them shine.

The pinecones came to life with Ground Espresso and Gathered Twigs, while the pine branches got a mix of Rustic Wilderness and Peeled Paint for that fresh-from-the-forest variety.


For the background, I grabbed some patterned paper from the Vicki Boutin Mistletoe & Memories collection, trimmed it to size, and added subtle stamping with the Special Delivery Stamp Set in Versafine Clair Sand Dune for a soft, tone-on-tone effect. I inked the edges with Gathered Twigs Distress Oxide, distressed them with a Ranger Sanding Disc for a bit of rustic charm, then layered it over another coordinating paper from the same pack.

To finish things off, I added a sentiment from the Special Delivery Stamp Set, die cut with one of the included dies—because no festive card is complete without a merry message!


I hope this little burst of holiday inspiration gets you excited to try out the new 49 & Market Christmas stamps and dies from Sizzix. They’re perfect for adding that handmade magic to your holiday season!

SUPPLIES

Below you can find the supplies I used to create this card. When you shop through those links and whether you purchase that exact item or something else entirely, you’re supporting me at no extra cost to you. The commission I receive helps me cover the costs of my blog and other expenses, and allows me to continue to provide you with FREE inspiration and tutorials. If you want to learn more about what an affiliate link is, you can see my full affiliate and product disclosure statement here. Thank you so much for your love and support!

LET'S STAY CONNECTED

• Subscribe on YouTube for more cardmaking tutorials, tips, and seasonal inspiration
• Follow me on Instagram for sneak peeks and behind-the-scenes
• Sign up for my Newsletter to stay updated on new releases and crafty resources
• Take an Online Class with me to learn fun techniques and build your cardmaking confidence

Thanks for stopping by—and until next time, stay crafty, my friend!

Spooky Cardmaking Tricks, Tips & Treats | Tim Holtz Sizzix Halloween 2025

Halloween is one of my favorite times to get creative, and I couldn’t wait to dive into the Tim Holtz Sizzix Halloween 2025 release. The new Witchcraft die set instantly sparked inspiration, and in today’s project, I’m sharing how I combined it with stamps, stencils, and inky techniques to create a hauntingly fun card full of texture, layers, and vibrant color.

Whether you’re all-in on Halloween or just looking to learn new techniques, this card is packed with ideas you can adapt to any theme.

Double Double Halloween Card by Juliana Michaels featuring Tim Holtz Sizzix Halloween 2025 Witchcraft Die Set

WATCH THE VIDEO

In the video, I take you step-by-step through the process—from creating the background to assembling the finished card. I also share tips for working with some of my favorite products and techniques.

You can either watch the video below or head over to my YouTube Channel HERE to check it out.


FEATURED TECHNIQUES

Here’s a quick look at what you’ll see in the video:
  • Inky Backgrounds: I used Distress Inks with Halloween-themed stencils to build up layers of spooky color and pattern. A touch of Black Texture Paste adds that extra bit of eerie dimension.
  • Alcohol Ink Die Cuts: For the focal point, I used Alcohol Inks and the brand-new Alcohol Neons to create bold, glowing embellishments.
  • Layering with Stamps & Stencils: I brought in some of my favorite Halloween stamps and stencils to add subtle texture and interest throughout the card.


Whether you’re familiar with these techniques or trying them for the first time, I walk through each step clearly so you can follow along and get inspired.

As always, please feel free to use products from your stash to recreate something similar. However, if you are interested in any of the products I’m using, you can find all the supplies I used linked below. This also includes a visual supply list to make shopping easy.


I hope this project inspires you to play with your supplies in new ways—and maybe even embrace the spookier side of crafting! The Tim Holtz Sizzix Halloween 2025 collection is full of possibilities, and this is just one way to bring it to life.


If you give this card a try (or use any of the techniques I shared), be sure to tag me—I’d love to see what you create!

LET'S STAY CONNECTED

✔️ Subscribe on YouTube for more cardmaking tutorials, tips, and seasonal inspiration
✔️ Follow me on Instagram for sneak peeks and behind-the-scenes
✔️ Sign up for my Newsletter to stay updated on new releases and crafty resources
✔️ Take one of my online Classes to learn fun techniques and build your cardmaking confidence at your own pace

Thanks for stopping by—and until next time, stay crafty, my friend!

SUPPLIES

Below you can find the supplies I used to create this card. When you shop through those links and whether you purchase that exact item or something else entirely, you’re supporting me at no extra cost to you. The commission I receive helps me cover the costs of my blog and other expenses, and allows me to continue to provide you with FREE inspiration and tutorials. If you want to learn more about what an affiliate link is, you can see my full affiliate and product disclosure statement here. Thank you so much for your love and support!
Subscribe