Showing posts with label Sizzix 2025. Show all posts

Halloween & Christmas Gift Card Packages | Tim Holtz Sizzix Christmas 2025

One of the new to me dies from the recent Tim Holtz Sizzix 2025 Christmas Vault Release is the Gift Card Package Die Set. It’s designed to create a quick and easy gift card holder—perfect for holiday giving! Since I’ve been bouncing back and forth between Christmas and Halloween crafting lately, I thought it would be fun to make two versions: one for Christmas and one for Halloween. The best part? By simply switching up your paper choices, this die can work for any holiday or celebration.

Halloween and Christmas Gift Card Holders by Juliana Michaels featuring Tim Holtz Sizzix Gift Card Package Die Set

CHRISTMAS GIFT CARD PACKAGE

For the Christmas version, I used a piece of patterned paper from my stash of Tim Holtz Backdrops to create the base of the package. I topped it with a coordinating solid cardstock bow and added some festive greenery using the Holiday Greens Mini Die Set (a longtime favorite of mine—so happy it’s back!). I then inked the edges with some Ground Espresso Distress Ink for a touch of grunge.

Christmas Gift Card Holders by Juliana Michaels featuring Tim Holtz Sizzix Gift Card Package Die Set

The greenery was cut from shades of green and blue colored cardstock, coated with Glossy Accents and then dusted with Distress Snowflakes for a frosted effect. I added Rudolph Red Pops of Color to the berries to bring in a traditional pop of red. While the Pops of Color was still wet I applied some Rock Candy Glitter using a Glitter Duster to a touch of shimmer. To finish it off, I stamped a sentiment onto a die-cut kraft tag and tied it on with a bit of white string.


HALLOWEEN GIFT CARD PACKAGE

For the Halloween version, I followed the same process but swapped in Halloween patterned paper for the base. The greenery was cut from black, gray, and deep green cardstock, then accented again with Glossy Accents and Distress Snowflakes for a spooky shimmer.

Halloween Gift Card Holders by Juliana Michaels featuring Tim Holtz Sizzix Gift Card Package Die Set

This time, I used Terracotta Pops of Color for the berries and of course dusted it with some Rock Candy Glitter. I then added a Halloween sentiment to finish it off.


READY TO GIFT

The final touch was sliding in a gift card—and just like that, these little packages were ready for gifting!

Thanks so much for stopping by today. I hope this gave you a bit of inspiration for using the Tim Holtz Gift Card Package Die Set in both festive and unexpected ways.

Halloween and Christmas Gift Card Holders by Juliana Michaels featuring Tim Holtz Sizzix Gift Card Package Die Set

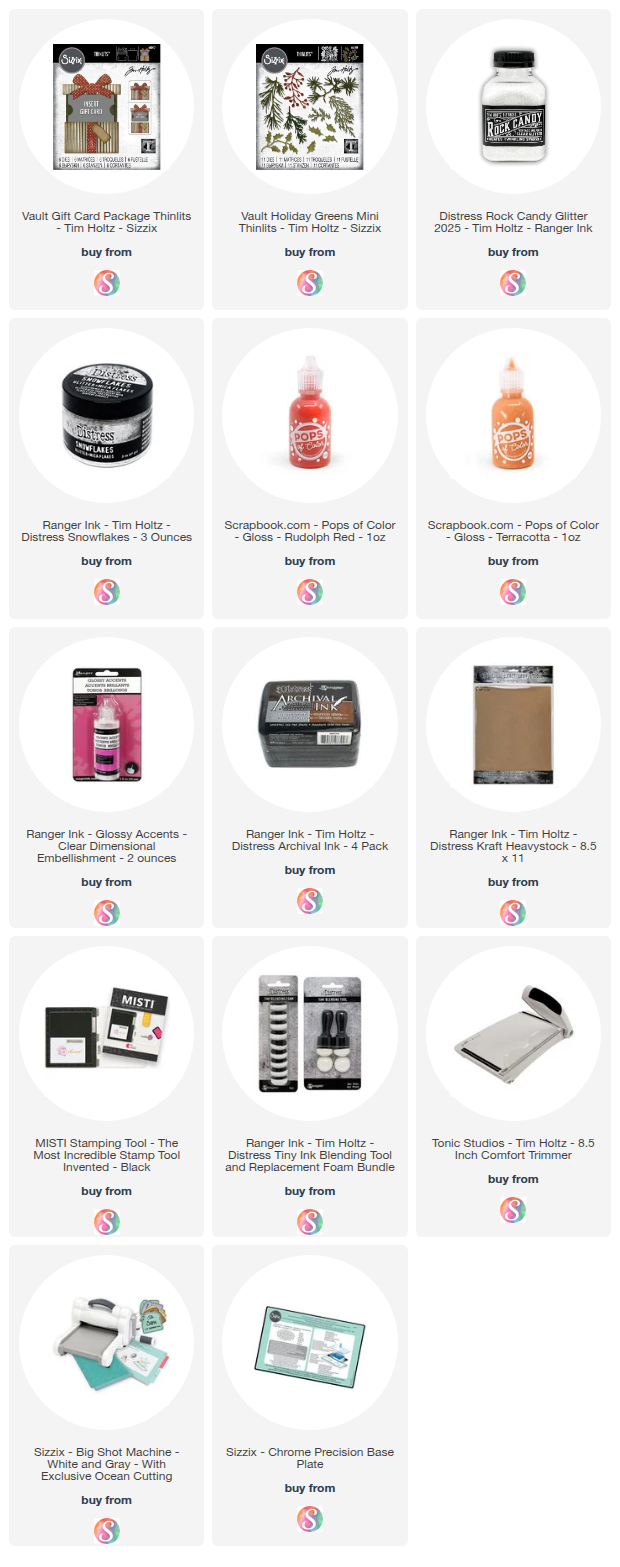
SUPPLIES

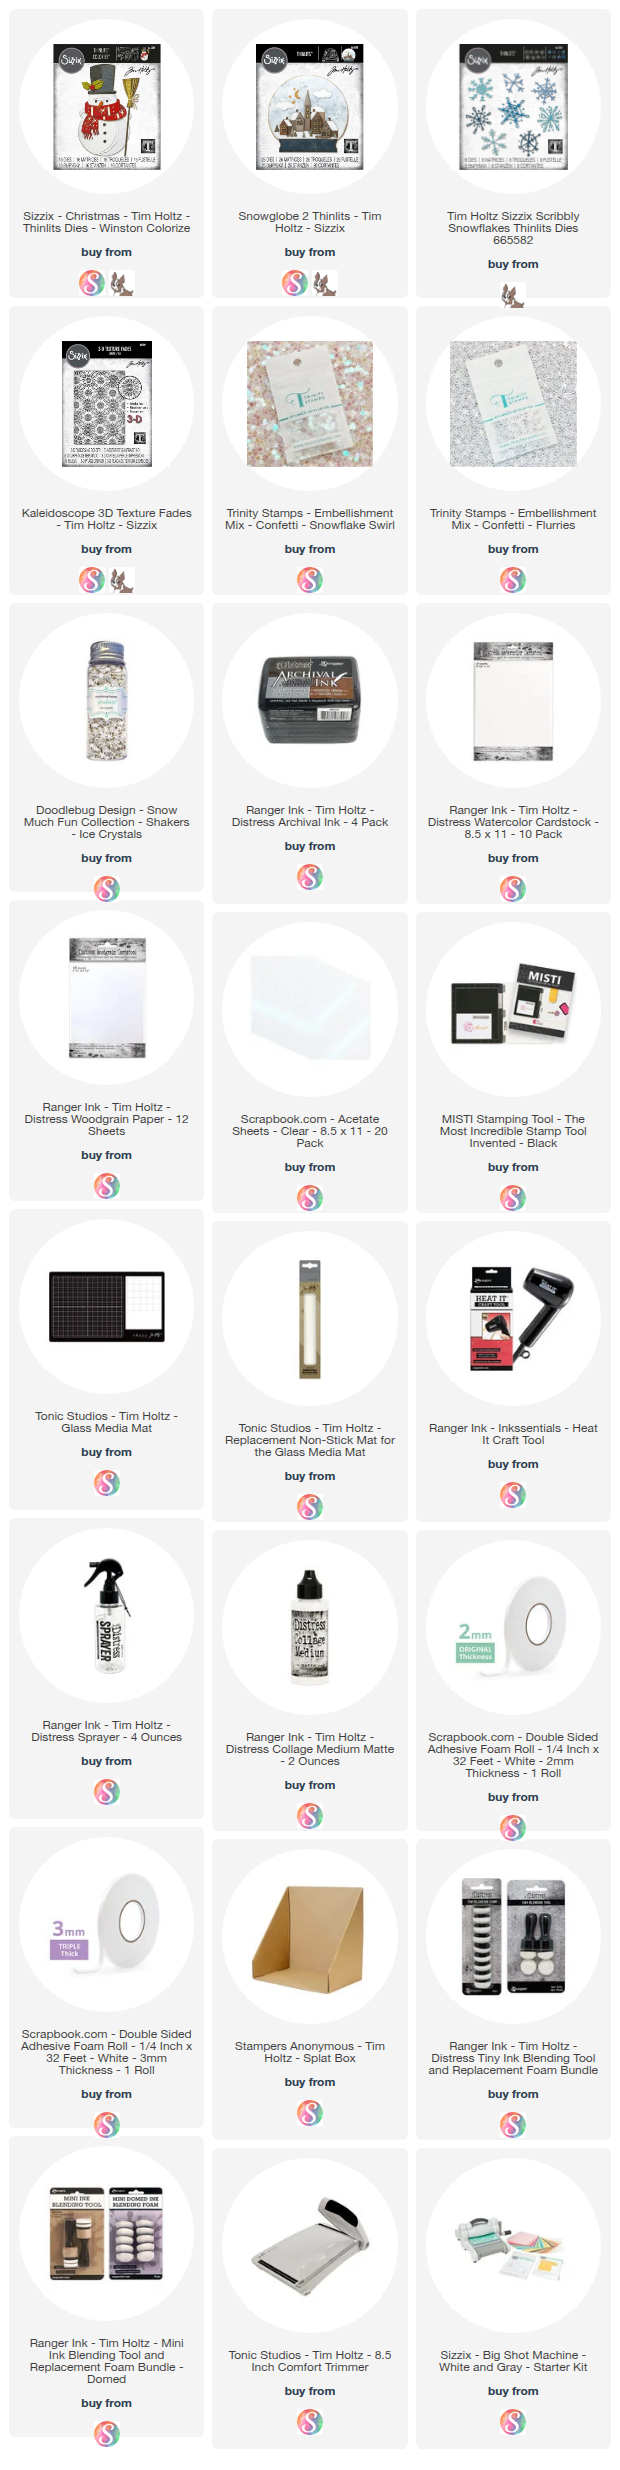
Below you can find the supplies I used to create this card. When you shop through those links and whether you purchase that exact item or something else entirely, you’re supporting me at no extra cost to you. The commission I receive helps me cover the costs of my blog and other expenses, and allows me to continue to provide you with FREE inspiration and tutorials. If you want to learn more about what an affiliate link is, you can see my full affiliate and product disclosure statement here. Thank you so much for your love and support!

Winston the Snowman Snowglobe Shaker Card | Tim Holtz Sizzix Christmas 2025

Winston’s back and still as adorable as ever! For my second card with the Tim Holtz Sizzix Christmas 2025 release, I turned Winston into the star of a playful shaker card. This version leans pretty + festive with a pink scarf and extra inking over an embossed background. My original sample kept things classic—red scarf and no extra inking—so you’ll see two easy ways to change the mood with small choices.

Question for you: Which look do you prefer—pink + inked or classic red + clean? Tell me in the comments!

Winston the Snowman Snowglobe Shaker Card  by Juliana Michaels featuring Tim Holtz Sizzix Christmas 2025

WHAT'S IN THE VIDEO

This video is all about options—color shifts, background choices, and smart stash substitutions—so you can make a similar look with what you already own. You’ll see:
  • How lightly inking an embossed background adds instant depth
  • How to create and build a shaker card
  • Simple ways to fill a shaker (sequins, glitter, beads—mix and match!)
  • Substitutions if you don’t have the exact dies, inks, colors or embellishments

You can either watch the video below or head over to my YouTube Channel HERE to check it out.


Please feel free to use products from your stash to recreate something similar. However, if you are interested in any of the products I’m using, you can find the supply list with links down below. Using these links does not cost you anything extra and it helps support my business. It also allows me to continue offering free content and keep my class costs low. I appreciate your support!


DESIGN NOTES & IDEAS

  • Snowglobe Magic: Framing Winston inside a snowglobe makes the shaker feel extra interactive and festive.
  • Color Play: Switching up the scarf color completely changes the mood—try pink for whimsical, red for classic, or even icy blues.
  • Background Texture: Lightly inking over embossed cardstock adds dimension without overwhelming the scene.
  • Shaker Fillers: Sequins, glitter, or beads all give a snow-like effect—mix and match for more movement.

STASH FRIENDLY SUBSTITUTIONS

  • No Winston? Use any snowman, a Santa, or critter die as your focal point.
  • No Scribbly Snowflakes? Use any snowflake dies you might have or even snowflake punches or skip the snowflakes all together and add more color with your sequin mix.
  • No shaker snowflakes? Fill the shaker with any combination of sequins, glitter, mica flakes, beads, small punched shapes or any shaker pieces you may have that fit the color/theme of your card.
  • No Distress Inks or Distress Spray Stains? Use any ink you have to color your cardstock by ink blending or spraying. You can also use colored cardstock.

Winston the Snowman Snowglobe Shaker Card  by Juliana Michaels featuring Tim Holtz Sizzix Christmas 2025

TIPS & TRICKS

Window Clarity: Wipe acetate with an microfiber cloth before sealing to clean it before you add your shaker pieces. You can also use an antistatic tool to reduce cling, but it may leave a residual powder on the acetate so I don't tend to do this.
Dimension with Control: Make sure your foam tape is thicker than what you are using for your shaker pieces.
Use any solid die shape to create your own shaker window. You don't have to create a snowglobe to still get the shaker effect. 


SUPPLIES

Below you can find the supplies I used to create this card. When you shop through those links and whether you purchase that exact item or something else entirely, you’re supporting me at no extra cost to you. The commission I receive helps me cover the costs of my blog and other expenses, and allows me to continue to provide you with FREE inspiration and tutorials. If you want to learn more about what an affiliate link is, you can see my full affiliate and product disclosure statement here. Thank you so much for your love and support!

LET'S STAY CONNECTED

✔️ Subscribe on YouTube for more cardmaking tutorials, tips, and seasonal inspiration
✔️ Follow me on Instagram for sneak peeks and behind-the-scenes
✔️ Sign up for my Newsletter to stay updated on new releases and crafty resources
✔️ Take one of my online Classes to learn fun techniques and build your cardmaking confidence at your own pace


Thanks for stopping by—and until next time, stay crafty, my friend!

Festive Vintage Christmas Card Inspiration | Tim Holtz Sizzix Christmas 2025

Bring a touch of classic holiday charm to your cardmaking with this vintage-style Christmas card! I combined some of the new Tim Holtz Sizzix Christmas 2025 Vault dies and resized embossing folders with a few of my favorite older pieces to create a card that’s both timeless and festive.

Making Spirits Bright Christmas Card by Juliana Michaels featuring Tim Holtz Sizzix Mini Holiday Greens, Merry and Bright, and Engraved Embossing Folder

INSPIRATION & CREATIVE TIPS

This project is all about thinking outside the box and using what you have while experimenting with textures, inks, and embellishments. Even if you don’t own the exact new products, you can achieve a similar vintage holiday feel by layering, adding dimension, and mixing shimmer and shine.


TECHNIQUES FEATURED

With each of the techniques in the video I share ideas for substitutions of things that you may already have in your stash.
  • Embossed Backgrounds with Distress Ink & Embossing Glaze: Add texture, depth, and shimmer to your cards.
  • Custom-Colored Watercolor Cardstock: Layered greenery created with Distress Spray Stains, accented with berries and shimmer.
  • Dimensional Accents: Glossy Accents, Distress Snowflakes, Distress Rock Candy Glitter, and Distress Mica Flakes add festive sparkle and shine.
  • Focal Points with Dies: Combine new and retired dies, like the classic Holiday Mini Greenery and the Dashing Deer, for a layered, professional look.
  • DIY Tim Holtz Black Kraftstock: Painted and distressed cardstock can stand in for discontinued or unavailable colors.

WATCH & CRAFT ALONG

Watch the video to see these techniques in action and get ideas for creating your own festive vintage Christmas cards! You can either watch the video below or head over to my YouTube Channel HERE to check it out. 

In the video, I share creative ways to use these new dies and embossing folders while also showing stash-friendly substitutions so you can make a similar card even if you don’t have the exact products.


Please feel free to use products from your stash to recreate something similar. However, if you are interested in any of the products I’m using, you can find the supply list with links down below. Using these links does not cost you anything extra and it helps support my business. It also allows me to continue offering free content and keep my class costs low. I appreciate your support!


SUPPLIES

Below you can find the supplies I used to create this card. When you shop through those links and whether you purchase that exact item or something else entirely, you’re supporting me at no extra cost to you. The commission I receive helps me cover the costs of my blog and other expenses, and allows me to continue to provide you with FREE inspiration and tutorials. If you want to learn more about what an affiliate link is, you can see my full affiliate and product disclosure statement here. Thank you so much for your love and support!

Spooky Cardmaking Tricks, Tips & Treats | Tim Holtz Sizzix Halloween 2025

Halloween is one of my favorite times to get creative, and I couldn’t wait to dive into the Tim Holtz Sizzix Halloween 2025 release. The new Witchcraft die set instantly sparked inspiration, and in today’s project, I’m sharing how I combined it with stamps, stencils, and inky techniques to create a hauntingly fun card full of texture, layers, and vibrant color.

Whether you’re all-in on Halloween or just looking to learn new techniques, this card is packed with ideas you can adapt to any theme.

Double Double Halloween Card by Juliana Michaels featuring Tim Holtz Sizzix Halloween 2025 Witchcraft Die Set

WATCH THE VIDEO

In the video, I take you step-by-step through the process—from creating the background to assembling the finished card. I also share tips for working with some of my favorite products and techniques.

You can either watch the video below or head over to my YouTube Channel HERE to check it out.


FEATURED TECHNIQUES

Here’s a quick look at what you’ll see in the video:
  • Inky Backgrounds: I used Distress Inks with Halloween-themed stencils to build up layers of spooky color and pattern. A touch of Black Texture Paste adds that extra bit of eerie dimension.
  • Alcohol Ink Die Cuts: For the focal point, I used Alcohol Inks and the brand-new Alcohol Neons to create bold, glowing embellishments.
  • Layering with Stamps & Stencils: I brought in some of my favorite Halloween stamps and stencils to add subtle texture and interest throughout the card.


Whether you’re familiar with these techniques or trying them for the first time, I walk through each step clearly so you can follow along and get inspired.

As always, please feel free to use products from your stash to recreate something similar. However, if you are interested in any of the products I’m using, you can find all the supplies I used linked below. This also includes a visual supply list to make shopping easy.


I hope this project inspires you to play with your supplies in new ways—and maybe even embrace the spookier side of crafting! The Tim Holtz Sizzix Halloween 2025 collection is full of possibilities, and this is just one way to bring it to life.


If you give this card a try (or use any of the techniques I shared), be sure to tag me—I’d love to see what you create!

LET'S STAY CONNECTED

✔️ Subscribe on YouTube for more cardmaking tutorials, tips, and seasonal inspiration
✔️ Follow me on Instagram for sneak peeks and behind-the-scenes
✔️ Sign up for my Newsletter to stay updated on new releases and crafty resources
✔️ Take one of my online Classes to learn fun techniques and build your cardmaking confidence at your own pace

Thanks for stopping by—and until next time, stay crafty, my friend!

SUPPLIES

Below you can find the supplies I used to create this card. When you shop through those links and whether you purchase that exact item or something else entirely, you’re supporting me at no extra cost to you. The commission I receive helps me cover the costs of my blog and other expenses, and allows me to continue to provide you with FREE inspiration and tutorials. If you want to learn more about what an affiliate link is, you can see my full affiliate and product disclosure statement here. Thank you so much for your love and support!

Tim Holtz Sizzix Halloween 2025 | Wickedly Grungy Mixed Media Card Tutorial

The Tim Holtz Sizzix Halloween 2025 release is officially here—and it’s wicked in all the best ways! Whether you're a long-time fan of Tim’s classic Halloween designs or just love the layered look of mixed media, this release has something to stir your creative cauldron.

In my latest video, I’m sharing a quick look at the new Sizzix release—including six re-released die sets and two newly resized A5 embossing folders. Then I’ll walk you through how I used one of the new sets, Witchcraft, to create a wickedly grungy Halloween card packed with texture, depth, and spooky vibes.

Handmade Halloween card featuring a spooky witch silhouette from the Tim Holtz Sizzix Witchcraft die set. The card has a grungy mixed media background with crackle texture, stamped details, and layered Distress Spray Stains in warm, earthy tones. An embossed spiderweb and machine stitching add extra dimension and a vintage, haunted feel.
 

What’s New in the 2025 Release? 

The Halloween 2025 collection brings back six iconic Tim Holtz Sizzix Halloween die sets, giving both longtime crafters and new fans a chance to play with these hauntingly fun designs. Plus, two of his most popular embossing folders have been resized to A5 format—more space to grunge it up!


The Wickedly Grungy Card

For this project, I featured the Witchcraft die set and combined it with a variety of techniques to build a layered, textured background that feels spooky and worn in the best way.

Here’s a peek at what I used:
  • Distress Spray Stains for inky, vibrant layers
  • Crackle Paste to create aged, eerie texture
  • Stamping for extra visual interest
  • Machine Stitching for that final, unexpected touch of dimension

The best part? These techniques aren’t just for Halloween. Switch out the colors and focal point, and you’ve got a go-to formula for grungy mixed media cards all year long.


Watch the Video

Want to see the full process and learn how to layer it all together? You can either watch the video below or click here to head over to my YouTube Channel to check it out.

You'll get:
  • A quick overview of the Tim Holtz Sizzix Halloween 2025 release
  • A full tutorial on creating a mixed media background
  • Tips for working with Crackle Paste and stitching on your cards
  • Wicked inspiration for your next Halloween project


Please feel free to use products from your stash to recreate something similar. However, if you are interested in any of the products I’m using, you can find the supply list with links down below. Using these links does not cost you anything extra and it helps support my business. It also allows me to continue offering free content and keep my class costs low. I appreciate your support!


Let’s Chat

I’d love to know—what’s your favorite die set from the new release? Are you a fan of spooky silhouettes, creepy critters, or those beautiful grungy textures? Leave a comment below or tag me on Instagram @julianamichaels if you create something inspired by this tutorial!

Until next time, stay spooky—and stay crafty. 🖤

Supplies

Below you can find the supplies I used to create this card. When you shop through those links and whether you purchase that exact item or something else entirely, you’re supporting me at no extra cost to you. The commission I receive helps me cover the costs of my blog and other expenses, and allows me to continue to provide you with FREE inspiration and tutorials. If you want to learn more about what an affiliate link is, you can see my full affiliate and product disclosure statement here. Thank you so much for your love and support!

Fall Cardmaking Techniques with Distress Sprays + New Tim Holtz Sizzix Dies

The Tim Holtz Sizzix Halloween 2025 release is here—and it’s wicked good!

If you caught the spooktacular YouTube Live, then you already know this release is packed with creative potential. If you missed it, don’t worry—you can still watch the replay and dive into all the hauntingly good inspiration over on Tim’s blog and YouTube channel.

Today, I’m excited to share a fall-themed cardmaking tutorial using the some of the new dies and embossing folders from the release—plus some tried-and-true Distress Spray techniques that you can use with ANY seasonal supplies in your stash.

Handmade fall-themed card featuring layered die cut leaves in rich autumn colors, created with Tim Holtz Sizzix Leaf Fragments dies and Distress Spray Stains. The background has subtle texture from the Foliage 3D embossing folder with hints of shimmer. The card is finished with a dimensional sentiment that reads "from the heart" and coiled thread embellishments. Surrounding the card are Distress Spray bottles and crafting supplies.

Watch the Video

In this tutorial, I walk you through how to create rich, autumn-inspired panels using Distress Spray Stains, Distress Oxide Sprays and Distress Spritz. These inky panels are perfect for die cutting beautiful fall leaves—and I used them with the new Leaf Fragments Die Set from Tim Holtz and Sizzix.

You’ll also see how I created a soft, shimmery background using the Foliage 3D Texture Fades Embossing Folder. It adds the perfect touch of subtle texture and sparkle to let those die cut leaves shine.

You can either watch the video below or head over to my YouTube Channel HERE to check it out.


Please feel free to use products from your stash to recreate something similar. However, if you are interested in any of the products I’m using, you can find the supply list with links down below. Using these links does not cost you anything extra and it helps support my business. It also allows me to continue offering free content and keep my class costs low. I appreciate your support!


Don’t Have the New Dies?

No problem at all. These techniques can be used with any leaf dies or fall-themed shapes you already have. The focus here is really on the process—how you build color, layer textures, and let your supplies do the heavy lifting.


Want More Ideas?

If you love techniques like these, be sure to check out my previous videos featuring other ways to use sprays, dies, and embossing folders for all seasons. And stay tuned—I’ll have more Halloween and holiday inspiration coming your way soon!


Supplies

Below you can find the supplies I used to create this card. When you shop through those links and whether you purchase that exact item or something else entirely, you’re supporting me at no extra cost to you. The commission I receive helps me cover the costs of my blog and other expenses, and allows me to continue to provide you with FREE inspiration and tutorials. If you want to learn more about what an affiliate link is, you can see my full affiliate and product disclosure statement here. Thank you so much for your love and support!

Something Wicked Good | Tim Holtz Sizzix Halloween 2025

Something wicked good is coming this way… The Tim Holtz Sizzix Halloween 2025 release is here!

Tim has gone back to the vault and re-released some of his classic Halloween and Fall die sets. These are not reimagined or resized—they’re the exact same designs and dimensions as the original releases. So if you already own them, you’re all set! But if you missed out the first time around, this is your chance to grab them and complete your collection. As a collector myself, I was beyond excited to add several of these spooky favorites to my stash.

Handmade Halloween card featuring a dark, moody ink-blended night sky with a glowing full moon, gold stars, and white embossed spider webs. Silhouette die cuts of trick-or-treaters and bats are layered over the background, with a dimensional sentiment reading 'Trick or Treat' in black and white.

Trick Or Treat Halloween Card Details


One of the standout sets is the adorable Trick or Treat die set. I don’t know about you, but I have a soft spot for simple silhouette dies. They’re perfect for layering over fun mixed media backgrounds—and these sweet little trick-or-treaters are no exception. I was especially inspired to create a dark and moody Halloween night sky, thanks to the incredibly talented Emma Williams.

To bring that eerie night scene to life, I started with a piece of Distress Watercolor Cardstock (smooth side up, as always) and used the Moon Layering Stencil. I applied a touch of Pumice Stone Distress Ink around the edge of the moon mask, spritzed it with water to let the ink bleed, and dried it with my heat tool. With the moon mask back in place, I blended Chipped Sapphire and Black Soot Distress Ink around it to build the sky. A few water spritzes and a quick dry later, I was ready to move on.


Next, I added details inside the moon using the second layer of the stencil and Antique Linen Distress Ink. I finished off the moon with water splatters for added texture, dried again, and reinked the sky to deepen the color.


To create a magical starry night, I used the Hocus Pocus stencil with Gold Lunar Paste—the perfect way to add shimmer and dimension. I also stamped the spider web images from the Unraveled stamp set in the upper corners with embossing ink, then heat embossed them with white embossing powder for an extra spooky touch.

The Trick or Treaters and bats were die cut from black cardstock and adhered with black foam adhesive to give them a bit of dimension. For the sentiment, I layered two die cuts—one in white cardstock and the other in black textured cardstock, which I spritzed with Fossilized Amber Distress Spritz to give it a subtle shimmer. I offset the two slightly and popped them up with foam adhesive for extra impact


This card was an absolute joy to create. There’s something so satisfying about bringing a scene to life with simple dies and layered textures. I hope it inspires you to play with this wickedly wonderful release!

Let me know in the comments—will you be snagging any of these re-released sets? And what’s your go-to Halloween crafting vibe: spooky, sweet, or somewhere in between?

Happy haunting and happy creating!

Supplies

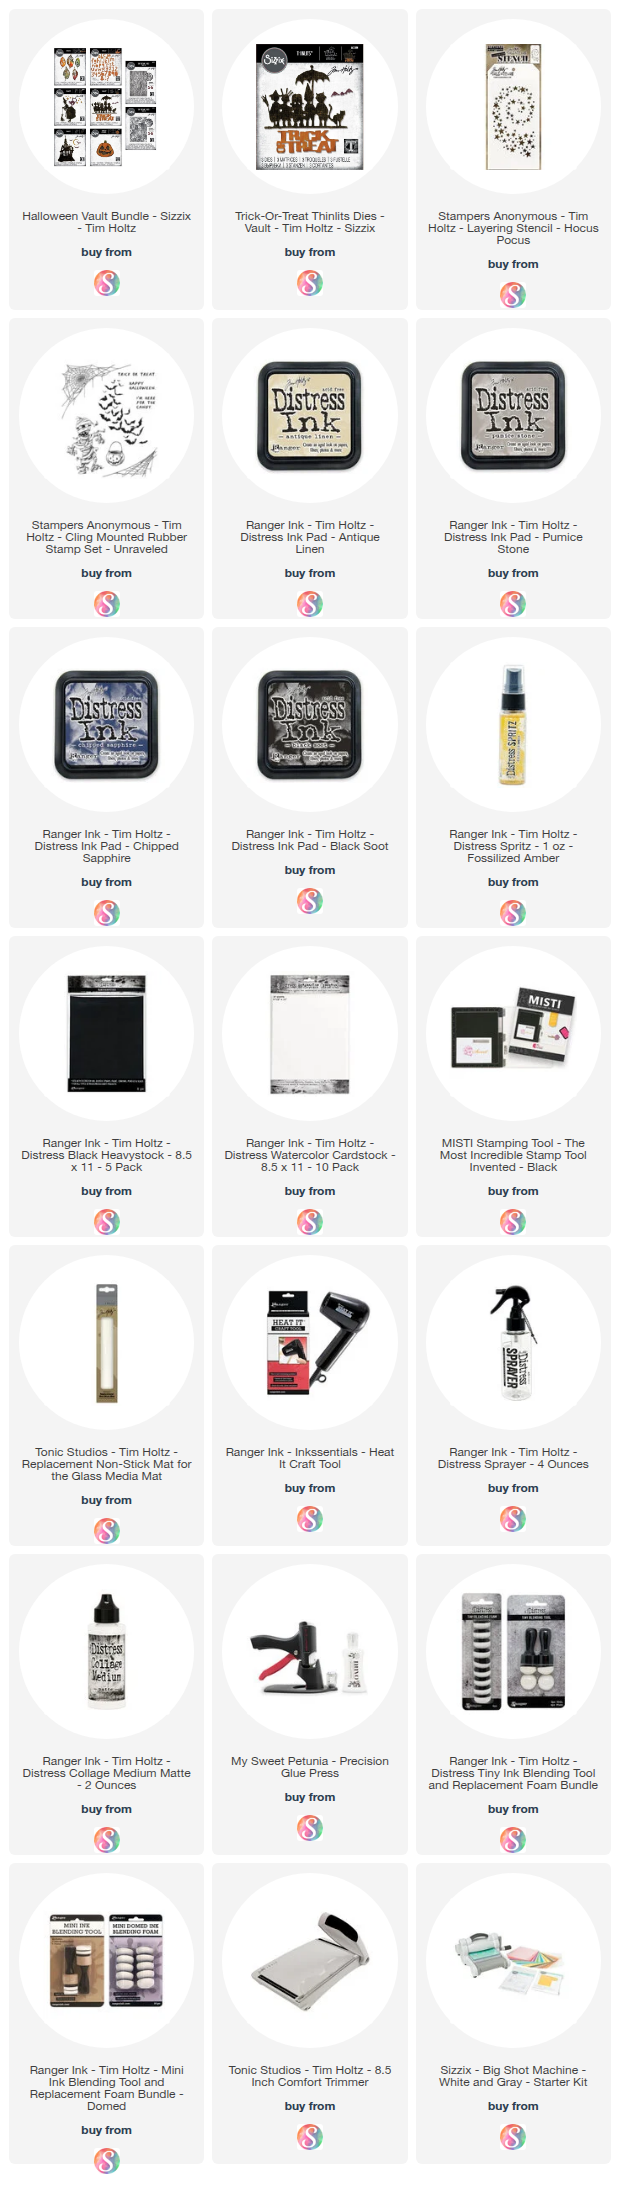
Below you can find the supplies I used to create this card. When you shop through those links and whether you purchase that exact item or something else entirely, you’re supporting me at no extra cost to you. The commission I receive helps me cover the costs of my blog and other expenses, and allows me to continue to provide you with FREE inspiration and tutorials. If you want to learn more about what an affiliate link is, you can see my full affiliate and product disclosure statement here. Thank you so much for your love and support!

Tim Holtz A5 Embossing Folders – HUGE Folder, HUGE Possibilities!

Have you seen the new Tim Holtz A5 Embossing Folders? They’re larger than your standard embossing folders—which might leave you wondering: Can I actually use these to make cards?

The answer is a resounding YES! In fact, in my latest video, I’m sharing how you can get multiple cards from just one embossed panel. That’s right—more value, more texture, and more creative options from a single tool. But don’t worry—the techniques I’m sharing will work with ANY embossing folders you already have, no matter the size. So there’s no need to run out and buy the new ones.

Distress Spray Resist with Tim Holtz A5 Embossing Folders by Juliana Michaels Tim Holtz Entangled A5 Embossing Folder

WHY A5 EMBOSSING FOLDERS?

These folders are designed to emboss larger surfaces, which makes them perfect for bigger projects. But that doesn’t mean they’re only for home decor or journal pages. With just a few cuts and a little creative thinking, you can easily turn one embossed panel into two cards. It’s a great way to get more from your supplies!

Thinking Of you Card by Juliana Michaels Tim Holtz Entangled A5 Embossing Folder

A FUN TECHNIQUE TO TRY

In the video, I go beyond dry embossing and add a little mixed media flair with a gorgeous technique using heat embossing and Distress Sprays. This combo brings out all the beautiful details of the embossing and makes your background truly stand out.

You can go two ways with this:
  • Keep it simple and elegant with a monochromatic color scheme
  • Go bold and artsy with layered, vibrant color blends
Either way, you’ll get a unique, one-of-a-kind background every time.

Happy Birthday Card by Juliana Michaels Tim Holtz Entangled A5 Embossing Folder

WATCH THE VIDEO

Want to see the technique in action and check out the finished cards? Click below to watch:


In the video, I also share a look at a monochromatic version of the card so you can see how different the technique feels with just one ink color—it’s simple, subtle, and so pretty.

Congratulations Card by Juliana Michaels Tim Holtz Entangled A5 Embossing Folder

Whether you’re new to A5 folders or just looking for a new way to use them, I hope this inspires you to dig into your stash and give it a try!

Have you tried these larger folders yet? Do you prefer bold color combos or soft, tone-on-tone looks? Let me know in the comments!

Until next time—stay crafty my friend!

SUPPLIES USED

Below you can find the supplies I used to create this card and the swatches. When you shop through those links and whether you purchase that exact item or something else entirely, you’re supporting me at no extra cost to you. The commission I receive helps me cover the costs of my blog and other expenses, and allows me to continue to provide you with FREE inspiration and tutorials. If you want to learn more about what an affiliate link is, you can see my full affiliate and product disclosure statement here. Thank you so much for your love and support!

Tim Holtz A5 Embossing Folder Project | DIY Decorative Panel for Home Decor

Looking for creative ways to use the new Tim Holtz A5 3D Embossing Folders? In my latest project and video, I’m sharing a beautiful DIY decorative panel that doubles as a unique home decor piece—perfect for adding a bit of crafty flair to your space!

These popular embossing folder designs are back from the vault, now in a larger A5 size, giving makers even more possibilities for texture, layering, and mixed media techniques. Whether you’re a card maker, scrapbooker, or love home decor crafts, you’ll find inspiration in this easy-to-follow project.

Tim Holtz A5 Typewriter Embossing Folder DIY Decorative Panel for Home Decor by Juliana Michaels

This project uses the A5 Typewriter Embossing Folder to create the background behind the retro typewriter and beautiful blooms.

You can either watch the video below or head over to my YouTube Channel HERE to check it out.


Please feel free to use products from your stash to recreate something similar. However, if you are interested in any of the products I’m using, you can find the supply list with links down below. Using these links does not cost you anything extra and it helps support my business. It also allows me to continue offering free content and keep my class costs low. I appreciate your support!


SUPPLIES
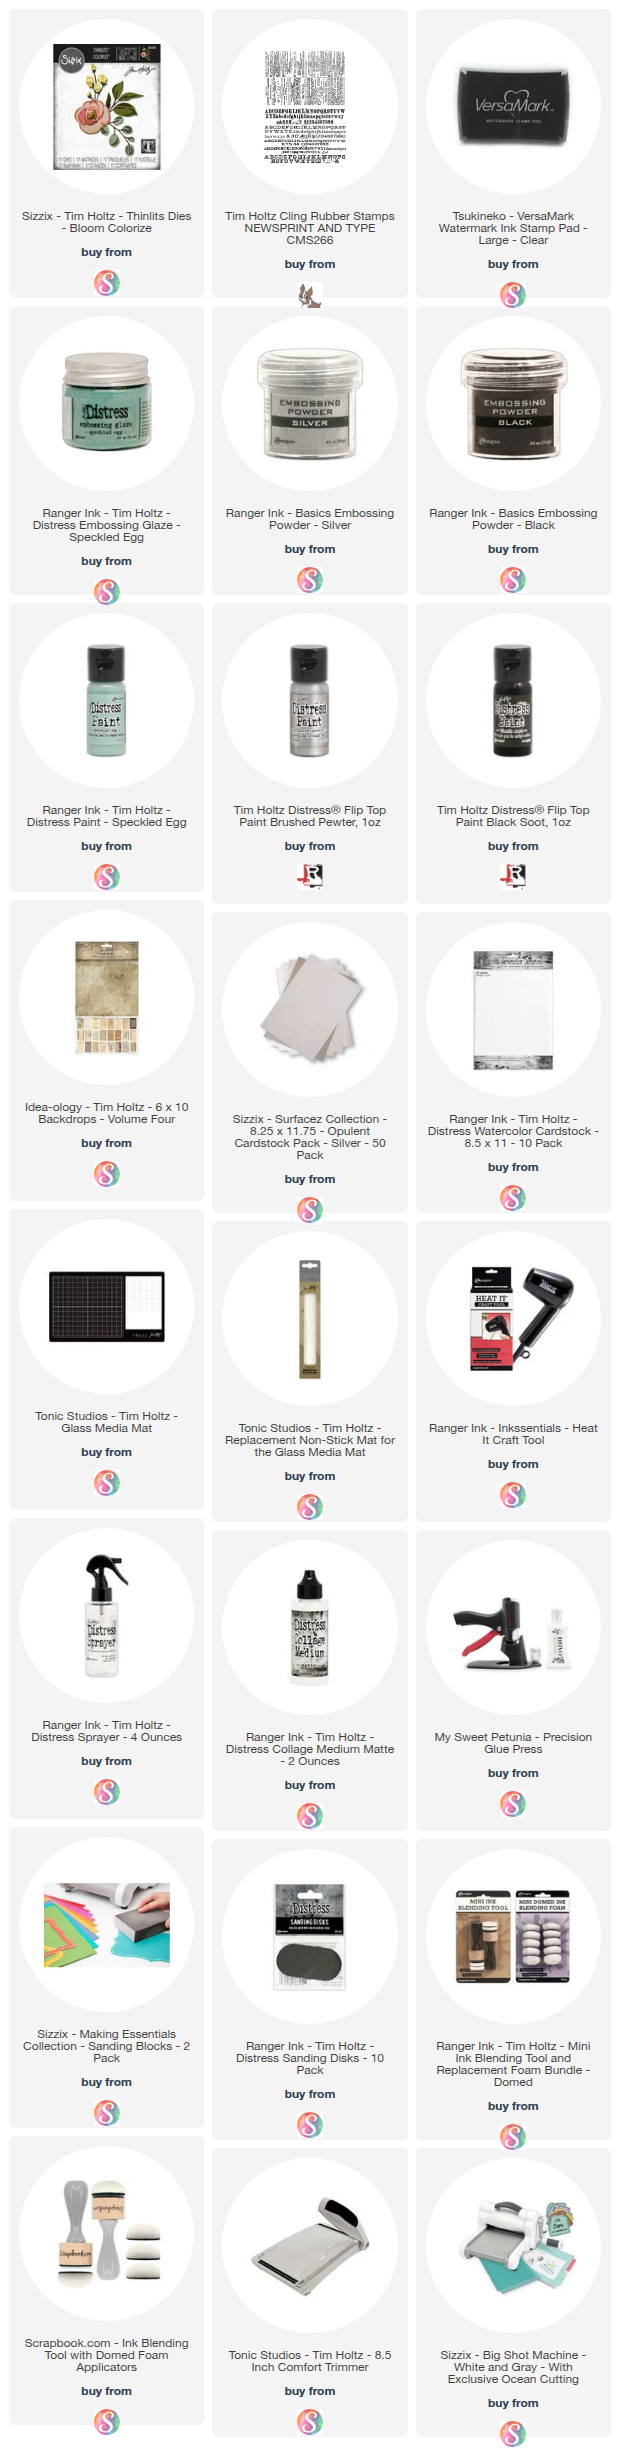
Below you can find the supplies I used to create this card and the swatches. When you shop through those links and whether you purchase that exact item or something else entirely, you’re supporting me at no extra cost to you. The commission I receive helps me cover the costs of my blog and other expenses, and allows me to continue to provide you with FREE inspiration and tutorials. If you want to learn more about what an affiliate link is, you can see my full affiliate and product disclosure statement here. Thank you so much for your love and support!
Industrial Vibes | Tim Holtz Sizzix March 2025

Tim Holtz has once again gone back to the vault with his latest Sizzix release. In my latest video I’m sharing another card I made using some of the new Tim Holtz Sizzix dies and embossing folders. I’m using a combination of Distress products including Distress Inks, Distress Oxides AND Distress Paints to create an industrial vibe on both the background and the die cuts.

Happy Birthday Card by Juliana Michaels featuring TIm Holtz Vault Gears Embossing Folder and Vault Industrial Thinlits Die Set

You can either watch the video below or head over to my YouTube Channel HERE to check it out.


Please feel free to use products from your stash to recreate something similar. However, if you are interested in any of the products I’m using, you can find the supply list with links down below. Using these links does not cost you anything extra and it helps support my business.

HAPPY BIRTHDAY CARD

Here is close up look at the card I created in this video using some of the new Tim Holtz Sizzix embossing folders and die sets. The finished card size is 4 ¼ x 5 ½ inches.


SUPPLIES

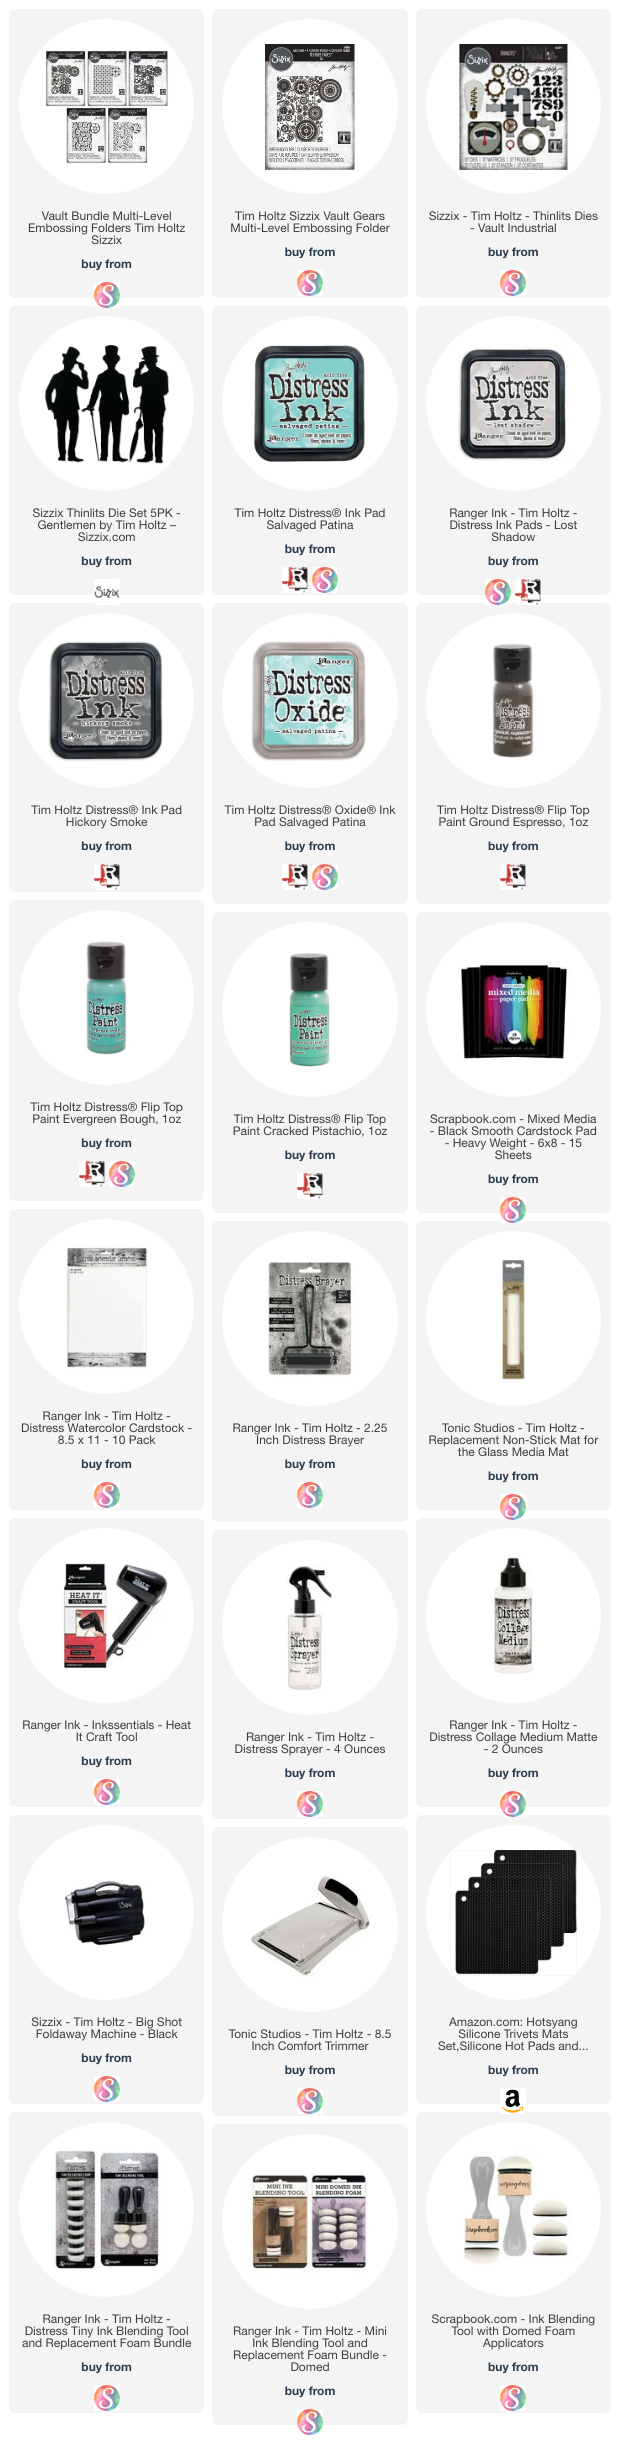
Below you can find the supplies I used to create this card. When you shop through the links below, I receive a small commission from Scrapbook.com. These links are at no cost to you and the commission I receive helps me cover the costs of my blog and other expenses, and allows me to continue to provide you with FREE inspiration and tutorials. If you want to learn more about what an affiliate link is, you can see my full affiliate and product disclosure statement here. Thank you so much for your love and support!

Subscribe