Showing posts with label Stampers Anonymous Christmas 2021. Show all posts

Jolly Santa & Distress Christmas Mica Stains

Holiday Greetings my friends! Today I'm back to share a bit more holiday inspiration with this Jolly Santa Christmas Card I created for the Tim Holtz Stampers Anonymous Christmas 2021 YouTube Live. This Jolly Santa definitely stole my heart and ended up featuring him on some Jolly Santa Slimine Christmas Cards. For even more inspiration from this release, make sure you check out Tim Holtz Stampers Anonymous Christmas 2021 YouTube Live and his blog post where the other makers have linked to their projects.

The card I'm sharing today has a more textured and distressed feel with the help of some stamps, Mica Stains, a stencil and Grit Paste. Keep reading to see how I've combined these products to create this yummy textured background.

Jolly Santa Christmas Card by Juliana Michaels featuring Tim Holtz Stampers Anonymous Jolly Santa Stamp Set and Ranger Ink Christmas Mica Stains

I began with a piece of Distress Watercolor cut to 4 x 5.25 inches and stamped several of the images from the Jolly Santa Stamp Set using Black Soot Archival Ink. I then placed the Festive Layering Stencil on top and applied Translucent Grit Paste through the stencil using a palette knife. I gently removed the stencil and washed it.


Once the Grit Paste was dry, I sprayed the paper with a combination of Peeled Paint Distress Spray Stain, Iced Spruce Distress Spray Stain and Frosted Juniper Distress Mica Stain. The Mica Stain adds a touch of shimmery goodness that is difficult to capture in photos, but I promise you it is absolutely gorgeous in real life!


To create the Santa, I stamped the Santa image onto Distress Watercolor using Black Soot Archival Ink and then cut it out using scissors. To color in the image I used Distress Ink and applied it using a waterbrush. I apply just a bit of ink to my craft mat by tapping the ink pad directly to the mat and then I used the waterbrush to pick up the ink for coloring. I then inked the edges with Vintage Photo Distress Ink.
 
I used the following Distress Ink colors:
Hat/Berries - Festive Berries, Aged Mahogany
Face - Antique Linen, Spun Sugar
Beard - Hickory Smoke
 Holly Leaves - Peeled Paint
 

You might notice a bit more dimension on my Jolly Santa from this angle. I actually stamped him twice and cut out the mustache and holly and adhered them with double sided foam adhesive for a another touch of dimension. Once the Santa was completed, I adhered the entire piece to the card front using double sided foam adhesive.

To complete the card, I layered everything onto a 4.25 x 5.5 inches piece of Distress Heavystock and inked the edged with Vintage Photo Distress Ink.


Finished card size: 4.25 x 5.5 inches

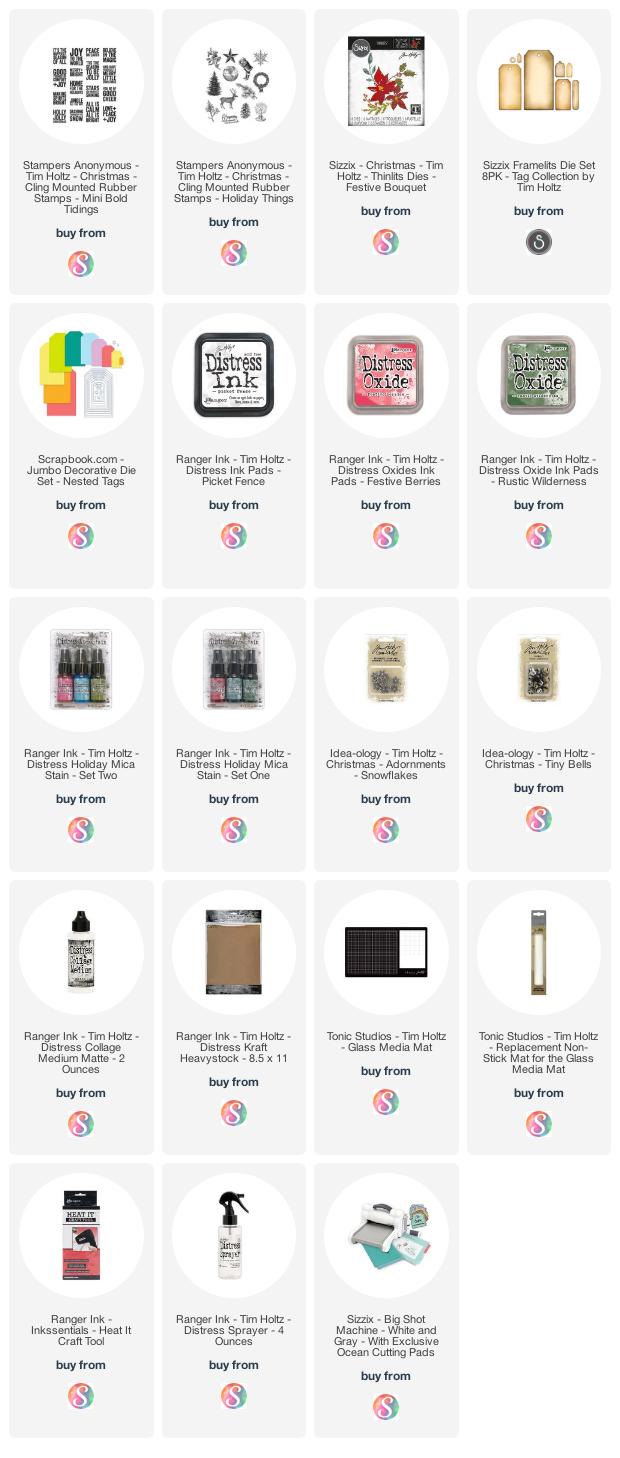
Supplies

You can find the products I used to create this card along with compensated affiliate links to Scrapbook.com. These links are at absolutely no extra cost to you. If you want to learn more about what an affiliate link is, you can see my full affiliate and product disclosure statement here.
Holiday Things & Mini Bold Tidings Gift Tags | Tim Holtz Stampers Anonymous Christmas 2021

Christmas will be here before you know it, so now's the time to start working on your Christmas gift tags! I created these for the Tim Holtz Stampers Anonymous Christmas 2021 YouTube Live Release and today I want to share all the details about them with you. These are perfect for an assembly line set up and you could easily do a bit each day to get your tags made and ready to go! I've even broken down the steps to give you an idea on how to do them this way.

Holiday Things & Mini Bold Tidings Gift Tags

Holiday Things & Mini Bold Tidings Gift Tags by Juliana Michaels featuring Tim Holtz Stampers Anonymous Christmas 2021

To get started, I began by die cutting the tags from kraft cardstock using a tag die. You could also cut these using a paper trimmer. These tags are 2x4 inches.


Next, I stamped took the greenery images from the Holiday Things Stamp Set and stamped them around the edges of the tags using Picket Fence Distress Ink.


I then added the sentiment from the Mini Bold Tidings Stamp Set, which I stamped in either Festive Berries or Rustic Wilderness Distress Oxide Ink.


Before continuing with any other embellishments, I used my sewing machine to add some stitching around the edges.


For the die cuts, I began by creating some background using Distress Sprays and Distress Mica Stains. I made one using Peeled Paint and Crushed Olive Distress Spray and Holly Branch Distress Mica Stain. For the other I used Mowed Lawn and Rustic Wilderness Distress Sprays and Tree Lot Distress Mica Stain.
I then die cut the holly leaves and one of the pieces of greenery from the Festive Bouquet Thinlits and trimmed them to create a little cluster to place at the top of each tag.


The ribbon is a piece of seam binding that I dyed using Festive Berries Distress Spray and a tiny bit of Aged Mahogany Distress Spray.

I then finished off each tag with a metal charm from my stash of Tim Holtz Christmas Idea-ology. Every year Tim releases some fabulous new goodies, so feel free to either use your stash or grab some of the new options such as the Tiny Bells or Snowflake Adornments.


Assembly Line Production

Here is an example of how you could break down each of the steps to create your tags over multiple days or slots of time that you have available.

1. Create backgrounds with sprays/inks - you could also just use colored cardstock and splatter with gold ink for a touch of shimmer
2. Custom dye and dry seam binding ribbon then create bows - you could also just use red ribbon
3. Die cut the tags and greenery
4. Stamp the backgrounds and sentiments
5. Add the machine stitching
6. Adhere the ribbon and charms

Holiday Things & Mini Bold Tidings Gift Tags by Juliana Michaels featuring Tim Holtz Stampers Anonymous Christmas 2021

Whether you sit down and do it all at once or spread it out over several days, I hope you found some inspiration for creating your Christmas gift tags this year! Thanks so much for stopping by today!

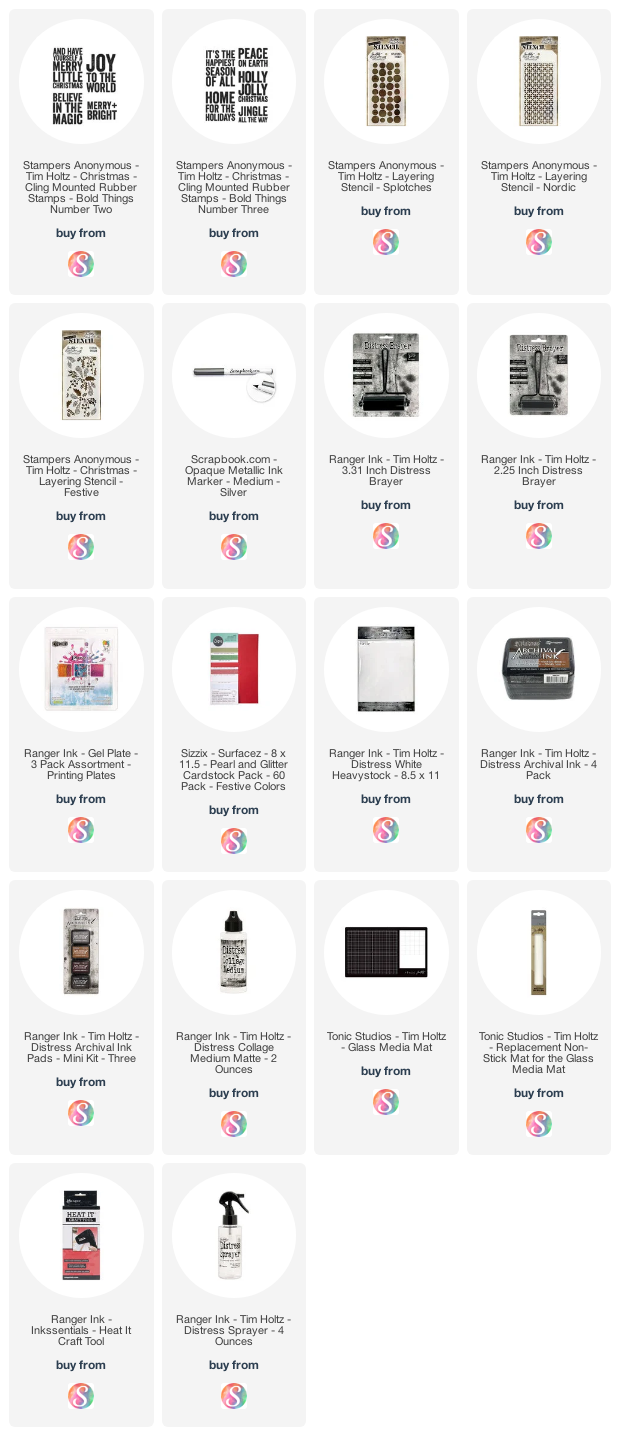
Supplies

You can find the products I used to create this project along with compensated affiliate links to  Scrapbook.com. These links are at absolutely no extra cost to you. If you want to learn more about what an affiliate link is, you can see my full affiliate and product disclosure statement here.

Jolly Santa Slimline Christmas Cards | Tim Holtz Stampers Anonymous Christmas 2021

Hello friends! I hope you're ready to get your jolly on! With the new Tim Holtz Stampers Anonymous Christmas I know I am! Today I'm sharing the slimline cards I created using the Jolly Santa Stamp Set. I'll walk you through how I created the backgrounds and all the other little details that I put in to each card.

Did you have a chance to enjoy Tim Holtz Stampers Anonymous Christmas YouTube Live? In case you missed it, you can always catch the replay over on Tim's YouTube or Blog.

Jolly Santa Slimline Christmas Cards by Juliana Michaels featuring Tim Holtz Stampers Anonymous Jolly Santa and Bold Tidings Stamp Set

To create the backgrounds for these cards I used my latest favorite technique...Gel Printing with Distress Oxide Ink and Stencils. I've used this technique on quite a few of my cards recently including some I created for the Stampers Anonymous Halloween YouTube Live featuring the Wicked Hipsters, Bold Frights and Snarky Cats. You can also check out a video I created sharing How To Create Backgrounds with Gel Plates, Distress Oxide Inks & Stencils.

Merry Bright Jolly Santa Slimline Christmas Card by Juliana Michaels featuring Tim Holtz Stampers Anonymous Jolly Santa and Bold Tidings Stamp Set

The stencils I used for these cards include Splotches, Festive and Nordic. I used Iced Spruce, Rustic Wilderness and Festive Berries Distress Oxide Inks. I used Distress Heavystock paper to create these backgrounds, but I also love to use HP Premium Choice 32 lb. Laserjet Paper now called HP Premium 32, because it is a thinner paper that can be pushed into the stencil and grab a little more ink. It's also super smooth which makes the ink take well. The only thing you have to keep in mind is it won't hold up to any kind of ink splattering, misting or spraying. I knew I wanted to add some ink splatters to these cards, so that is why I used Distress Heavystock.


My first ink layer was done with the Splotches stencil and Iced Spruce. I used the first lift on the background that was used on the Merry Bright card and the second lift on the Jingle card. Again for the full explanation of what this means you can check out my  How To Create Backgrounds with Gel Plates, Distress Oxide Inks & Stencils post.

For the second ink layer I used the Festive stencil with Rustic Wilderness and this time I used the first lift on the Jingle card and the second lift on the Merry Bright card.

The final ink layer was done with the Nordic stencil and Festive Berries. I used the first lift on both cards because I wanted that detail of the stencil design and the pop of color it added.

With this technique I've found it best to start with a bold and open design for the first stencil and to have the final layer be a smaller design so that each layer shows as you create them.


In this image, the background shown at the top of the photo was used on the Merry Bright card and the bottom one was used on the Jingle card.


Once the backgrounds were completed, I trimmed them down to 3.5 x 7 inches. I then added some stamping with Hickory Smoke Archival Ink and used some of the stamps from the Jolly Santa stamp set. The stamping doesn't show up super great in the photos, but it adds a wonderful depth to the card design when you see it in real life.


As for the Jolly Santa, he is colored with Copic Markers. This medium isn't my strong suit, but it is one I enjoy and I was inspired to pull them out after seeing some of the amazing coloring done by Alberto Gava for the Stampers Halloween release.
I used Memento Tuxedo Black Ink to stamp the image onto Neenah Classic Crest cardstock and then colored it using Copic Markers. I then fussy cut the image before adding it to my card front with double sided foam adhesive.


For the sentiment, I used the Bold Tidings Two. I stamped it directly onto the card front using Black Soot Archival Ink and added the little dots using the Scrapbook.com Opaque Metallic Silver Marker.

Jingle All The Way Jolly Santa Slimline Christmas Card by Juliana Michaels featuring Tim Holtz Stampers Anonymous Jolly Santa and Bold Tidings Stamp Set

I used the same techniques on this card as I did for the Merry Bright card.


However, on this card I used the Bold Tidings Three stamp set for the sentiment. Each of these cards is 3.75 x 7.25 inches when finished. The gel print background is layered onto a piece of pearl cardstock in either red or green from the Sizzix Festive Colors Pearl and Glitter Cardstock Pack.


On the background of each card, I added a bit of ink splattering using the Frosted Juniper Mica Stain. You can see a hint of it in the upper left hand corner of image above. This Mica Stain is part of the Ranger Ink Distress Christmas Collection, which is a limited seasonal release, so once they're gone, they are gone for good! I don't consider myself much of a spray person, but the level of shimmer and shine that these add, along with the other unique properties they possess, have sold me on these sprays as a must have for all year round crafting!


I want to thank you for stopping by to check out my Jolly Santa Slimline Christmas Cards blog post. I hope you enjoyed learning about how these cards came together. So now, which stamp sets are your must haves from this release?

Finished card size: 3.75 x 7.25 inches

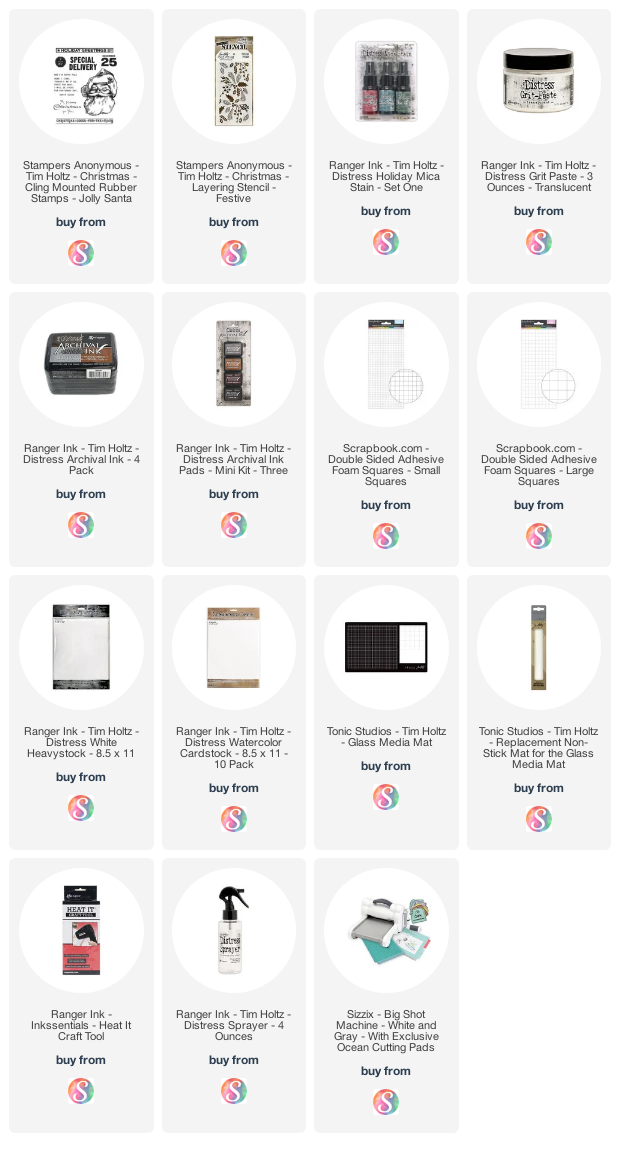
Supplies

You can find the products I used to create these projects along with compensated affiliate links to  Scrapbook.com. These links are at absolutely no extra cost to you. If you want to learn more about what an affiliate link is, you can see my full affiliate and product disclosure statement here.

Subscribe