Showing posts with label Stampers Anonymous 2025. Show all posts

Mixed Media Christmas Card Background Tutorial—Shop Your Stash!

I'm so excited to share this mixed media Christmas card project with you today! While I'm using stamps and stencils from the Stampers Anonymous Christmas Curations, I really want you to think about what you already have in your own collection. These layered background techniques are incredibly versatile and will work beautifully with any of your favorite stamps and stencils. We'll build a gorgeous festive background together using Distress Spray Stains, Distress Spritz, and Texture Paste, and I'll also share how I finished the card plus give you a couple of alternative ideas to make it your own.

Mixed media Christmas card featuring Santa Claus die-cut on layered background with turquoise and gold Distress Spray Stains, texture paste through stencils, and Season's Greetings sentiment, surrounded by Tim Holtz products including Distress Spray Stain and stamps

Creating the Background

The magic of this project is in the layering! I started by stamping my images onto the background using waterproof ink—this is key because it allows the stamped images to stay crisp through all the wet media we'll be adding on top.

Next, I applied Distress Texture Paste through a stencil to add dimensional interest. Once that dried completely, I layered on Distress Spray Stains and Distress Spritz to build up rich, blended color. The combination of these products creates such beautiful depth and movement in the background.

To finish things off, I added some distress ink to the edges and white ink splatters for that perfect final touch—but you'll want to see exactly how I did all of this in the video!

Watch the Full Tutorial

Ready to see all the details, tips, and tricks? You can watch the complete tutorial in the video below, or head over to my YouTube channel [LINK] to check it out.

[VIDEO EMBED HERE]

I'd love to see your take on this project! Feel free to use whatever stamps, stencils, and colors you have in your stash to create your own version. Share your creations with me on social media or leave a comment below—I love seeing what you make!

Supplies

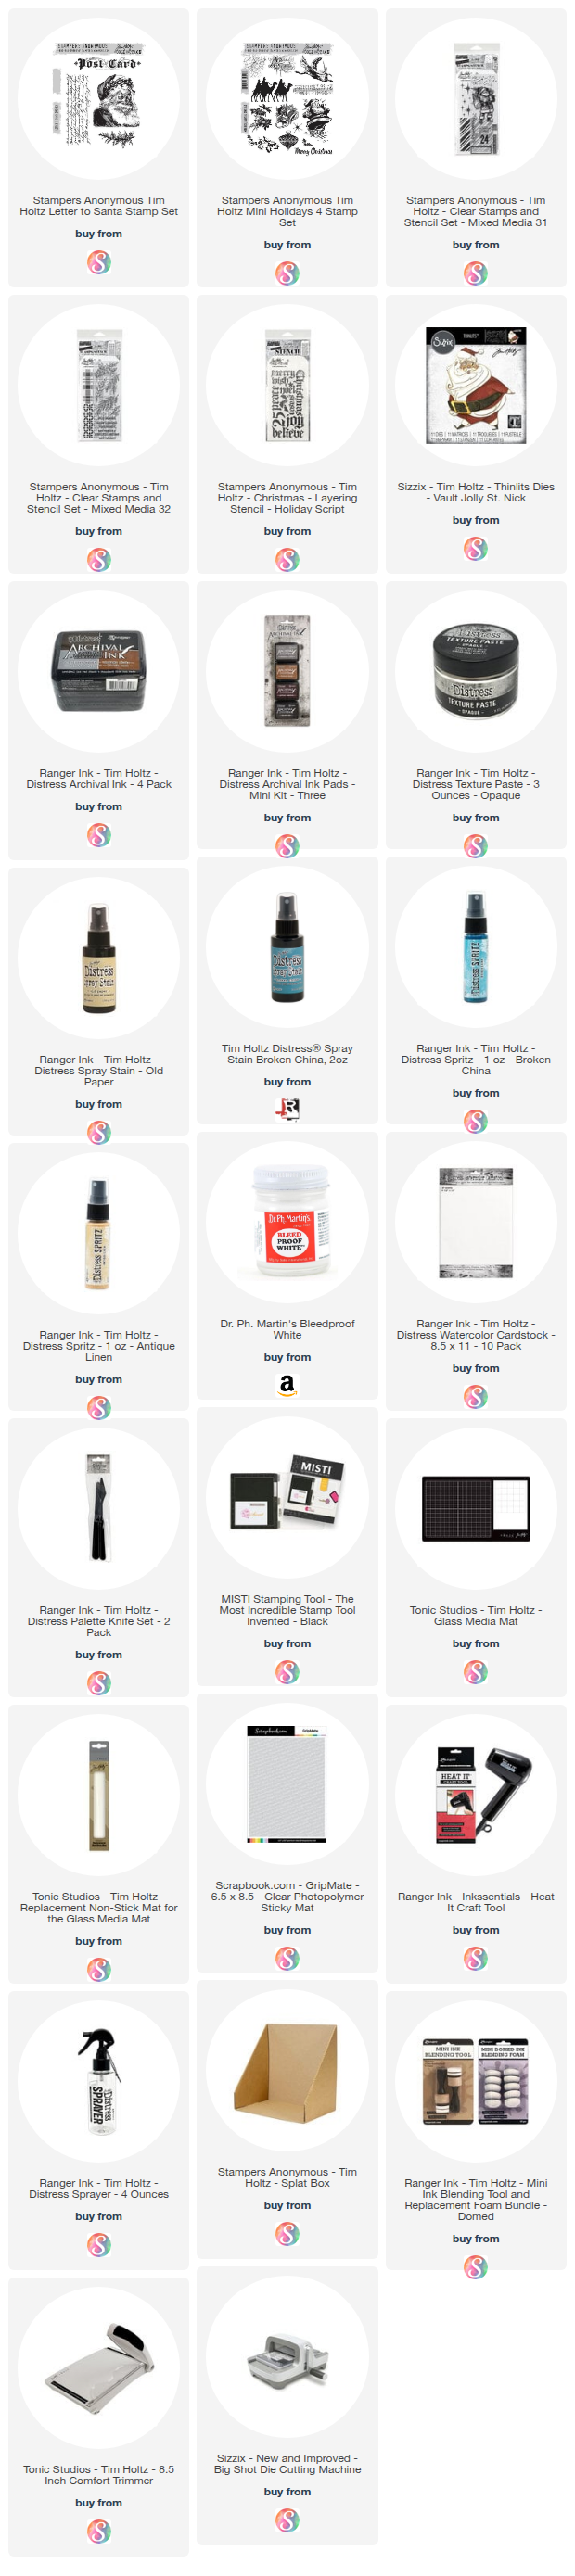
Below you'll find the supplies I used to create this card. When you shop through these links—whether you purchase that exact item or something else entirely—you're supporting me at no extra cost to you. The commission I receive helps me cover the costs of my blog and other expenses, and allows me to continue providing you with FREE inspiration and tutorials. If you want to learn more, you can see my full affiliate and product disclosure statement here. Thank you so much for your love and support!

Grungy Halloween Jack-O-Lantern Card | Tim Holtz Stampers Anonymous Fall Halloween Curation

The Fall Halloween Curation by Stampers Anonymous is filled with classic Tim Holtz Halloween designs that continue to inspire fresh ideas year after year. This curated collection brings back some new to me (and maybe new to you too) stamps and stencils that are perfect additions to my Halloween crafting collection.

Happy Halloween Grungy Mixed Media Card by Juliana Michaels featuring Tim Holtz Stampers Anonymous Fall Halloween Curation and Jack O Lantern Die

GRUNGY GOODNESS

To create this card, I built up a grungy textured background using layers of Distress Sprays, Crackle Paste and Heat Embossing that give the card a rich, dimensional effect. I added some stamping details that give it even more depth and dimension. And then to finish off the background I added a touch of Distress Crayons for a truly grungy Halloween effect. The Jack-o-Lantern die cut becomes the star of the design, layered over the background for a bold, spooky focal point.

This card is the third project in my series using the Fall Halloween Curation — each one highlights different techniques to inspire your Halloween crafting. However, if you aren't into Halloween you can still find some inspiration that can be used on your next mixed media project.

You can either watch the video below or head over to my YouTube Channel HERE to check it out.

VIDEO

Please feel free to use products from your stash to recreate something similar. However, if you are interested in any of the products I’m using, you can find the supply list with links down below. Using these links does not cost you anything extra and it helps support my business. It also allows me to continue offering free content and keep my class costs low. I appreciate your support!


Thanks so much for stopping by and I hope you enjoyed this bit of Halloween inspiration I've shared as part of my Fall Halloween Curation series. If you missed any of the previous videos you can check them out HERE.

SUPPLIES

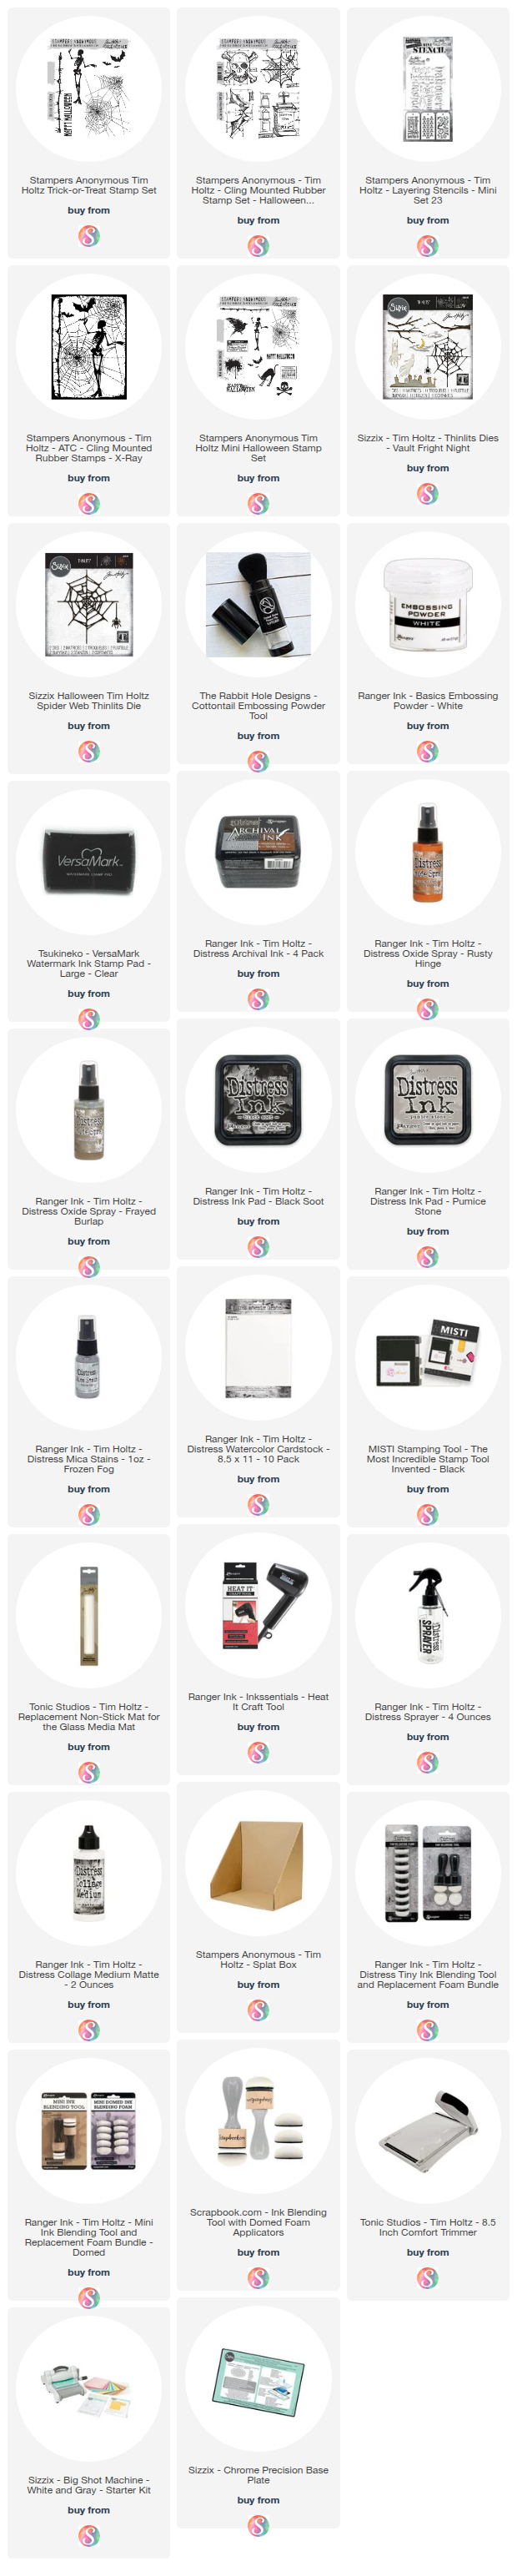
Below you can find the supplies I used to create this card. When you shop through those links and whether you purchase that exact item or something else entirely, you’re supporting me at no extra cost to you. The commission I receive helps me cover the costs of my blog and other expenses, and allows me to continue to provide you with FREE inspiration and tutorials. If you want to learn more about what an affiliate link is, you can see my full affiliate and product disclosure statement here. Thank you so much for your love and support!

Halloween Haunted House Card With A Twist on Ink Smooshing | Tim Holtz Stampers Anonymous Fall Halloween Curation

Halloween crafting is in full swing, and today I’m sharing a Haunted House Halloween card that’s full of moody layers, texture, and spooky vibes. I pulled out the Tim Holtz Fall & Halloween Curation Stamp Set along with some of his classic stencils to create an inky layered background that sets the perfect stage for this haunted house scene.

Halloween Haunted House Card by Juliana Michaels featuring Tim Holtz Stampers Anonymous Fall Halloween Curation

The best part about this project is that it’s all about building depth with layers. By combining stamping, stenciling, and inky blending, I was able to create a background that feels atmospheric and slightly eerie — just right for Halloween night.

If you’re looking to try out some mixed media techniques in your cardmaking, this project is a great place to start. I walk you through each step in my video tutorial, where I share tips on blending, layering, and keeping your background from getting muddy while still packing in the detail.

SUPPLIES & TECHNIQUES

Distress Inks for the inky background with a twist on ink smooshing
Ink blending with a stencil for added interest
Heat embossing with a stamp for another layer of fun
Stamping and more ink smooshing to add interest to the die cut focal image

You can either watch the full Haunted House Halloween Card Tutorial below or over on my YouTube channel.


Please feel free to use products from your stash to recreate something similar. However, if you are interested in any of the products I’m using, you can find the supply list with links down below. Using these links does not cost you anything extra and it helps support my business. It also allows me to continue offering free content and keep my class costs low. I appreciate your support!


Thanks so much for stopping by! Ready to create your own spooky masterpiece? I hope this card inspires you to get out your inks and start smooshing!

SUPPLIES

Below you can find the supplies I used to create this card. When you shop through those links and whether you purchase that exact item or something else entirely, you’re supporting me at no extra cost to you. The commission I receive helps me cover the costs of my blog and other expenses, and allows me to continue to provide you with FREE inspiration and tutorials. If you want to learn more about what an affiliate link is, you can see my full affiliate and product disclosure statement here. Thank you so much for your love and support!
    

Spooky Skull Mixed Media Halloween Card | Tim Holtz Stampers Anonymous Fall Halloween Curation

I’m sharing a spooky Halloween card I created with the Fall Halloween Curation by Stampers Anonymous. If you’re new to Curations, they’re thoughtfully themed seasonal collections that bring together classic Tim Holtz stamps and stencils. Many of these designs were released years ago, and Stampers Anonymous has curated them into collections to remind us of their incredible artwork and inspire new ideas with them.

Happy Halloween Spooky Skull Card by Juliana Michaels featuring Tim Holtz Halloween Blueprint and Stampers Anonymous Fall Halloween Curation

HALLOWEEN BLUEPRINT
For this card, I went bold with a skull blueprint stamp as my focal point and built up the background with lots of mixed media layers. I used:
  • Distress Oxide Sprays for the inky background
  • Collage stamping + heat embossing for extra depth and texture
  • Die cuts to add dimension and more texture
  • Distress Inks to add color to the stamped focal image
It all comes together for a grungy, spooky Halloween vibe—perfect for October cardmaking.

You can either watch the video below or head over to my YouTube Channel HERE to check it out.

VIDEO

Please feel free to use products from your stash to recreate something similar. However, if you are interested in any of the products I’m using, you can find the supply list with links down below. Using these links does not cost you anything extra and it helps support my business. It also allows me to continue offering free content and keep my class costs low. I appreciate your support!


This is just one of the projects I’ve created with the Fall Halloween Curation, and each one explores a different technique. Be sure to check back for more seasonal inspiration! You can check out all of my Fall Halloween Curation projects HERE.

SUPPLIES
Below you can find the supplies I used to create this card. When you shop through those links and whether you purchase that exact item or something else entirely, you’re supporting me at no extra cost to you. The commission I receive helps me cover the costs of my blog and other expenses, and allows me to continue to provide you with FREE inspiration and tutorials. If you want to learn more about what an affiliate link is, you can see my full affiliate and product disclosure statement here. Thank you so much for your love and support!

Start Somewhere: A Travel-Inspired Mixed Media Card with Tim Holtz Classics

If you’ve been wanting to dip your toes into mixed media but don’t know where to start—this project is for you! In my latest YouTube tutorial, I’m sharing a travel-inspired mixed media card featuring some classic Tim Holtz stamps and stencils from the Stampers Anonymous June Curation!

This curated collection isn’t about new releases—it’s about celebrating the timeless and always-in-style Tim Holtz stamp and stencil designs. While they may not be brand new, they’ve never been retired and are just as inspiring today as when they were first released. The theme for this Curation is summer and travel, which was the perfect excuse for me to pull out my inks and pastes to create a card full of layers and vintage adventure vibes.

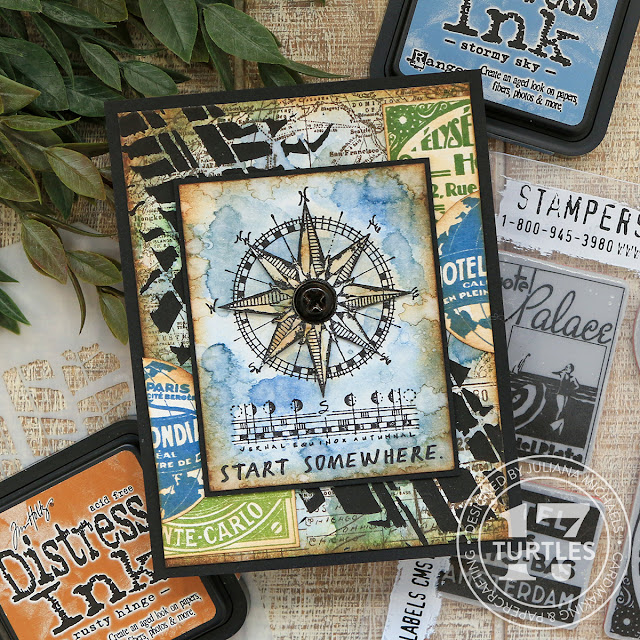
Start Somewhere Mixed Media Card by Juliana Michaels featuring Tim Holtz Stampers Anonymous June Curation 2025

I’ll walk you through simple but impactful mixed media techniques using Distress Ink, Texture Paste, stamps and stencils to build a bold background that’s full of vintage character and charm.

This project is totally beginner-friendly and a great way to get creative with the supplies you already have. And if you’re new to some of these classic designs like I was, it’s the perfect excuse to try them out for the first time!

WATCH THE VIDEO

You can either watch the video below or head over to my YouTube Channel HERE to check it out.


Please feel free to use products from your stash to recreate something similar. However, if you are interested in any of the products I’m using, you can find the supply list with links down below. Using these links does not cost you anything extra and it helps support my business. It also allows me to continue offering free content and keep my class costs low. I appreciate your support!


WANT MORE TIM HOLTZ INSPIRATION?

For more Tim Holtz Stampers Anonymous June Curation inspiration make sure to check out their YouTube Video or the Meet The Makers Page on their website.


Whether these products are already in your stash or brand new to you, they’re so much fun to create with—and because Tim Holtz products never retire, they’re always available when inspiration strikes. Let me know in the comments—have you used any of these classic stamps or stencils before? Or are they new to you too? I’d love to know!

SUPPLIES USED

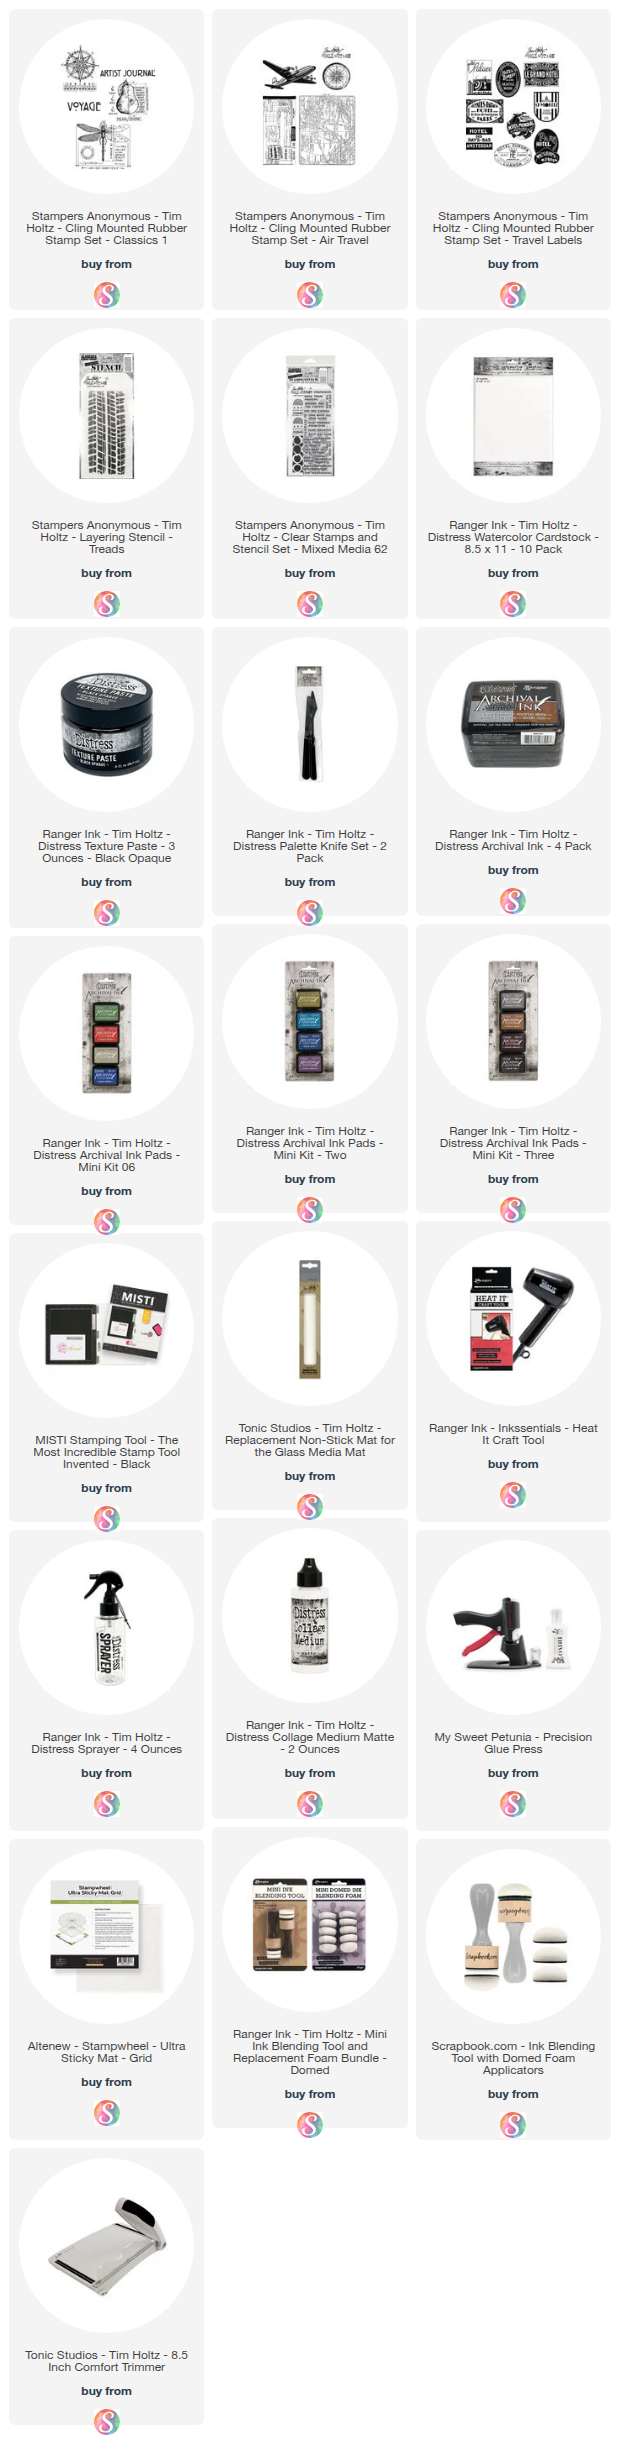
Below you can find the supplies I used to create this card. When you shop through those links and whether you purchase that exact item or something else entirely, you’re supporting me at no extra cost to you. The commission I receive helps me cover the costs of my blog and other expenses, and allows me to continue to provide you with FREE inspiration and tutorials. If you want to learn more about what an affiliate link is, you can see my full affiliate and product disclosure statement here. Thank you so much for your love and support!
My Go-To Background Technique—With a Twist You’ll Want to Try

Ever find yourself stuck on what colors to use? That was me recently—completely uninspired and unsure where to start. I mentioned it to a crafty friend, and she gave me the best advice: look at a piece of patterned paper for inspiration.

Hello My Friend Card by Juliana Michaels featuring Tim Holtz Stampers Anonymous June Curation and Distress Oxide Stamp and Smudge Technique

So I went to my stash of patterned papers, which I'll admit is quite small compared to some. As I looked through them, I came across the Tim Holtz Abandoned Paper Pack and as I flipped through the papers I found a piece that instantly sparked something in me. The colors, the mood—it was exactly what I needed!

That inspiration led me back to one of my favorite background techniques: Stamp & Smudge using Distress Oxide Inks. But this time, it felt brand new!


WHAT TO EXPECT

In the video, I share the following tips, tricks & techniques:
  • How I pulled the color palette from the patterned paper
  • The Stamp & Smudge technique in action
  • Tips for selecting your stamps and laying them for a balanced background
  • A look at the Tim Holtz Stampers Anonymous June Curation stamps
It’s amazing how one little nudge—thanks, friend!—can turn creative block into something beautiful. I hope this twist inspires you too.


WATCH THE VIDEO

You can either watch the video below or head over to my YouTube Channel HERE to check it out.


Please feel free to use products from your stash to recreate something similar. However, if you are interested in any of the products I’m using, you can find the supply list with links down below. Using these links does not cost you anything extra and it helps support my business. It also allows me to continue offering free content and keep my class costs low. I appreciate your support!


Have questions? I'd love to know if you've ever tried using patterned paper as inspiration for your color  combination? Are you inspired to try it now? Drop a comment below—I love hearing from you

SUPPLIES

Below you can find the supplies I used to create this card and the swatches. When you shop through those links and whether you purchase that exact item or something else entirely, you’re supporting me at no extra cost to you. The commission I receive helps me cover the costs of my blog and other expenses, and allows me to continue to provide you with FREE inspiration and tutorials. If you want to learn more about what an affiliate link is, you can see my full affiliate and product disclosure statement here. Thank you so much for your love and support!

Mixed Media Cardmaking with Tim Holtz + Lunar Paste: A Step-by-Step Tutorial

If you love layering color, texture, and a little shimmer, this mixed media card tutorial is right up your alley! I recently created a card using a combination of Tim Holtz Distress products—Spray Stains, Ink, and Paint—plus some of the June Curation stamps and stencils from Tim Holtz and Stampers Anonymous. For a touch of shine, I brought in Simon Hurley’s Lunar Paste, and it adds the perfect finishing detail.

Hello Friend Card by Juliana Michaels with mixed media techniques featuring Tim Holtz Distress Inks, Distress Spray Stains, Distress Paint, Simon Hurley Lunar Paste and Tim Holtz Stampers Anonymous stamps and stencils

This project is all about building depth, embracing imperfection, and letting the products do their magic. You'll see how I combine stenciling, stamping, and splatters to create a richly layered card that still feels cohesive.
 

FEATURED TECHNIQUES:

  • Using stamps to create a custom background design 
  • Adding color with Distress Spray Stains
  • Ink blending through a stencil with Distress Ink
  • Monoprinting with a stencil and Distress Spray Stains
  • Using Lunar Paste through a stencil 
  • Grungy paint effects with Distress Paint

Whether you're just dipping your toes into mixed media or you've been making beautifully messy cards for years, I hope this video inspires you to try something new!

WATCH THE VIDEO

You can either watch the video below or head over to my YouTube Channel HERE to check it out.


Please feel free to use products from your stash to recreate something similar. However, if you are interested in any of the products I’m using, you can find the supply list with links down below. Using these links does not cost you anything extra and it helps support my business. It also allows me to continue offering free content and keep my class costs low. I appreciate your support!

Hello Friend Card by Juliana Michaels with mixed media techniques featuring Tim Holtz Distress Inks, Distress Spray Stains, Distress Paint, Simon Hurley Lunar Paste and Tim Holtz Stampers Anonymous stamps and stencils

Let me know in the comments—what’s your favorite product for adding texture to your cards?

SUPPLIES

Below you can find the supplies I used to create this card and the swatches. When you shop through those links and whether you purchase that exact item or something else entirely, you’re supporting me at no extra cost to you. The commission I receive helps me cover the costs of my blog and other expenses, and allows me to continue to provide you with FREE inspiration and tutorials. If you want to learn more about what an affiliate link is, you can see my full affiliate and product disclosure statement here. Thank you so much for your love and support!


Explore the Difference Between Distress Inks and Distress Oxides

Come explore the differences between Distress Inks and Distress Oxides in my latest YouTube video. In the first part of the video I’m sharing how to use Distress Inks with a watercolor stamping technique and in the second part I’m sharing how to use Distress Oxides with a stamp and smudge technique. Different products, different techniques, but with the same colors they seem quite similar!

Explore the Difference Between Distress Inks and Distress Oxides by Juliana Michaels featuring Tim Holtz Stampers Anonymous

You can either watch the video below or head over to my YouTube Channel HERE to check it out.


Please feel free to use products from your stash to recreate something similar. However, if you are interested in any of the products I’m using, you can find the supply list with links down below. Using these links does not cost you anything extra and it helps support my business. It also allows me to continue offering free content and keep my class costs low. I appreciate your support!

NEVER LOSE YOUR SENSE OF WONDER

This card features Distress Inks used with a watercolor stamping technique. I'm also using some of the stamps and stencils from the Stampers Anonymous March 2025 Spring + Easter Curation. This includes French Marketplace, Urban Tapestry, Artful Flight, and Mixed Media Stamp and Stencil Set 44, 

Never Lose Your Sense Of Wonder Card by Juliana Michaels featuring Tim Holtz Stampers Anonymous

BRAND NEW BEGINNINGS CARD

This card features Distress Oxides with a stamp and smudge technique...always a favorite of mine! On this card I'm using French Marketplace, Fairytale Frenzy, and Layering Stencil Mini Set 10. 

Brand New Beginning Card by Juliana Michaels featuring Tim Holtz Stampers Anonymous

SUPPLIES

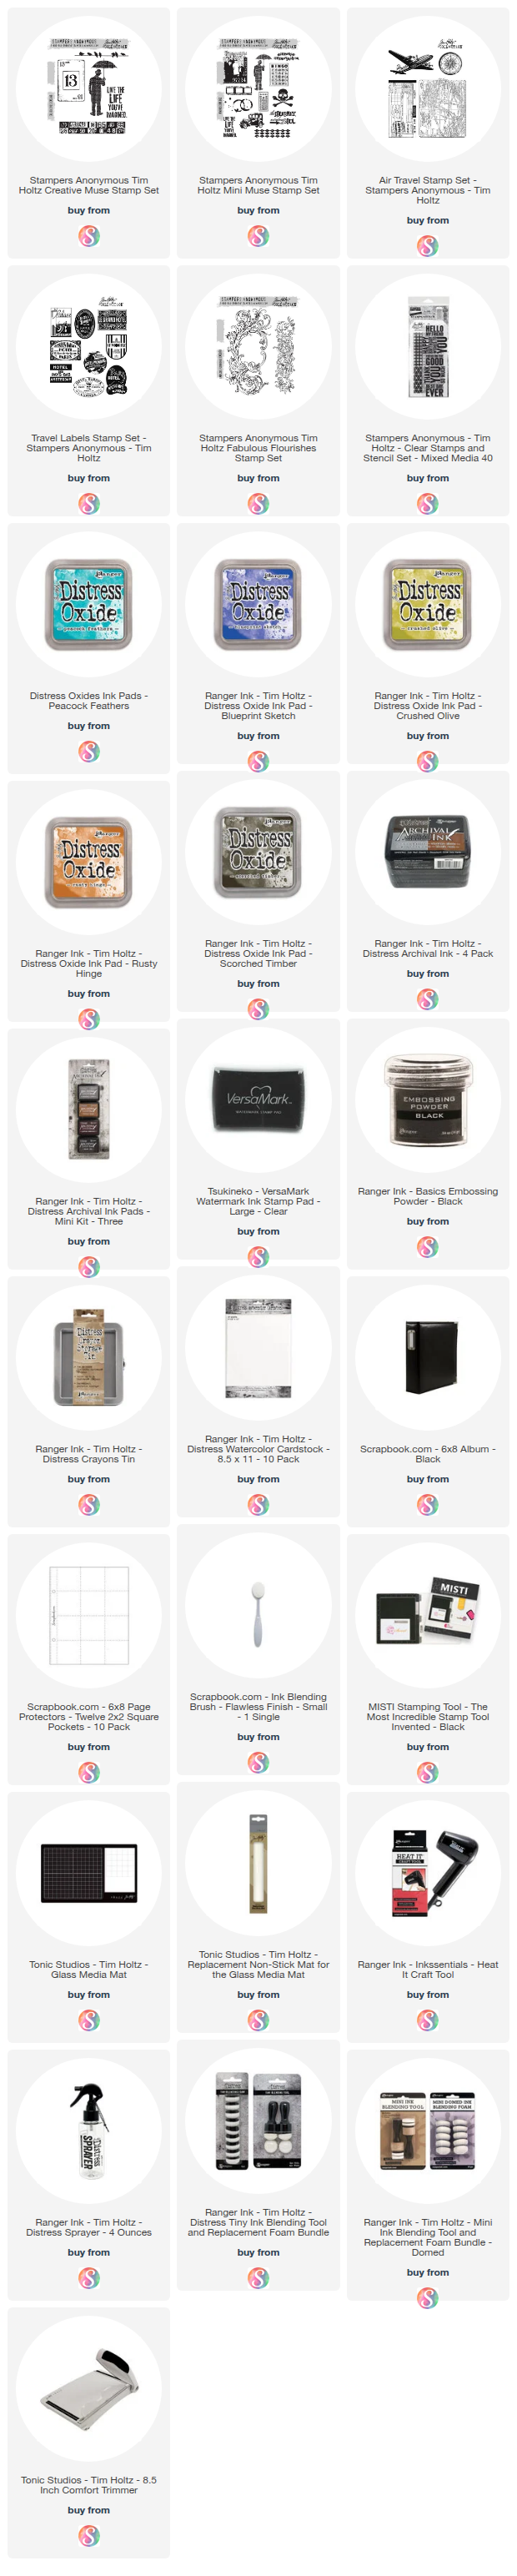
Below you can find the supplies I used to create this card and the swatches. When you shop through the links below, I receive a small commission from Scrapbook.com. These links are at no cost to you and the commission I receive helps me cover the costs of my blog and other expenses, and allows me to continue to provide you with FREE inspiration and tutorials. If you want to learn more about what an affiliate link is, you can see my full affiliate and product disclosure statement here. Thank you so much for your love and support!

6 Ways To Use Alcohol Inks | Tim Holtz Stampers Anonymous Spring Curated Collection

In this video I’m sharing 6 ways to use alcohol inks combined with alcohol pearls, alloy alcohol inks, texture paste, embossing powder and alcohol lift ink. Each technique is a way to take a simple alcohol ink background to the next level.

6 Ways to use Alcohol Inks by Juliana Michaels featuring Tim Holtz Stampers Anonymous

You can either watch the video below or head over to my YouTube Channel HERE to check it out.


Please feel free to use products from your stash to recreate something similar. However, if you are interested in any of the products I’m using, you can find the supply list with links down below. Using these links does not cost you anything extra and it helps support my business. It also allows me to continue offering free content and keep my class costs low. I appreciate your support!

6 WAYS TO USE ALCOHOL INKS

Here’s a look at each of the finished cards I created. To embellish most of the cards I added a simple die cut shape. I added a heat embossed sentiment to each card and finished all of them off by matting the background with a layer of gold cardstock and a layer of white cardstock.

TECHNIQUE NO. 1 - ALCOHOL INK, ALCOHOL LIFT INK + STENCIL

Alcohol ink, alcohol lift ink and stencil card by Juliana Michaels featuring Tim Holtz Stampers Anonymous Spring Curated Collection

TECHNIQUE NO. 2 - ALCOHOL INK, ALCOHOL PEARL, ALCOHOL LIFT INK + STAMP

Alcohol ink, alcohol lift ink and stamp card by Juliana Michaels featuring Tim Holtz Stampers Anonymous Spring Curated Collection

TECHNIQUE NO. 3 - ALCOHOL LIFT INK TRANSFER

Alcohol ink transfer card by Juliana Michaels featuring Tim Holtz Stampers Anonymous Spring Curated Collection

TECHNIQUE NO. 4 - ALCOHOL INK, ALCOHOL PEARL + TEXTURE PASTE

Alcohol ink, alcohol pearl and texture paste card by Juliana Michaels featuring Tim Holtz Stampers Anonymous Spring Curated Collection

TECHNIQUE NO. 5 - ALCOHOL INK, ALCOHOL PEARL + ALLOY ALCOHOL INK

Alcohol ink, alcohol pearl and Alloy alcohol ink card by Juliana Michaels featuring Tim Holtz Stampers Anonymous Spring Curated Collection

TECHNIQUE NO. 6 - ALCOHOL INK + HEAT EMBOSSING

Alcohol ink and heat embossing card by Juliana Michaels featuring Tim Holtz Stampers Anonymous Spring Curated Collection

I really love how this set of cards came together and I hope you enjoyed learning these 6 ways to take your alcohol ink to the next level! Which technique is your favorite?

SUPPLIES

Below you can find the supplies I used to create this card and the swatches. When you shop through the links below, I receive a small commission from Scrapbook.com. These links are at no cost to you and the commission I receive helps me cover the costs of my blog and other expenses, and allows me to continue to provide you with FREE inspiration and tutorials. If you want to learn more about what an affiliate link is, you can see my full affiliate and product disclosure statement here. Thank you so much for your love and support!


Subscribe