Showing posts with label Sizzix Christmas 2022. Show all posts

Christmas Cards with Layered Plaid Thinlits | Tim Holtz Sizzix Christmas 2022

We all have those dies that we reach for over and over again. Those basic shapes that are just perfect for all the things. Well, in my book, the Layered Plaid Die is one those. While I've only had the opportunity to use it for Christmas cards, I know it will be the perfect backdrop for just about any card you can imagine and regardless of your style. I also love that even though it has 3 dies that are meant to be layered to create a multi color plaid, it works just as well when you only use one of the layers.

In this blog post, I want to share with you two Christmas cards I created using the Layered Plaid die and show you how I only used one layer of the die on each of the cards. If you are looking for more inspiration on how to use this die or any of the others from the Tim Holtz Sizzix Christmas 2022 release, make sure to check out Tim's blog post.

MERRY CHRISTMAS CARD

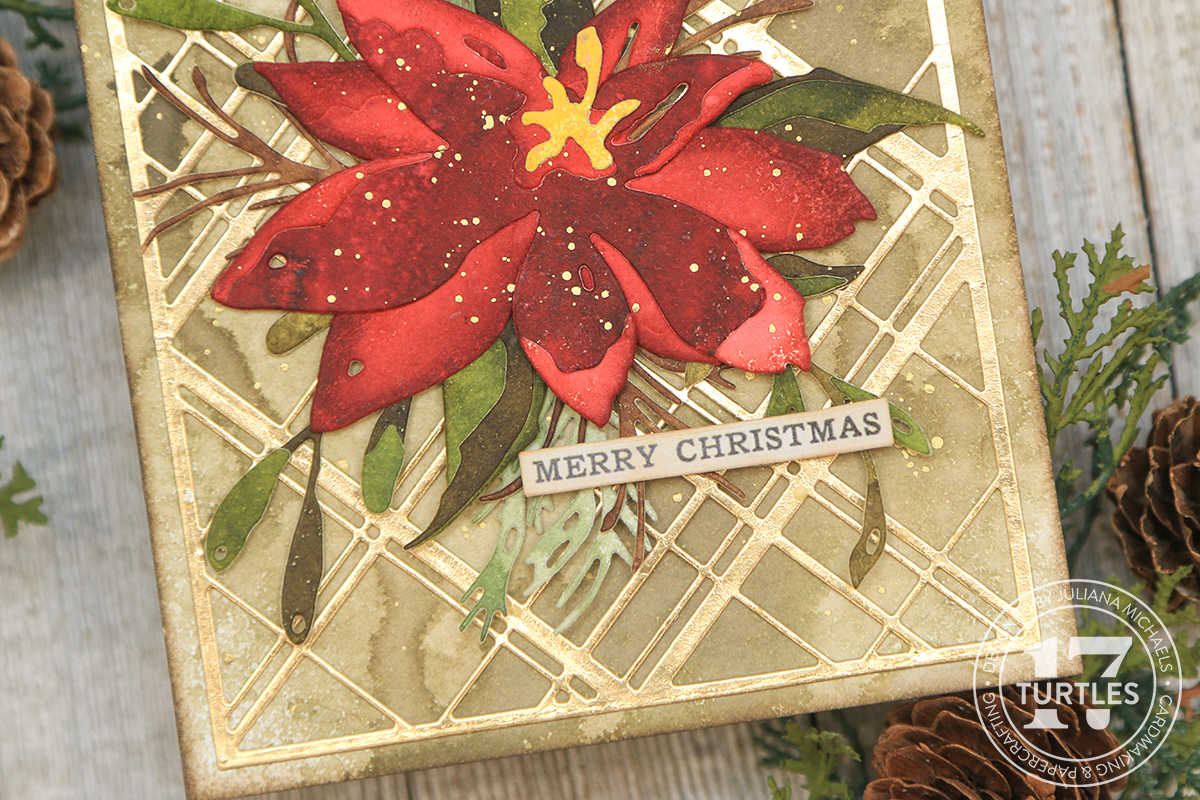
To create this Merry Christmas card, I used the more detailed of the layers. It adds a nice touch of interest to the background when paired with the contrasting red poinsettia but not so much that it is overpowering.
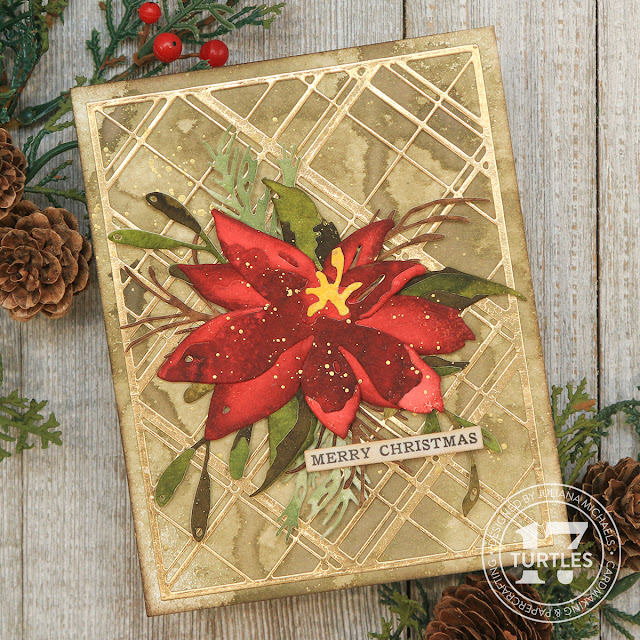
Merry Christmas Card by Juliana Michaels featuring Tim Holtz Holiday Brushstroke 3 and Layered Plaid Thinlits

I die cut the more detailed plaid layer from a piece of gold Metallic Kraftstock and layered it onto a piece of Distress Watercolor Paper that I had sprayed with Frayed Burlap Distress Stain and spritzed with a bit of water before I dried it.


For the focal point, I used the Holiday Brushstrokes 3. I sprayed separate pieces of Distress Watercolor Paper, one for each of the following Distress Spray Stains: Aged Mahogany, Fired Brick, Forest Moss, Peeled Paint, Fossilized Amber, Walnut Stain and Bundled Sage. While I was spraying the color, I added a bit of water and dried them with my heat tool. I then die cut the various layers from the different colors and put them together to create the poinsettia and greenery. I also cut the bottom layer twice and rotated it slightly to get the shading. For the poinsettia I also inked the edges with Aged Mahogany to add more shading as well.


To finish off the card, I added some splatters of Gilded Foundry Wax and a sentiment from the Christmas Idea-ology Sticker Book. You could also use a stamp if you wanted to mass produce this design.

JOY CHRISTMAS CARD

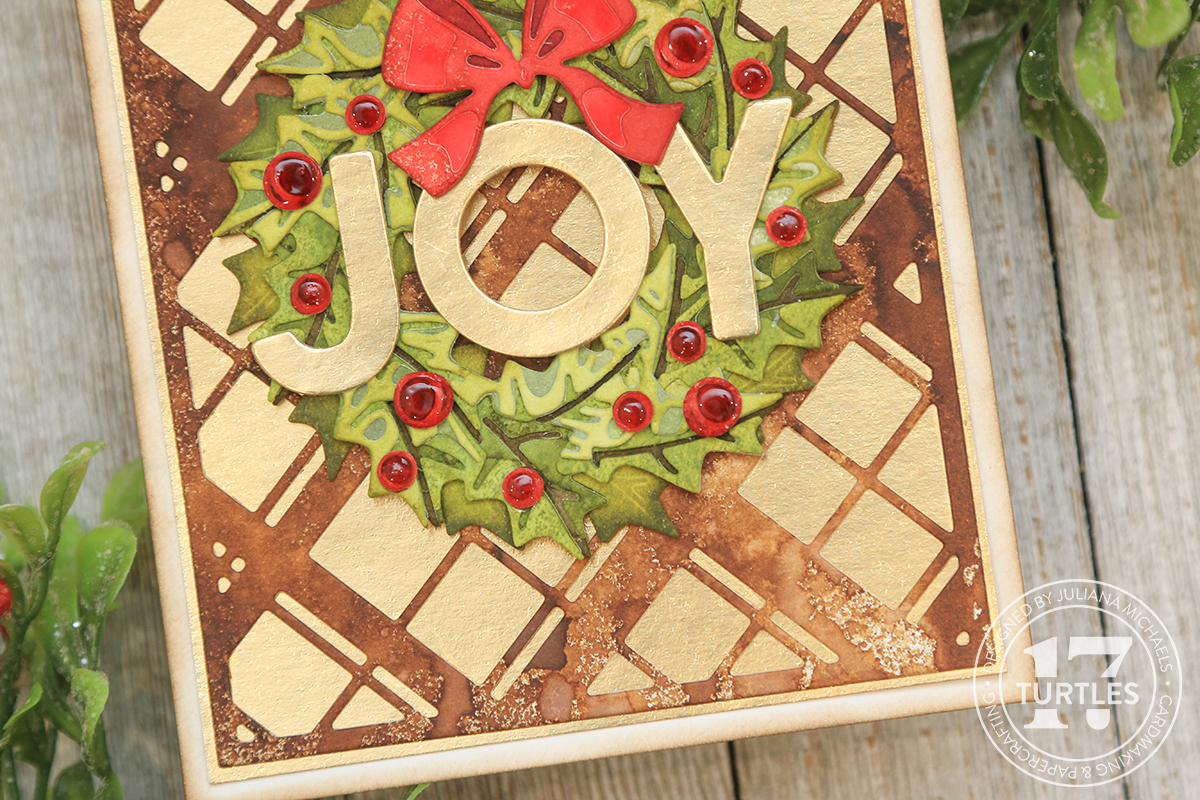
Now onto my second card using the Layered Plaid Dies. On this one I used the other layer to create a slightly more bold design for the background. This bolder background is a nice contrast to the more detailed wreath I added as the focal point.

Joy Christmas Card by Juliana Michaels featuring Tim Holtz Yuletide and Layered Plaid Thinlits

The plaid was die cut from a piece of Distress Watercolor Paper that I had sprayed with Walnut Stain Distress Spray Stain and then layered onto a piece of gold Metallic Kraftstock.


The wreath on this card was created using the Yuletide Thinlits. I added color in a similar manner as the poinsettia in that I die cut the various layers from pieces of Distress Watercolor paper that I had inked with the following Distress Spray Stains: Forest Moss, Peeled Paint, Shabby Shutters and Peeled Paint, Bundled Sage and Shabby Shutters. These are listed in order of dark to light and bottom to top layer. The bow was cut from Aged Mahogany and Fired Brick.


For the Berries, I only used 2 layers from the dies and cut them from Aged Mahogany and Fired Brick. After adhering the berry layers, I applied Glossy Accents to give them a little shine. A touch of Rock Candy Distress Glitter would have been a nice touch as well!

The sentiment is from the Bold Text Christmas Thinlits and die cut from gold Metallic Kraftstock and white cardstock. I cut the white card 2 times and adhered the gold on top to give the letters a little more dimension before I adhered it to the wreath.

Thanks so much for the visit and I hope you enjoyed this bit of Christmas Card inspiration using the Layered Plaid Thinlits.

SUPPLIES

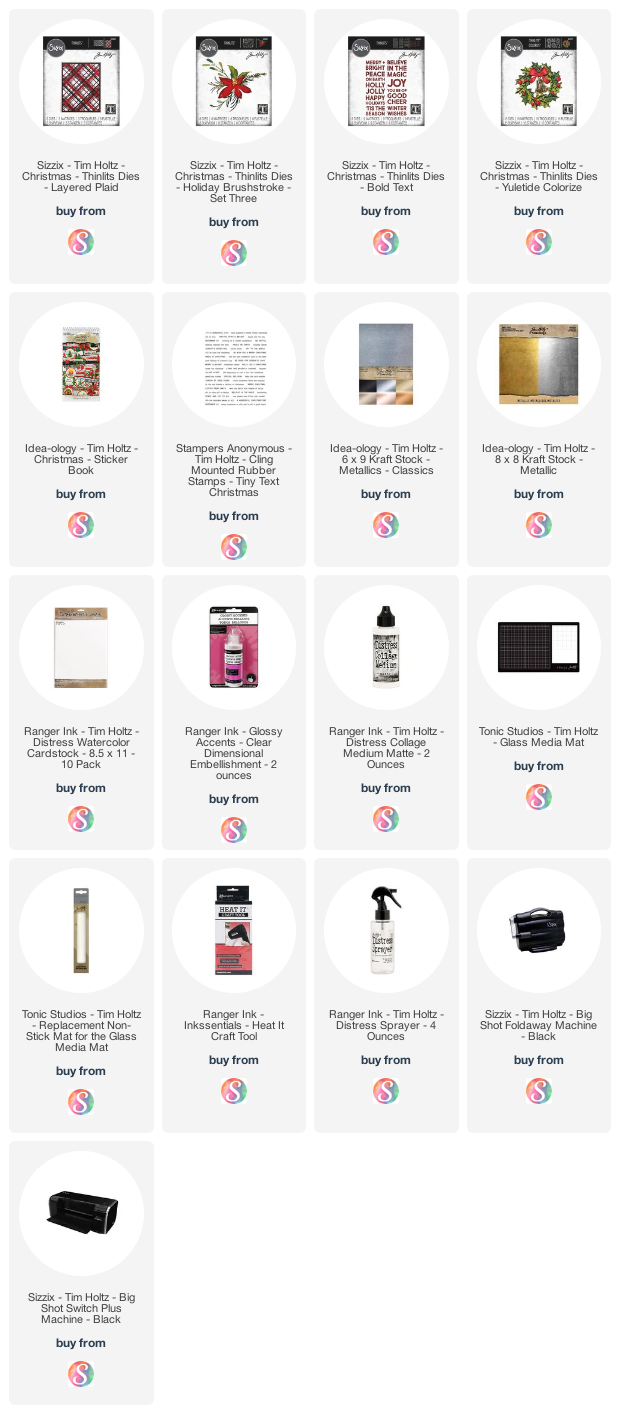
Below you can find the products I used to create these projects along with compensated affiliate links to Scrapbook.com. These links are at absolutely no cost to you. When you shop through the links below, I receive a small commission from Scrapbook.com. These links are at absolutely no cost to you and the commission I receive helps me cover the costs of my blog and other expenses, which allows me to continue to provide you with FREE inspiration and tutorials. If you want to learn more about what an affiliate link is, you can see my full affiliate and product disclosure statement here. Thank you so much for your love and support! 
Christmas Shaker Tags with Christmas Bold Text and Framed Tags | Tim Holtz Sizzix Christmas 2022

It's the start of the most wonderful time of the year AND it's time to get your shakety shake on! In this blog post I'm sharing how I created this set of Christmas Shaker Tags I made for the Tim Holtz Sizzix Christmas YouTube Live. As soon as I saw the Christmas Bold Text and Framed Tags I immediately knew that some shakety shake shaker tags were in my future! If you missed the live you can always catch the replay and check out all the inspiration from the other Makers.

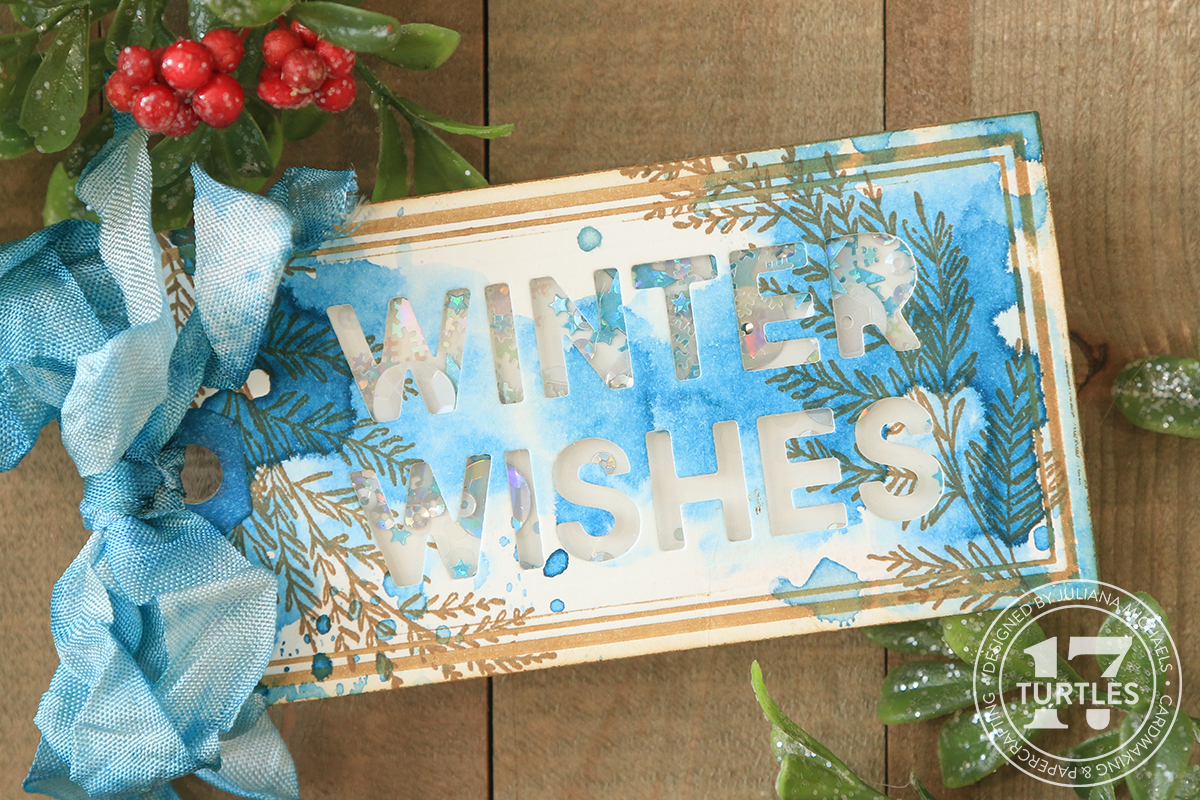
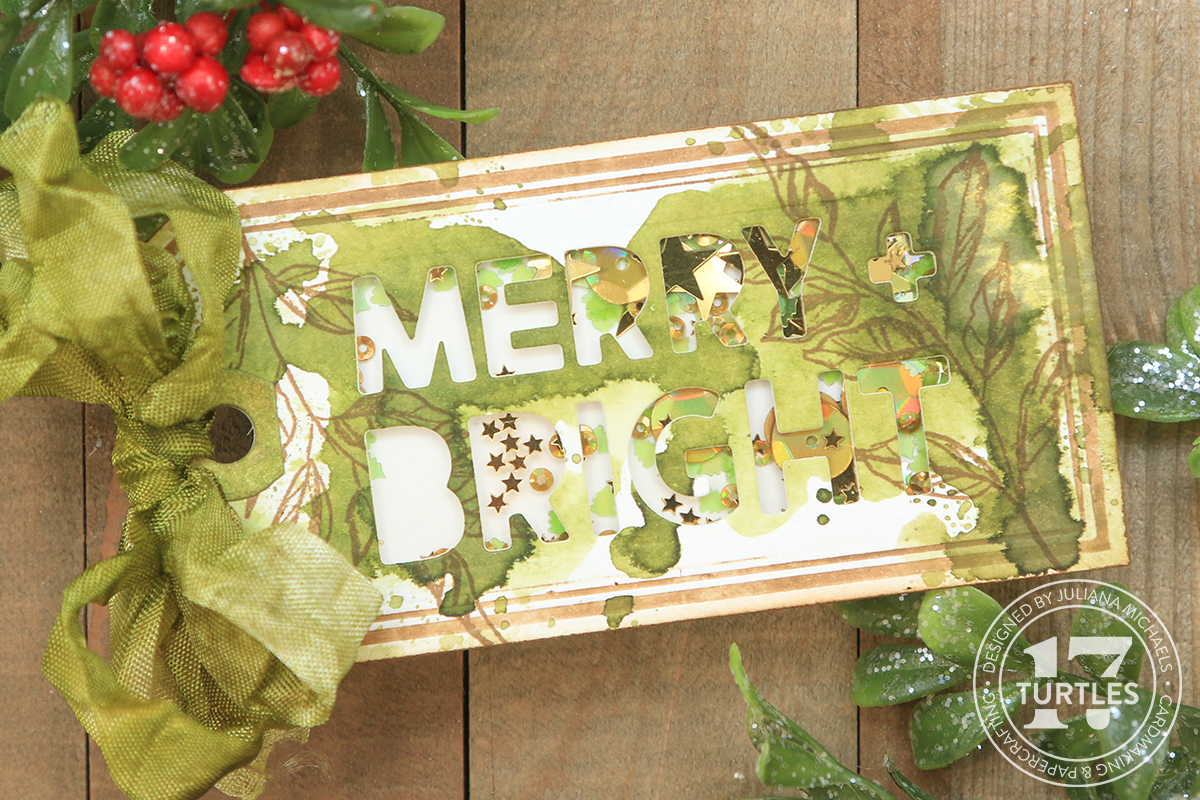
Christmas Shaker Tags by Juliana Michaels featuring Tim Holtz Sizzix Christmas Bold Text and Framed Tags

I also have a short video showing how I created the blue version of these shaker tags. You can watch it below or over on my YouTube Channel.


CHRISTMAS SHAKER TAGS | TIM HOLTZ CHRISTMAS BOLD TEXT AND FRAMED TAGS

For these tags I'm using the Framed Tags Thinlits. This set comes with 3 tags and 3 reinforcer options. I began with the medium size tag and die cut it using the technique Tim shared when he released the Vintage Labels Thinlits. In that technique, he inked the die and then die cut with it to get a letterpress effect. I made sure to clean the die thoroughly with rubbing alcohol and then inked the die with Vintage Photo Archival Ink using a rubber brayer. I carefully placed the inked die onto the smooth side of a piece of Distress Watercolor Paper and ran it through my die cutting machine.
And voila...I have the look of a letterpress tag!

After die cutting the tag I applied Distress Spray Stain in Uncharted Mariner and Speckled Egg to my craft mat, spritzed them with water and smooshed the tag into the ink. I then dried the ink using my heat tool. You could also do this same technique using Distress ink pads. 

Once the ink was dry, I added some stamping using the Sketch Greenery Stamp Set. I positioned the tag into my stamping tool and then positioned one of the greenery pieces on the right side of the tag and stamped it using Vintage Photo Archival Ink. I stamped it twice to get a good impression since I was working on the watercolor paper. I then flipped the tag around and stamped the image on the left side of the tag.


Next, I positioned the Winter Wishes die from the Christmas Bold Text Thinlets in the center of the tag and used some Mint Tape to hold it in place as I ran it through my die cutting machine.

Now it's time to create the shaker part. First I cut a piece of acetate to just slightly smaller than the tag and adhered it to the back side of the tag. I recommend using some sort of double sided tape for this step. After you adhere the acetate you can trim off any excess if needed.

Next, I adhered strips of double sided foam tape around the outside of the tag to create the shaker box. As you trim the tape, you want to make sure that you don't have any gaps as you create the box, so that none of the shaker filler can fit through and fall out. I also added some foam tape to the bottom and top edges so that the tag would be the same thickness all the way across.

With the shaker box completed, I die cut another tag to use as the backside of the shaker. I hadn't cleaned off the die, so you can see a little bit of the ink on the paper. That won't matter though because it won't show once the shaker is assembled.  

To fill the shaker, I used a mix of sequins from Sizzix, but feel free to use whatever sequins, beads or other fillers you have on hand. If you end up using beads, you may need to add another layer of foam tape so that there is enough space for them to move around once the shaker is assembled.

Here I'm filling the shaker box with a mix of sequins. Once I had the shaker filled, I pulled back a little bit of the liner on some of the foam tape, lined up the other tag and adhered it in those couple of spots. I then removed the other liners and pushed down to fully adhere the back tag. If you don't get things lined up just perfectly you can use your scissors to trim off any excess. 

To finish off the tag, I added one of the hole reinforcers which I die cut and inked to coordinate with the tag. I also added some custom colored crinkle ribbon I made using Hug Snug Seam Binding. To dye the ribbon, I used Uncharted Mariner and Speckled Egg Distress Spray Stains, which are the same ones I used to ink the paper. To create the ribbon, I cut a length of it and placed it inside a plastic bag. I then sprayed the ink and a bit of water into the bag and squished it around until the ribbon was covered with ink. You can add more ink and water as needed. Once the ribbon was cover with ink, I carefully removed it from the plastic bag and dried it with my heat tool. If you don't want ink all over your fingers, you can use tweezers or even wear rubber gloves.  If you want the crinkled look, make sure to keep the ribbon wadded up as you dry it.

And there you have it! A Christmas Shaker Tag using the new Tim Holtz Framed Tags and Christmas Bold Text Thinlits. This video shares with you how I created I the blue tag. I also created a green and red version using the same techniques, but with different colors of spray stains. For those details and more photos, make sure to check out my coordinating blog post which is linked in the description box below.


For the green tag I used a mix of Peeled Paint and Forest Moss.


I used Aged Mahogany and Candied Apple to create the red tag.


It means so much to me that you stopped by to check out the Christmas Shaker Tags I made using the Tim Holtz Sizzix Christmas Bold Text and Framed Tags!

SUPPLIES

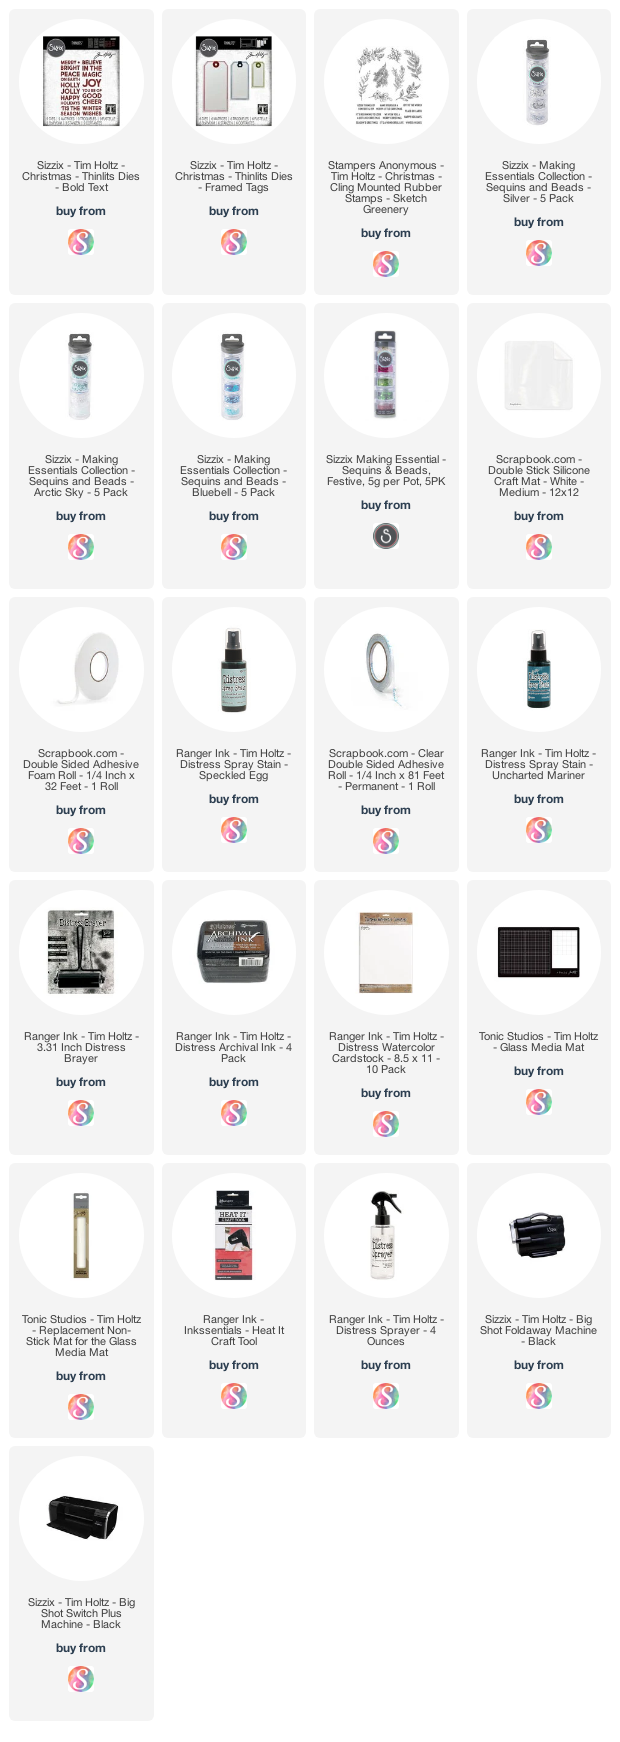
Below you can find the products I used to create this project along with compensated affiliate links to Scrapbook.com. These links are at absolutely no cost to you. When you shop through the links below, I receive a small commission from Scrapbook.com. These links are at absolutely no cost to you and the commission I receive helps me cover the costs of my blog and other expenses, which allows me to continue to provide you with FREE inspiration and tutorials. If you want to learn more about what an affiliate link is, you can see my full affiliate and product disclosure statement here. Thank you so much for your love and support!

* This is not an affiliate link, but one of the few places I've been able to locate the seam binding I used: 

Subscribe