
If you caught my reveal video for The Ashgrave Archive, you already know what's inside this collection. Today, I'm sharing my very first project made with it — a mixed media Halloween card featuring that gorgeous Death's Head Hawk moth, layered over a heavily textured background.
But this post isn't just about the card. I also want to share something I use in almost every layered project I make, and honestly don't think I've ever talked about it in detail before: a simple trick for alternating dark and light as you build up your papers and pieces.

The Best Kept Card Layering Secret
When you're working with a collection this rich in imagery and pattern, it can be tempting to just start layering pieces down as you fall in love with them. But one thing that's helped me the most over the years is paying attention to value — alternating dark and light as I stack my layers, rather than letting several dark (or several light) pieces sit right next to each other. It's simple, but it's what creates the contrast that makes a layered project pop.

The Rest of the Details
Now that you know the secret to layering, let's get into the details of creating this card. And remember to keep alternating light and dark in mind as you add each layer.
For the background, I cut a piece of cream patterned paper from The Ashgrave Archive collection to 4.25" x 5.5" and inked the edges with Pumice Stone Distress Ink.
Next, I cut a piece of green polka dot paper from The Ashgrave Archive collection to 4" x 5.25" and embossed it using the Tim Holtz Vault Cobweb embossing folder. I then used my finger to apply Sizzix Luster Wax in Charcoal to the raised areas of the embossed design.
I added Distress Grit Paste here and there and let that dry. Once the paste was dry, I added some Black Soot Distress Crayon here and there to add to the aged, spooky look, then inked the edges of the paper with Pumice Stone Distress Ink using a blending tool.
For the next step, I selected various pieces of ephemera from The Ashgrave Archive collection — a book page, a tag, a ticket, a blank label, a word strip, a stamp, a poison label, and a moth. I distressed the pieces by gently wrinkling and bending some of them, then lightly sanded them with fine grit sandpaper. I inked the edges and sanded areas with Pumice Stone Distress Ink to add to that aged, vintage effect.
Before adhering the small top layers, I also added a die cut wreath. I used the Tim Holtz Vault Fall Foliage die set to cut a piece of black kraftstock, then lightly sanded it to reveal some of the kraft core and add to the distressed effect.
Once all of the pieces were ready, I adhered them to the card, keeping that alternating light and dark in mind. I finished it off with a few black splatters.
And there you have it — a mixed media Halloween card created using my latest printable collection, The Ashgrave Archive.
Watch the Full Video
I made a full video walking through how I selected the papers and ephemera I used from The Ashgrave Archive, the mixed media techniques behind that textured background, and this layering secret in action. I'd love for you to watch it!
WATCH THE VIDEO
Behind the Background
The background on this card started with an embossing folder and Sizzix Charcoal Luster Wax, then I built up texture with Distress Grit Paste, Distress Crayons, and Distress Ink, finishing it off with a few black splatters for good measure. That layered, weathered texture is such a great match for the Ashgrave Archive's moody palette and gothic specimen aesthetic.

The Collection
If you haven't picked up The Ashgrave Archive yet, you can find it here:
FULL COLLECTION BUNDLE — $26 (SAVE $6!)
PRINTABLE PAPERS — $12
PRINTABLE EPHEMERA — $20
Supplies
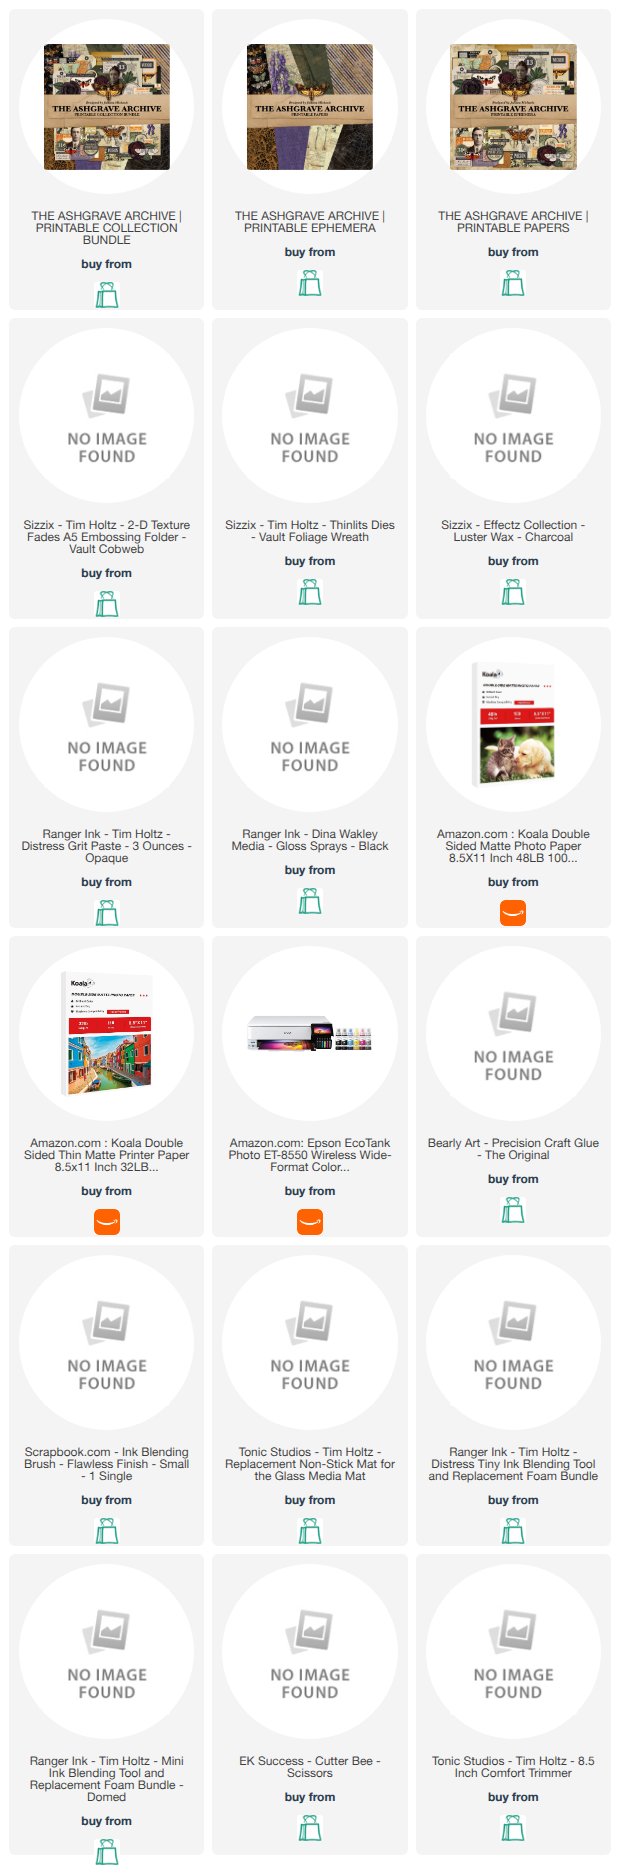
Below you will find links to the supplies I used to create this card. When you shop through these links—whether you purchase that exact item or something else entirely—you're supporting me at no extra cost to you. The commission I receive helps me cover the costs of my blog and other expenses, and allows me to continue providing you with FREE inspiration and tutorials. If you want to learn more, you can see my full affiliate and product disclosure statement here. Thank you so much for your love and support!



No comments
Every time you smile at someone, it is an action of love, a gift to that person, a beautiful thing. ~Mother Teresa
HUGS!
JULIANA