
Hello friends and welcome! In this blog post I'm sharing all about the brand new Tim Holtz Distress Foundry Wax and how I used it to create 2 cards. Distress Foundry Wax is the latest new product from Tim Holtz and I have to admit that I haven't been this excited about a new product in a very long time. I think this one has me so excited because it's something I've been hoping Tim Holtz would add to his line of products, but with a twist that only Tim Holtz knows how to do! After having time to play and create with it, he has definitely achieved just that!

For those of you who would prefer to watch how I created these cards, I also have a video doing just that. You can check it out below. If the video isn’t showing up, click HERE to watch it.
For even more information and inspiration make sure you check out Tim Holtz's Distress Foundry Wax YouTube Live: https://youtu.be/DlOZapkfeqY
HOW TO USE DISTRESS FOUNDRY WAX
You may or may not be familiar with the various wax products that are currently available. Most of them are beeswax based and come in a tube or jar. You can apply it to paper, metal, wood or resin pieces to add a metal-like finish.

Distress Foundry Wax is quite different in that it's not beeswaxed based. It's actually a liquid and you must shake the bottle until you hear the mixing ball start rattling. Once mixed, squeeze some of the liquid onto your craft mat and then use a brush (or your finger) to apply it to your chosen surface (which includes wood, metal, resin, paper, etc.). If you have sensitive skin I do suggest using a brush to apply it. You will notice that once you squeeze it onto your craft mat and start moving it around, it begins to thicken and become more cream like. It will continue to thicken until it is dry, however, it's not permanent at this point and will flume or rub off.
To stop the fluming and to make it permanent, you must apply heat to it using a heat gun. I prefer the same type of heat tool you use for heat embossing as it will get you to the finish point faster than the Ranger Heat It Tool. When you're heating the wax is when the real magic happens! I love watching it transform from metal-like to a truly metal look as the heat is applied! Once you have heat set the wax, you can add another color or more of the same color and heat it again. I didn't have much luck adding another color or more of the same until I heat set the first layer.
DISTRESS FOUNDRY WAX TIPS & TRICKS
A couple of tips and tricks I have to share include recapping the bottle after each use AND to make sure you DO NOT leave the bottle next to where you are heating the wax. This will heat the wax inside the bottle and ruin it!
The Tim Holtz Tonic Studios Non-stick Craft Mat or any non-stick craft mat is the best surface to use when working with this product. I tried working from my glass mat and the wax stayed as a liquid and when I went to apply it, it seemed to just soak into the surface instead of me being able to apply it to the raised surface.
Another thing I love about the Foundry Wax is that it has no odor and it cleans up easily with a bit of rubbing alcohol. I use a Mini Mister filled with 91% Isopropyl alcohol, which is actually the same one I use when I'm working with Alcohol Inks.
Now let's get onto how I used the Foundry Wax on the 2 cards I created.
NEVER STOP EXPLORING CARD | DISTRESS FOUNDRY WAX & TEXTURE PASTE
On this first card, I wanted to try using the Foundry Wax on a textured surface. I began with a piece of Distress Watercolor Paper trimmed to 4x5.25 inches. I then did a little ink smooshing. I took the Saltwater Taffy Distress Ink pad and smooshed it directly onto my craft mat. I spritzed this with some water and smooshed my paper into the ink. I then used my Heat It tool to dry the ink. I repeated this process of ink smooshing until I was happy with the ink coverage.

Once I had the inky background completed, I took the Tim Holtz Script Layering Stencil and used some Mint Tape to hold the stencil in place on the paper and used a palette knife to apply Distress Texture Paste through the stencil. I intentionally didn't apply it evenly so as to get a slightly distressed effect. I gently removed the stencil to wash it and set the paper to the side to let the paste dry.
After the paste was dry, I pulled out the Gilded and Statue Foundry Waxes. I shook each bottle until the mixing ball was moving. I then applied a bit of each color to my craft mat. After applying the colors, I pulled out my heat gun and heat set the wax. I love watching the magic happens as it takes on that truly metal-like and permanent finish!

I ended up applying another layer of the wax to make it even more metallic looking. Once the background was completed, I adhered it to a piece of white cardstock. For the embellishment, I added a bit of gold thread and a die cut butterfly. Yes, more butterflies! This time I used the Tim Holtz Scribbly Butterflies and die cut it from white cardstock. I couldn't bear to cover up that beautiful background I had just created!
For the sentiment, I used a sticker from the Metallic Sticker Book and layered it onto a piece of cardstock inked with Saltwater Taffy Oxide and trimmed to size. I just love the rich metallic effect the Foundry Wax adds to this textured background!
FOCUS ON THE GOOD CARD | DISTRESS FOUNDRY WAX & EMBOSSING FOLDER
On this second card, I'm sharing how I added the Foundry Wax to an embossed background.

I began with a piece of Distress Watercolor paper. I spritzed the paper with some water and then embossed it using the Tim Holtz 3D Texture Fades Damask Embossing Folder. Spritzing the paper with water until it is damp, helps soften the paper fibers and gives you a better impression. It can also help prevent your paper from tearing or ripping when working with these 3D Embossing folders. After I embossed the paper, I dried it with my heat tool. I then added some ink smooshing, but this time I used Salvaged Patina Distress Ink.
Next it was time to apply the Foundry Wax to the panel. I used Sterling, Mined and Statue on this card. Once again, I made to shake each bottle until I heard the mixing ball rattle around. I applied the first 2 colors and decided I should go ahead and heat set these before trying to add another color. I had already discovered that trying to layer colors while they were still wet didn't work so well, unless of course you just want to mix the colors. I like to be able to see the various colors, so I prefer to heat set them in between adding another color or even more color. You can always add more color!
Personally, I'm mesmerized every time I heat set the wax! I just love watching it go from ok to AMAZING as I heat it! As on the first card, I couldn't bear to cover up too much of the background, so I opted for another simple butterfly die cut and sentiment. Even on embossed paper the Foundry Wax is just magical!

Thanks so much for stopping by to check out this blog post featuring the Tim Holtz Distress Foundry Wax.
SUPPLIES
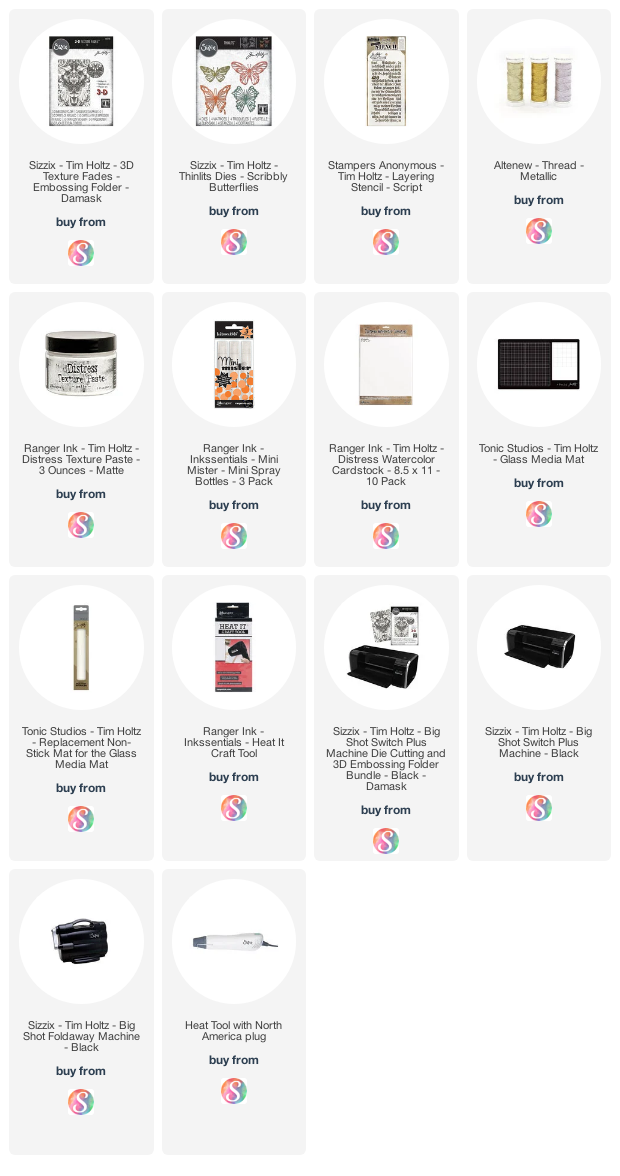
Below you can find the products I used to create this project along with compensated affiliate links to Scrapbook.com. These links are at absolutely no cost to you. When you shop through the links below, I receive a small commission from Scrapbook.com. These links are at absolutely no cost to you and the commission I receive helps me cover the costs of my blog and other expenses, which allows me to continue to provide you with FREE inspiration and tutorials. If you want to learn more about what an affiliate link is, you can see my full affiliate and product disclosure statement here. Thank you so much for your love and support!


Thank you for this. I have been curious about this product. You do such an amazing job. Thanks again, Linda
ReplyDeleteThank you for stopping by and for leaving me this wonderful comment!
DeleteLove these cards, you have so many lovely ideas on your website! Thank you so much ❤️
ReplyDelete