
Merry Christmas in July friends! In this post I'm continuing my Christmas in July series with a fun background technique involving an embossing folder, Distress Ink, Luster Wax and Glitter! For those of you just stopping by, each week during the month of July I'm sharing how I created a Christmas card using supplies from my stash in a video over on my YouTube channel.
My hope is to inspire you to get a jump start on your Christmas cards and actually use some of those products you haven't used yet!


ALL IS CALM CHRISTMAS CARD
Next, I applied Sizzix Gold Luster Wax to the raised areas of the embossed paper. This really made the details of the embossed design pop!
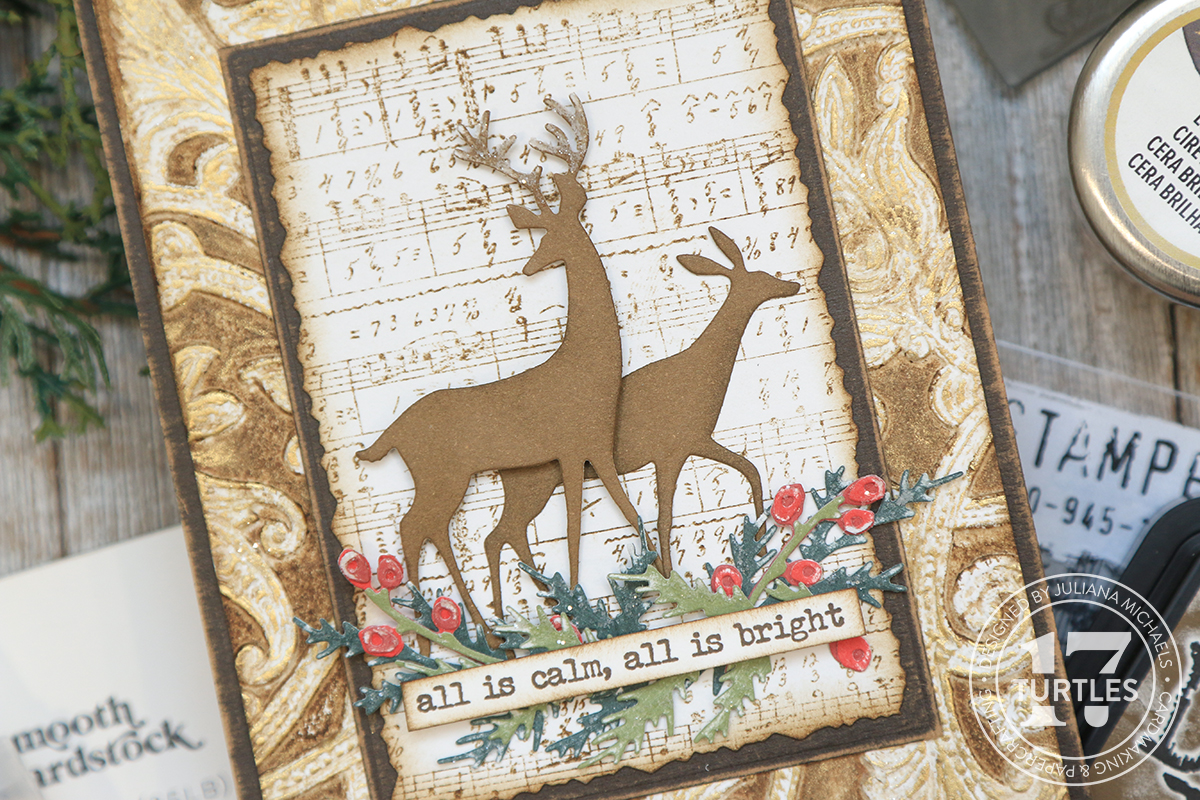
For the next step, I applied Distress Collage Medium to some of the raised areas. I then used a Glitter Duster to apply Rock Candy Distress Glitter to the areas where I applied the adhesive.
For the base of the card, I cut a piece of Black Kraftstock to 4.25 x 5.5 inches. I then took a rectangle die and cut the center from this same piece of cardstock. This is a great way to save paper, especially if it's a paper like this that is maybe more expensive than just plain black cardstock. I used the same rectangle die to cut a piece of white cardstock to the same size. I used a sanding disk to sand the edges of the Black Kraftstock to reveal the kraft core.
Next I stamped the music image from the Tim Holtz Music and Advert Stamp Set onto the white cardstock with Walnut Stain Distress Ink. Next, I went a little old school and used my Deckle Edge Scissors to trim the edges of the piece so that it was just slightly smaller than the black rectangle. If you happen to have the Tim Holtz Deckle Edge Trimmer, you could also use that. Once it was trimmed to size, I inked the edges with Walnut Stain Distress Ink.
For the die cuts, I used a variety of colors from some Scrapbook.com paper pads. These paper have a white core, but feel free to use any cardstock you have. I also cut the deer from white cardstock and adhered the layers together to make them a little more sturdy. With some of the greenery, I sanded the pieces to reveal the white core of the paper. I love how this makes them look like there is snow on them! If you'd like to learn more about this, I shared some tricks for doing this in my first Christmas in July video.

For the sentiment I used the Tiny Text Christmas Stamp Set. I stamped it in Ground Espresso Archival Ink onto white cardstock, trimmed it down and inked the edges with Walnut Stain Distress Ink.
To add some interest to the die cuts, I applied Artis Glue to the antlers and some of the greenery and then applied Rock Candy Glitter using the Glitter Duster.
I seriously love the sparkle and shine achieved with the dusting of glitter to the die cuts AND the combination of the Luster Wax with the glitter on the background! I hope you enjoyed learning how this card came together and are inspired to create something similar. What technique or tip did you find most helpful?

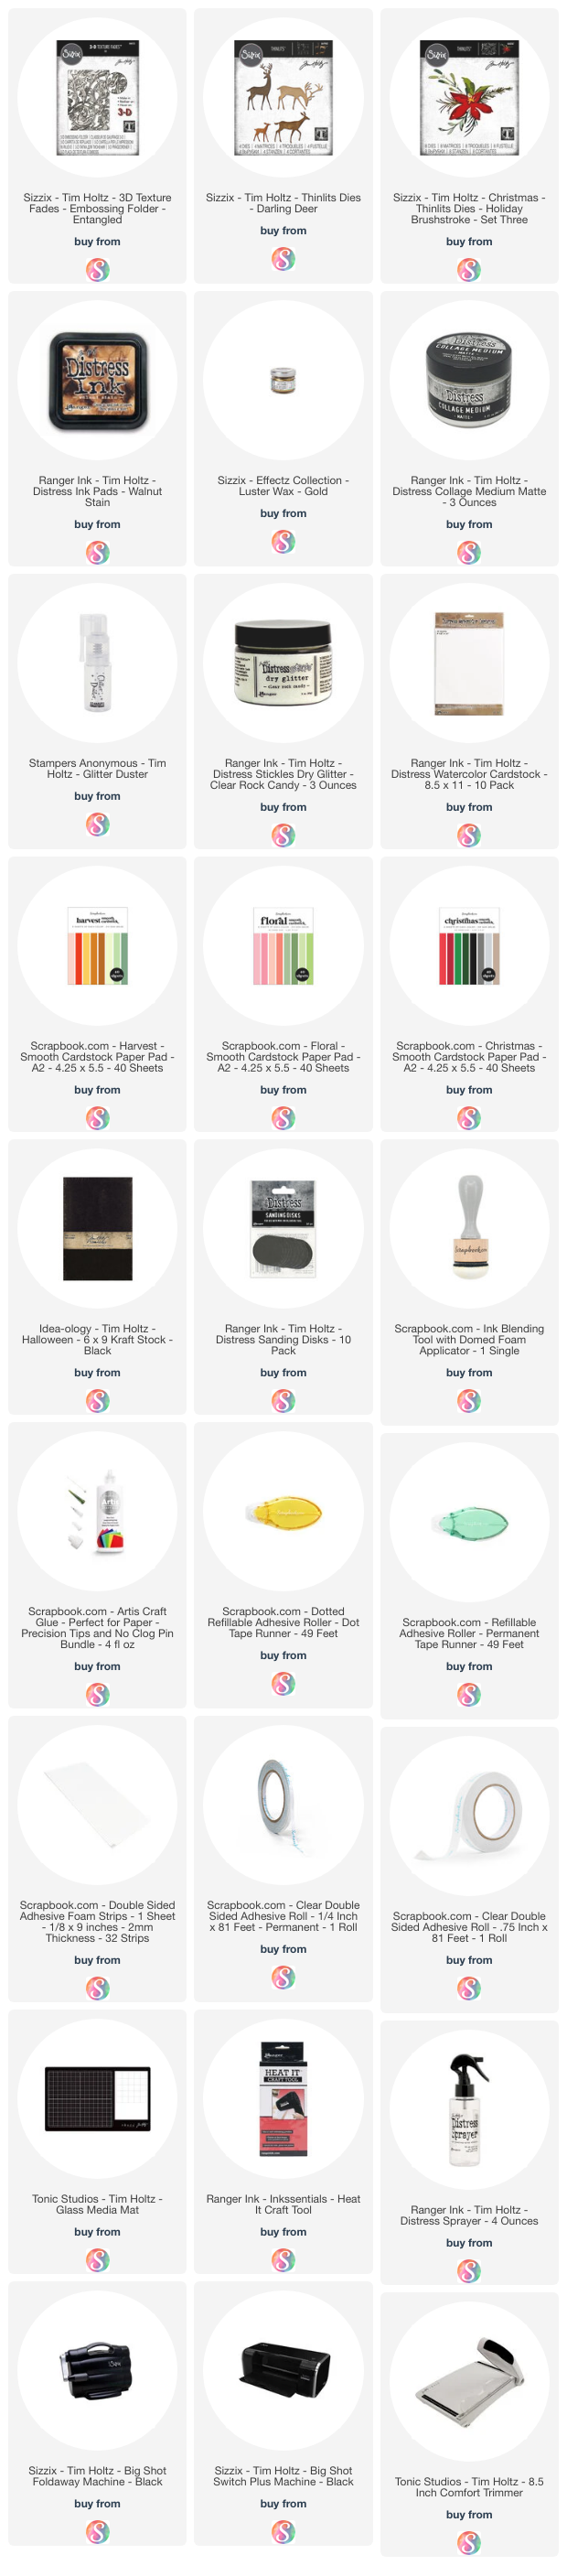
SUPPLIES FOR ALL IS CALM CHRISTMAS CARD


No comments
Every time you smile at someone, it is an action of love, a gift to that person, a beautiful thing. ~Mother Teresa
HUGS!
JULIANA