
Merry Christmas in July friends! This is my fourth card as part of my Christmas in July series. Even if you're not quite ready to start on your Christmas cards, you can always save my videos and come back to them when you are. My biggest hope is to inspire you as you begin creating your Christmas cards, whether it's now or later.
For this card I'm sharing a faux bleach technique, which I shared recently using Distress Inks. This time however, I'm using Distress Oxide Inks. I'm also going to share some tips and tricks for adding sparkle and shine with Distress Embossing Glaze, Embossing Powder and Distress Foundry Wax.

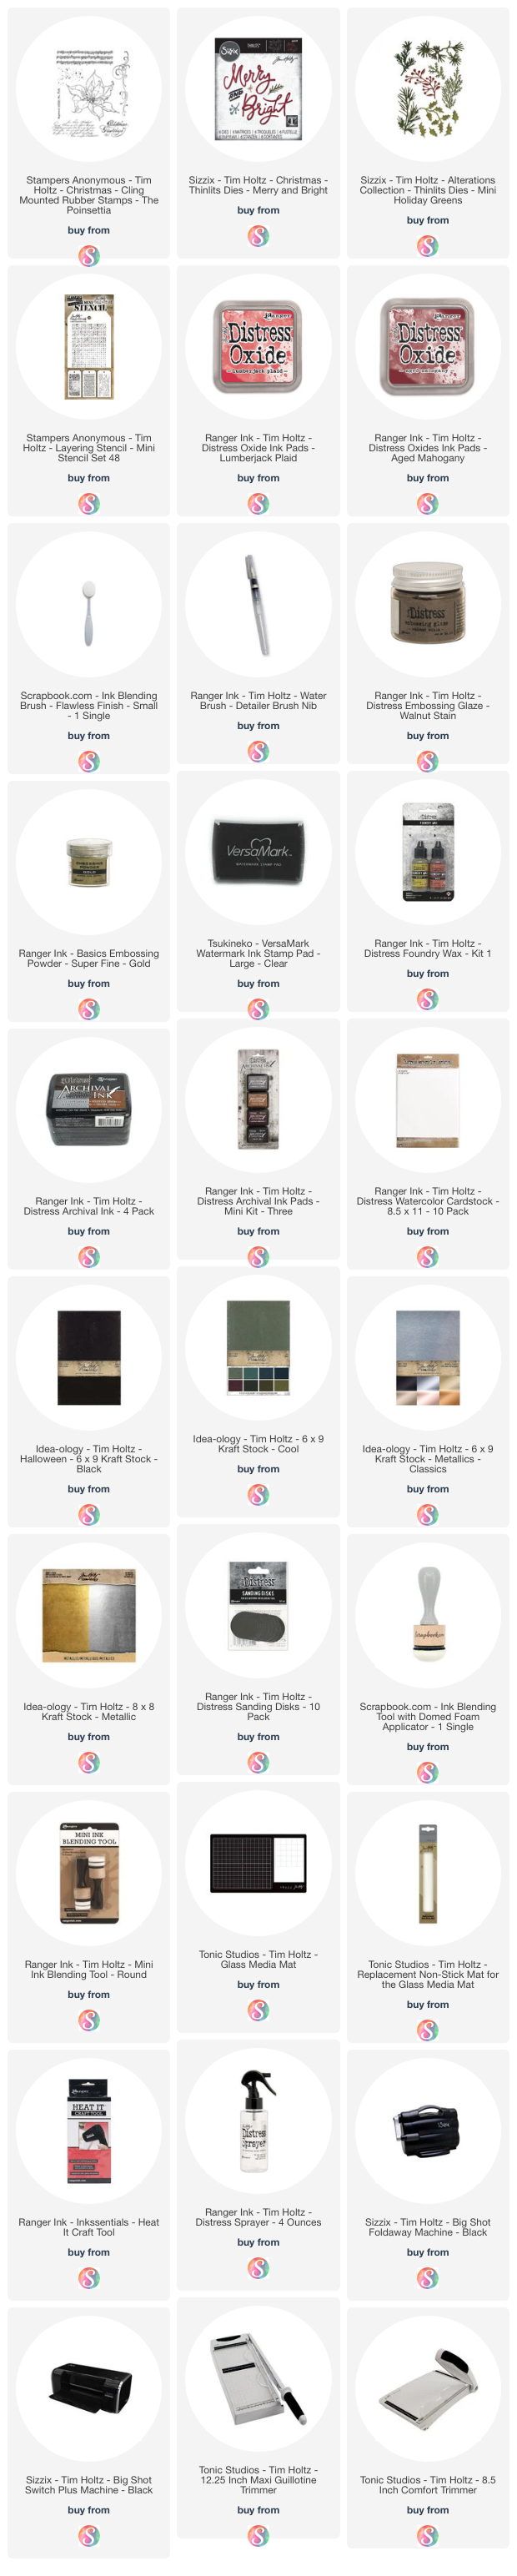
If you're interested in using the exact products I've used, I'll have them linked in the supplies list below and when you shop through those links, it helps support me and I really appreciate that so much!

MERRY CHRISTMAS CARD
To get started I cut piece of Distress Watercolor Cardstock to 4 x 5.25 inches. Using Ground Espresso Distress Archival Ink, I stamped the beautiful poinsettia image from the Tim Holtz The Poinsettia Stamp Set three times to create a border along the left hand side of the paper.
Next, I stamp the script image from the same stamp set, using Versamark Watermark Ink. After I apply the ink, I pour gold embossing powder over the inked area. I tap off the excess powder and heat set it using my heat embossing tool. To create some movement across the design, I repeat this process and stamp the image in the upper left hand corner.

FAUX BLEACH TECHNIQUE WITH DISTRESS OXIDE INKS
Next I use a blending brush to apply Lumberjack Plaid Distress Oxide Ink to the center of the watercolor paper. I then apply Aged Mahogany Distress Oxide Ink to the outer edge of the card. I go back and add more Lumberjack Plaid and then more Aged Mahogany. I continue this process of going back and forth between the two colors until I'm pleased with the blending.
Now it's time for the Faux Bleach Technique. Although I use the word bleach, there is no bleach involved in the process. The finished look just creates the appearance of what it looks like when bleach removes color from things and that is why it's called faux bleach. I use a waterbrush filled with water and paint with the brush over the inside of the stamped design. Because Oxide Inks are water reactive, when you apply water to them, it rewets the ink. I then take a paper towel and dab up the wet ink to lift and remove the ink. Once the entire piece has been bleached, I use my heat tool to dry the paper.
For the next step, I use a finger dabber to apply Versamark Watermark Ink through the Halftone stencil from the Mini Layering Stencil Set No. 48 to the upper left hand corner of the background paper. After I apply the ink, I remove the stencil and pour Walnut Stain Embossing Glaze over the inked area. I tap off the excess powder and heat set it using my heat embossing tool.
Before I add the Embossing Glaze to the bottom right hand corner, I stamp the music note image and the registered image using Vintage Photo Archival Ink. Before I stamp the image, I use a paper towel to remove some of the ink from the stamp so that the image kind of fades out at an angle along the bottom. I then repeat the same process on the opposite corner, but with just the music stamp.
I then go back to the Embossing Glaze and stencil and apply them to the bottom right hand corner. I absolutely love the layered effect I achieved with the gold heat embossing, embossing glaze and stamping!
For the next steps I focus on adding splatters. First I add some splatters using water from my Distress Sprayer, but instead of spraying with it I unscrew the sprayer and flick the nozzle to add the splatters. I then dry the ink with my heat.
The next type of splatters I add are with Distress Foundry Wax. If you're not familiar with Foundry Wax feel free to check out my Distress Foundry Wax video. I add some isopropyl alcohol to the Foundry Wax to make it easier to splatter and then use a paint brush to pick up the wax and flick it to create the splatters. I then use my heat embossing tool to heat set the Distress Foundry Wax. If you don't do this, it will just rub off. I love the gorgeous shine the Foundry Wax adds to the background and how all of these layers keep adding to the depth and interest!
The final bit of splatters are made using Black Soot Distress Paint. I use a paint brush to flick the paint onto the background. I then set the paper to the side to dry.
Once dry, I complete the background by inking the edges with Walnut Stain Distress Oxide Ink using a foam blending tool.

To finish off the card, I die cut the word Merry from the Tim Holtz Merry and Bright die Set from Black Kraftstock and then twice more from regular black cardstock. I glue them together to create a little dimension and sand the paper to reveal the kraft core. Before adhering it the the background, I add a couple of evergreen die cuts I cut from green cardstock using the Tim Holtz Mini Holiday Greens Die Set. Next, I stamp the word Christmas using a stamp from the Tim Holtz Tiny Text Christmas Stamp Set with Versamark Watermark Ink onto a piece of Black Kraftstock and heat emboss it with gold embossing powder. I then trim it down, sand the edges and adhere it to the card. The final touch was to take a piece of gold metallick kraftstock cut to 4.25 x 5.5 inches, sand the edges and layer it behind the background panel.

SUPPLIES FOR MERRY CHRISTMAS CARD


No comments
Every time you smile at someone, it is an action of love, a gift to that person, a beautiful thing. ~Mother Teresa
HUGS!
JULIANA