

[Affiliate links used. If you would like to learn more about what an affiliate link is, you can see my full affiliate and product disclosure statement here.]
If you're new to STAMPtember®, let me tell you a bit about it! It's a yearly event at Simon Says Stamp and this year marks their 12th Anniversary. Each day during the month of September they release a new, exclusive stamp set or kit that is done in collaboration with many of the amazing stamp companies that are a part of our industry. These stamp sets are available for a limited time AND only while supplies last. Many of them sell out super fast, so if you see one you like, you better grab it. With all that being said, the STAMPtember® set by Tim Holtz is sure to sell out quickly. This stamp set is AVAILABLE NOW (12 PM ET), so if you're worried about it selling out, head on over and purchase the Tim Holtz STAMPtember® 2021 stamp and mask set immediately and then pop back here for some inspiration on using your new stamp set!

Here's a look at the entire new Tim Holtz STAMPtember® 2021 stamp and mask set and the moon mask that is included with it.

So without further ado, let me share all the details on how I created this Merry Christmas card featuring the Tim Holtz STAMPtember® 2021 stamp and mask set.
I followed a tutorial by the uber talented Emma Williams, but incorporated the moon mask and then created my own mask for the stamped image using Gina K Designs Masking Magic Sheets. I'll also admit that I was super intimidated to try cutting a mask for such a detailed image. However, I quickly realized that many of those details, such as the antlers, didn't need a mask because there wasn't anything to color in those areas. I also realized that I could color in any gaps using a waterbrush and the Distress Ink I had ink blended in that area. So now that the intimidating issues have been taken into account, let's get on to how this card came together.

Next, I placed the moon mask and the mask I created for the Santa and reindeer in place with a bit of temporary adhesive. The Gina K Designs Masking Magic Sheets have an adhesive on them, but because I wanted to be able to reuse the mask I didn't want to remove the liner and then have to try to line it back up with the detailed image, so I just applied some temporary adhesive to the backside.


For the background I first stamped the Santa and reindeer image onto a piece of Distress Watercolor cut to 4.5 x 6.5 inches using Black Soot Archival Ink. The finished size of this card is 5x7 inches.


I then carefully ink blended Prize Ribbon Distress Ink toward the center and Chipped Saphire toward the outside. By carefully I mean that I did have to hold the mask in place so it wouldn't move. This goes back to me not using the adhesive on the back of the masking sheet. You won't have to worry about it so much if you remove the liner. Also, if you look closely you can see that I didn't cut out the space underneath the sleigh. Once the ink blending was completed, I used a waterbrush to apply a bit of Distress Ink to fill in this area and any other gaps around the mask. Being able to do this also helped with not having to get too fussy with cutting the mask.

With the ink blending and masking for the background completed, I added a bit of water using the Distress Sprayer and blotted it dry with a paper towel to lift off a bit of the ink and create the effect of stars. In these photos you will notice that the water droplets are much larger than the finished card. As I mentioned earlier, there was a bit of trial and error in creating this so to avoid the large droplets either hold the Distress Sprayer farther away from your paper or use a fine paint brush to splatter the water and give you a bit more control.

I then added on the center part of the moon mask while keeping the Santa mask in place and ink blended it using Antique Linen Distress Ink.

Continuing with the background, I added a bit of Walnut Stain Distress Ink to the edges. I then distressed the edges using the backside of my craft knife and finished it off with some machine stitching.
With the background completed, I began coloring the Santa and reindeer image using Distress Ink and a waterbrush. The colors I used were: Aged Mahogany, Rustic Wilderness, Brushed Corduroy and Walnut Stain.

Once everything was nice and dry, I stamped the swirl of stars using embossing ink and heat embossed it with gold embossing powder. I did the same thing for the sentiment and trimmed it to a rectangle to adhere to the card.

For the cluster of greenery, I used the Mini Holiday Greenery Thinlits. I sprayed pieces of Distress Watercolor paper with Distress Mica Stain in Tree Lot and Holly Branch and die cut the greenery. I then used a small paint brush to apply Peppermint Stick Mica Stain to create the berries.

To complete the card, I layered it onto a piece of Gold Metallic Kraftstock and then onto a piece of Distress Heavystock ink blended around the edges with Antique Linen Distress Ink.

Thanks so much for stopping by today to see how my Merry Christmas Card came together using the Tim Holtz STAMPtember® 2021 stamp and mask set. I hope you enjoyed the inspiration and give masking a try!
Finished card size: 5 x 7 inches
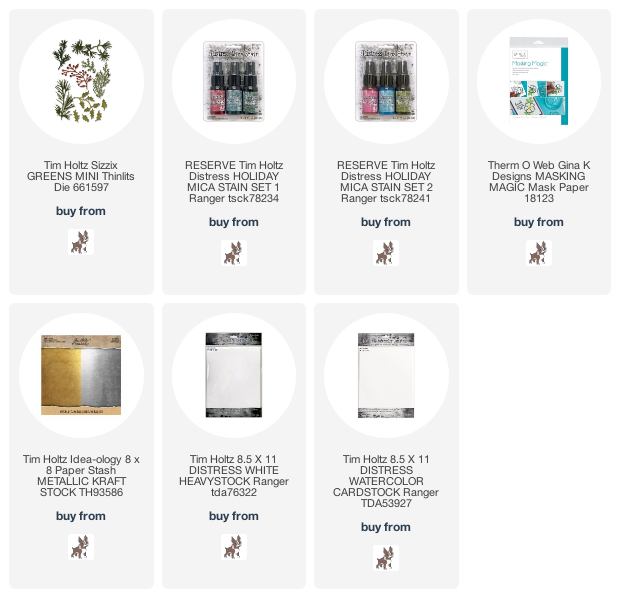
Supplies
You can find the products I used to create these projects along with compensated affiliate links to Simon Says Stamp. These links are at absolutely no extra cost to you. If you want to learn more about what an affiliate link is, you can see my full affiliate and product disclosure statement here.


Super gorgeous! Thank you for the detailed description!
ReplyDeleteBeautiful and so helpful! What temporary tape did you use? I'm so intimidated by masking as well. I really need to get over my fear!
ReplyDeleteAny adhesive that says it’s temporary or repositional will work. Therm O Web makes one that I use all the time.
DeleteHi Juliana! Thanks so much for the tutorial, it really helped me, since I’m so new at stamping.
ReplyDelete