
Long time no post huh?! Well, let's just say life threw a curve ball at me and life as I know it has changed. I'm not quite sure I'm ready to share the details just yet, but I'll take all the prayers and positive vibes you can spare as I begin this next chapter in my life. Thankfully, I still have my creativity and love of paper crafting to provide me with a distraction and at times the therapy I need to take each day as it comes. With that said, I've actually been creating quite a bit with some soon to be released new products from Tim Holtz for both Sizzix and Stampers Anonymous that I know you all are going to love!
Today I'm back to share another card I created for my Christmas Card Head Start 2021. This is a slimline card and I was inspired by a multitude of makers including Paula Cheney, Emma Williams and Anita Houston and the cards they created using the Poinsettia Stamp Set for the Stampers Anonymous Christmas 2021 release. If you aren't familiar with the slimline size it's typically 3.5 x 8.5 inches and it fits in a standard size number 10 envelope (also known as a business size envelope, is 4.125 x 9.5 inches.

This card started with the background. I stamped the beautiful poinsettia onto Distress Watercolor Cardstock three times with embossing ink and heat embossed it with gold embossing powder. I created a mask to allow me to stamp the images and overlap them to create an illusion of depth.

This step ended up to not be necessary with how the final design turned out, but it was the first time I had actually created a mask and it was a fun learning process. Plus, I can reuse the mask on a future project.

With the embossing completed, I added some stamping using Vintage Photo Archival Ink and a script stamp. I choose to use this type of ink because I knew I was going to do some watercoloring and I didn't want the stamping to smear.

Next, I did a little controlled ink smooshing using Old Paper Distress Ink. By controlled, I mean that I smooshed the open areas around the flowers into the ink and if any got where I didn't want it, I dabbed it up immediately using a clean paper towel.

Once the ink was dry, I began watercoloring the poinsettia using a water brush and Distress Ink in Festive Berries and Aged Mahogany.

I then added a few splatters of Brushed Corduroy for a bit more of a distressed look. Once dry, I die cut the background it using the Scrapbook.com Nested Tickets Slimline Dies, inked the edged with Brushed Corduroy Distress Ink and layered it onto a piece of cardstock from the Scrapbook.com Boho Slimline Paper Pad.

For the sentiment, I stamped Christmas Greetings onto a piece of Distress Watercolor Cardstock using Vintage Photo Distress Ink. I ink smooshed this piece into some Old Paper Distress Ink and then die cut it using the Stacked Postage Thinlits. I inked the edged with Brushed Corduroy and then layered it onto a piece of scrap pattern paper. I then added some more layers of paper that I die cut using Ticket Booth Framelits. I then finished it off with some coordinating enamel dots.

Thanks for your visit today! Have you started on your Christmas cards yet? If not, maybe this will inspire you to jump in and begin on your Christmas Card Head Start for 2021!
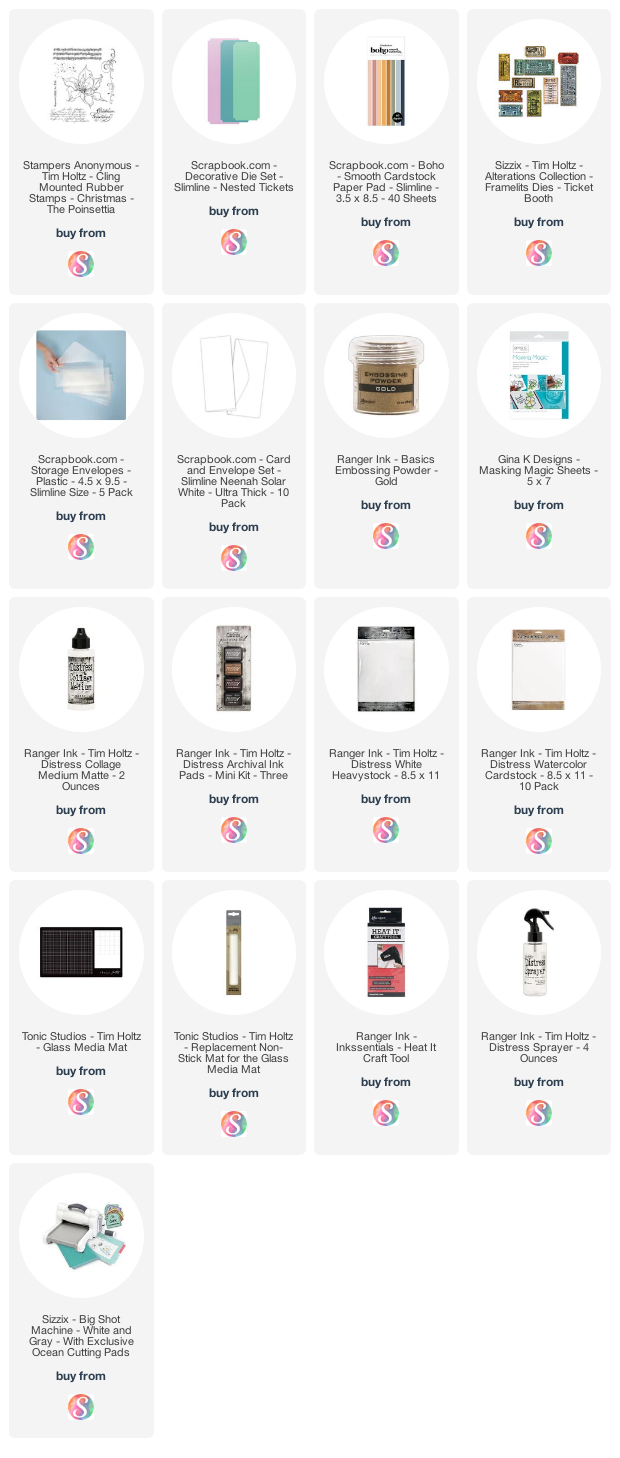
Supplies
Below you can find the products I used to create this project along with compensated affiliate links to Scrapbook.com. These links are at absolutely no extra cost to you. If you want to learn more about what an affiliate link is, you can see my full affiliate and product disclosure statement here.


blessings to you dear lady.. your art is wonderful.. stay strong, you have much to offer to the world!!
ReplyDeleteAbsolutely love this card!!
ReplyDeleteThis a gorgeous card! I hope you find beauty and relief in the days ahead.
ReplyDeletesuch gorgeousness...love your card
ReplyDelete:) Karen
This is gorgeous!
ReplyDelete