
It's Day 3 of the 12 Days of Christmas Cards and I've got a pawsitively fun one to share with you today! Santa Paws is in the house and spreading Christmas cheer along with his muddy paw prints!
Santa Paws Christmas Card

When I first got my paws on this Little Paws stencil from Scrapbook.com, I knew I wanted to combine it with the Tim Holtz Crazy Dogs and Crazy Things stamp sets to create a Christmas card. I began by creating the background and because I was going to use the Crazy Dogs stamps, I wanted to create a slightly crazy background.
I used the dab and dry technique that I mentioned using for my Day 1 card. This is one of my favorite techniques and you will see that I use it quite often for my backgrounds. Here I used the following Distress Ink colors: Festive Berries, Salty Ocean and Twisted Citron. I love how these colors combined and mixed. When placing these colors onto your craft mat, try to avoid putting the green and red next to each other if you want to avoid turning colors to mud. Once the dab and dry was completed, I inked the edges with a bit of Vintage Photo Distress Ink.

With the paper completed dry, I placed the Little Paws Stencil on top and applied Distress Crackle Paste with a palette knife. This added some fun texture, but you couldn't really see the paws. The help them stand out a lot more, I put the stencil back in place and inked over the stencil with clear embossing ink. I then removed the stencil and sprinkled black embossing powder over the design and heat set it with my heat gun. I absolutely recommend rubbing an anti-static pouch over the entire surface before you attempt this heat embossing step. I've always found black embossing powder to be tricky to work with because it is so hard to remove any stray specks of it. If I had to do this over, I would use a black pigment ink instead of the clear embossing ink and then use a clear embossing powder.
The final step for the background was some ink splattering using the Scrapbook.com Metallic Gold Premium Pigment Ink Reinker. I squeezed out some of the ink onto my craft mat, spritzed it with a little water and then used a paint brush to splatter the ink onto the paper.

For the Crazy Dog, I stamped the dog image, present and hat (which are from the Crazy Things Stamp Set) onto Neenah Cardstock using Memento Tuxedo Black Ink. After coloring them Copic Markers I fussy cut each of the images and then inked the edges with a black marker. To give the images some dimension, I adhered them using Scrapbook.com Double Sided Foam Adhesive. Scrapbook.com sells this in a wide variety of pre-cut shapes such as strips, rounds, squares and even rolls that you can cut yourself.

To finish off the card, I stamped the sentiments from the Wordfetti Christmas Stamp Set using black ink onto white cardstock. I then inked the edges with some Vintage Photo Distress Ink and attached them using a Tiny Attacher. I then layered the card front onto a piece of blue cardstock from the Scrapbook.com

Thanks so much for stopping by for Day 2 of my 12 Days of Christmas Card Ideas. If you happened to miss it, I invite you to visit Day 1 and check out the Merry Christmas Santa Card I shared.
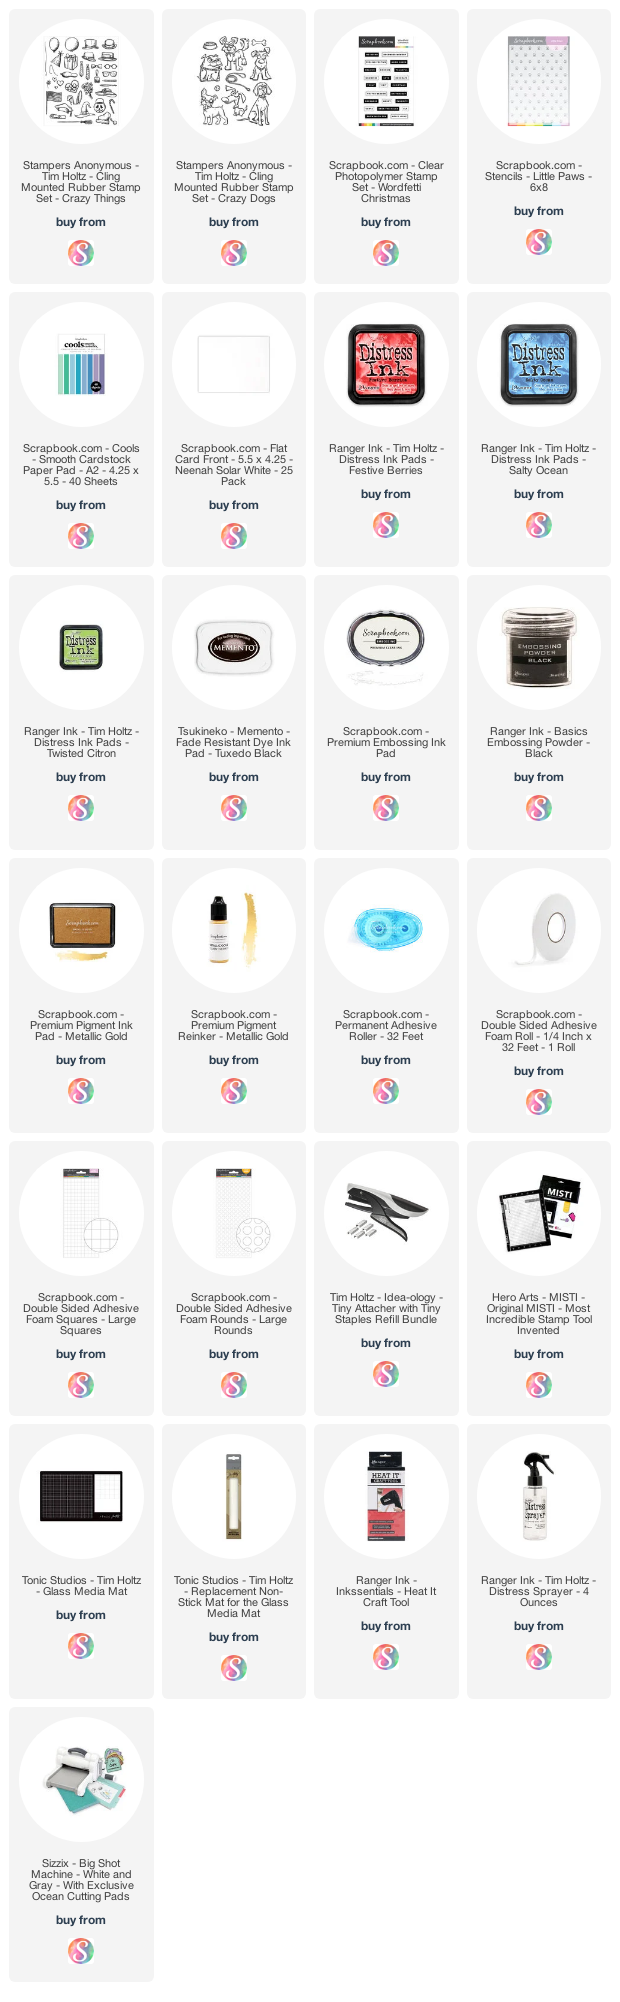
Supplies
You can find a supply list of the products I used to create this project below. This post contains compensated affiliate links to Scrapbook.com at no cost to you. If you want to learn more about what an affiliate link is, you can see my full affiliate and product disclosure statement here. Thank you so much for your support!


No comments
Every time you smile at someone, it is an action of love, a gift to that person, a beautiful thing. ~Mother Teresa
HUGS!
JULIANA