
Hello friends! How's it shaking? Today I'm sharing a Hello Shaker Card created using some of my favorite adhesives from Scrapbook.com. If you've never created a shaker card before, don't worry. I'm going to take you through it step by step and show you just how easy they are to make.

Every shaker card is made up of what I like to refer to as a Shaker Window and a Shaker Frame. The shaker window is what you look through to see all the shakedy bits on the inside. To create the shaker window all you have to do is cut a shape into a piece of paper. You want to use a shape that is large enough that you can see the shakedy bits behind the cut shape. Here I used the Bold Basic Alphabet dies to create the window. I used Mint Tape to hold the dies in place on the paper as I ran it through my die cutting machine. Once I had cut out all of the letters, I trimmed the strip to size.

Next, you want to cover the back side of the window with a piece of acetate. You can purchase acetate sheets or recycle plastic packaging. Trim the acetate to just slightly larger than the window, then adhere it using Scrapbook.com Double Sided Clear Adhesive Roll.

Now it's time to create the Shaker Frame. This is what holds the shakedy bits in place. To create the frame, cut pieces of Scrapbook.com Double Sided Foam Adhesives strips and adhere them around the outside of the shaker window opening. Make sure the edges of the tape are touching so that none of the shakedy bits can fall out between the cracks.

Once you have the shaker window and frame completed, it is now time to fill the shaker. Select your background paper and pour the shakedy bits you want to use onto the paper in the area where you want to place the shaker. You can use anything from sequins, to seed beads, to mica flakes or even confetti. After you have them poured in place, peel off the adhesive liner and adhere your shaker over the shakedy bits.

And there you have it! I told you it was super easy to create a shaker card. Now it's your turn to create your own and I hope this project has inspired you to do just that!
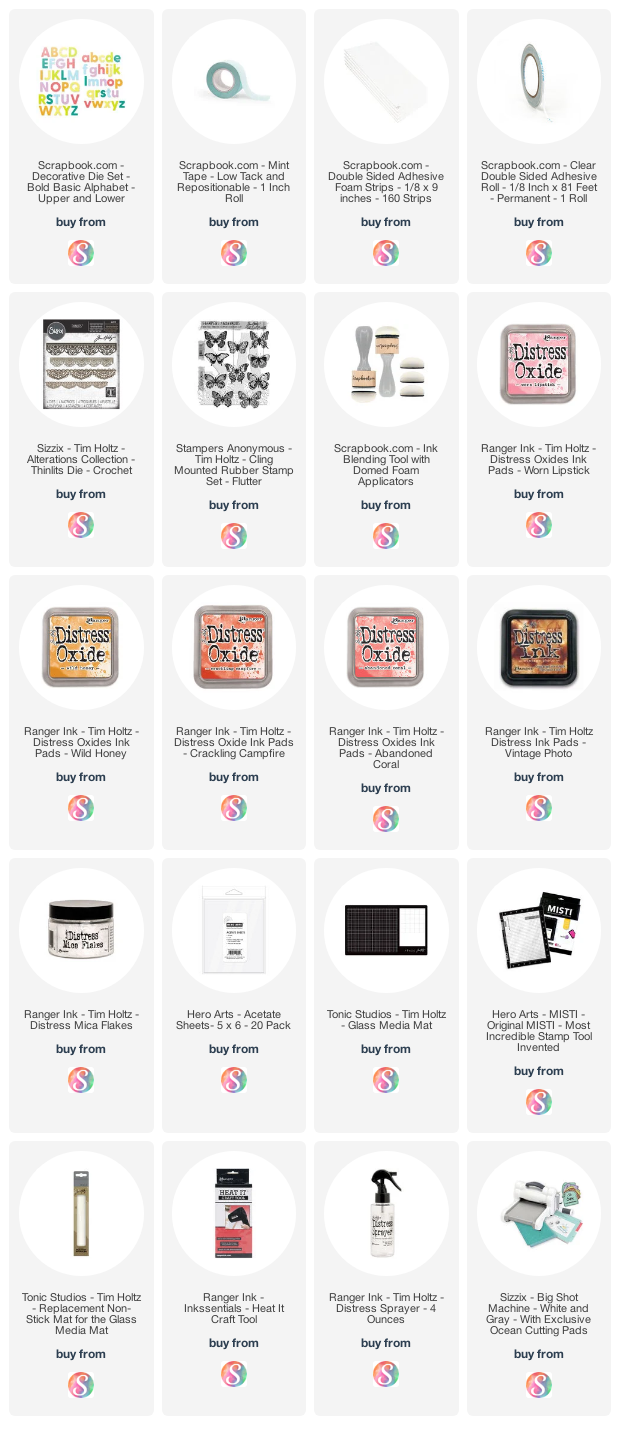
Supplies
You can find a supply list of the products I used to create this project below. This post contains compensated affiliate links to Scrapbook.com at no cost to you. If you want to learn more about what an affiliate link is, you can see my full affiliate and product disclosure statement here.


Breathtakingly lovely! Those beautiful crocheted dollies are such a stellar touch.
ReplyDeleteAutumn Zenith 🎃 Witchcrafted Life
Fantastic card!! I just adore the smooshed ink background!! ~ Blessings, Tracey
ReplyDelete