
Hello friends! I'm so excited to begin sharing some of the Sizzix Seasonal Chapter 3 projects I created for Tim Holtz. I hope you'll join me in the coming weeks as I share the projects I created. Chapter 3 is full of all things Halloween and Christmas...and if you know me at all you know these are my favorite holidays. I love to decorate for both of them and of course craft all the things for them as well. Needless to say, I'm just a wee bit excited about this release!
In case you missed it, Tim shared the entire Sizzix Chapter 3 release along with loads of inspiration during a Facebook Live that you can check out on Facebook or Tim's blog.
Halloween Haunted House Vignette
This first project is a Halloween House Vignette featuring the Haunted Thinlits Die. From the moment I saw this die, I knew I wanted to combine it with the Tiny Lights to create an eerie glow coming from within.


I began with a piece of watercolor paper. I placed the Halftone Stencil onto the paper and inked over it with embossing ink. I then sprinkled it with clear embossing powder and heat set it with my heat gun. I then ink blended over it with Carved Pumpkin, Wilted Violet and Black Soot making sure to keep the Carved Pumpkin in the area that would go behind the house to assist with creating the eerie glow. Next, I splattered a bit of watered down Black Soot Distress Paint over the paper. I then trimmed the paper to size to fit the back of the box and adhered it with Collage Medium. I also trimmed extra pieces to cover the inside top and sides of the box as well.


Before we go any further, I did drill a hole in the back side of the Vignette Box. I feed the lights through the hold and then adhered the battery pack to the back side of the box. To help the box be less noticeable, I adhered a piece of black cardstock to the pack and trimmed it to size.
To decorate the outside of the Vignette Box, I painted it with Black Soot Distress Paint. While the paint was drying, I used the Spider Web Thinlits Die to cut a bunch of spider webs from black cardstock. I then adhered them to the outside of the box using Collage Medium. I trimmed some of them down to make them fit and of course I added a couple of the spiders here and there.
To decorate the outside of the Vignette Box, I painted it with Black Soot Distress Paint. While the paint was drying, I used the Spider Web Thinlits Die to cut a bunch of spider webs from black cardstock. I then adhered them to the outside of the box using Collage Medium. I trimmed some of them down to make them fit and of course I added a couple of the spiders here and there.

For a bit more grunge, I added Crackle Texture Paste to the front edges of the box. Once it was dry, I added some Black Soot Distress Crayon to dinge it up. For the final touch, I adhered some florist moss to the base of the box.

This is a look at the Halloween House Vignette with the lighted turned off. It still looks fun, but the Tiny Lights add a special touch to help complete the scene.

Supplies
You can find a supply list of the products I used to create this project below. This post contains compensated affiliate links to Scrapbook.com at no cost to you. If you want to learn more about what an affiliate link is, you can see my full affiliate and product disclosure statement here. The products I used to create this project are a mix of products I purchased myself and products I received as compensation for creating for the Tim Holtz Sizzix Chapter 3 Release.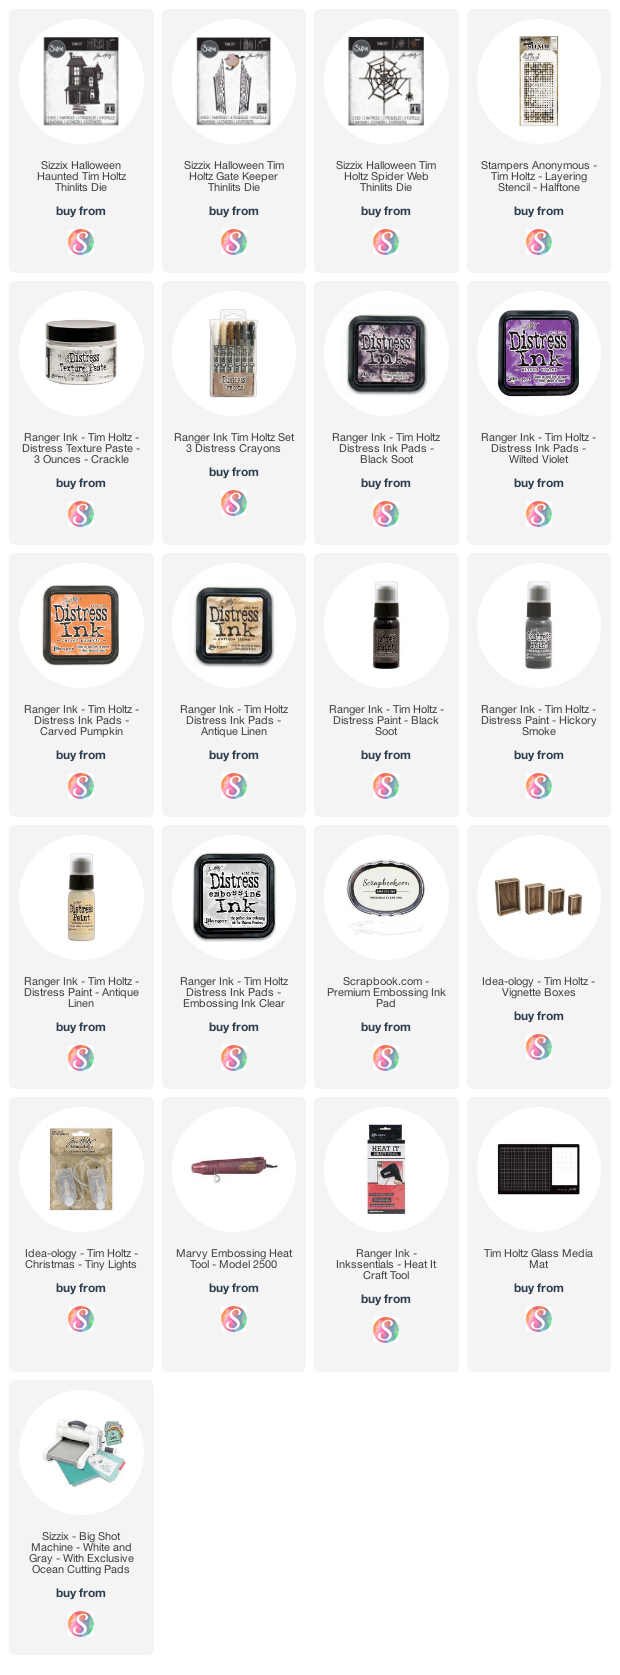


I love it!
ReplyDeleteJulianna thank you for your wonderful tutorial on this very creative piece you did for the Halloween release...very talented...
ReplyDelete