Wow! Have you checked out Tim Holtz's January Release from Stamper's Anonymous yet? The Professor is back and he's bigger and better than ever, along with a group of other amazing stamp sets. Of course I'm totally in love with the larger than life Professor 2 and so today I'm sharing one of the cards I created with it for the Stamper's Anonymous Booth at Creativiation. I'm still pinching myself over this and I hope you can share in some of this excitement as you check out today's card.
THE PROFESSOR 2 | TIM HOLTZ STAMPER'S ANONYMOUS
So first up I stamped the Professor on watercolor paper and then water colored him with a water brush and Distress Inks. The colors I used were Antique Linen, Spun Sugar, Faded Jeans, Tumbled Glass, Fossilized Amber, Rusty Hinge, Hickory Smoke and Ground Espresso. If you aren't familiar with water coloring with ink pads, all you do is stamp the ink pad directly on to a craft mat, run your water brush through the ink to get it onto the bristles and then color it onto your paper. If you're a little more fancy, you can certainly use a watercolor brush! Once he was colored to my liking, I fussy cut around him, and then ran a black marker around the edges to hide the white and then inked blended it on the edges with a bit of Walnut Stain Distress Ink.

For the background, I stamped some of the images from The Professor 2 stamp set onto watercolor paper using Distress Oxide in Peeled Paint, Fossilized Amber and Vintage Photo. As I stamped each image, I let it just briefly dry then white over it with a dry rag to slightly smear the ink. The trick to avoid it turning into a smeared mess is to let it dry just a bit. If you are like me and not super patience when it comes to waiting for things to dry, you can dab away the excess ink with a dry rag or paper towel. Then wipe over it with the dry rag to smear it. After you are finished stamping your design, it's time to age the paper and give it a nice grungy look. Spritz your craft mat with Old Paper Distress Spray, then spritz it with some water and then dab your paper into the ink. Dry it with your heat tool. Next, ink over the paper around the edges using a blending tool and Frayed Burlap Distress Oxide Spray. Spritz with water to activate the oxide and dab it dry. To finish it off, ink blend the edges with a little Walnut Stain Distress Ink. For even more interest, I added some machine stitching and distressed the edges of the paper with the backside of my kraft knife.
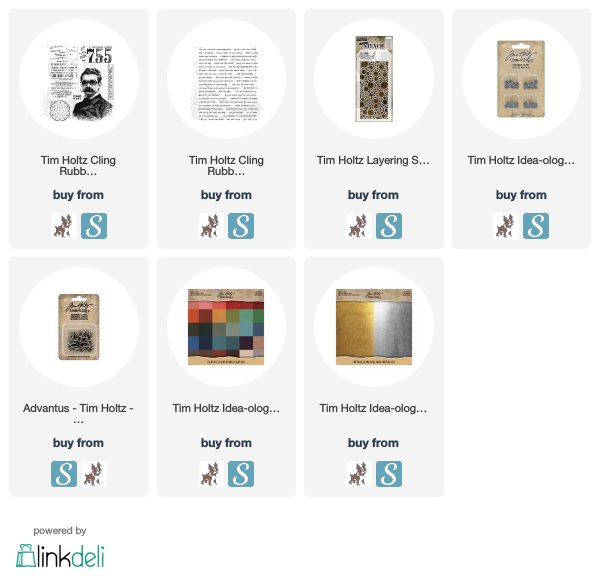
The next layer, is a piece of distressed metallic kraft stock. I shared all about how I do that in my previous post - The First Step | Tim Holtz Retro Type Bigz Die. Here I used gold instead of silver to better coordinate with this card's color theme.
For the blue background, I used a piece of blue cardstock from the 8x8 Classic Kraft Stock Paper Pad. You can't totally see it in these photos, but I stenciled over the paper using the new Bubbles Layering Stencil with Faded Jeans Distress Oxide Ink. It creates a subtle bit of interest that I can't wait to try again in the future.
To finish off the card I added some Idea-ology Adornments Stars that I distressed with alcohol inks. I even added some Glossy Accents to the Professor's goggles, but you totally can't see it in the photos.
I then finished off the card by stamping my sentiment using another of my new faves from this release...Tiny Text. I stamped it with Black Soot Archival Ink onto white cardstock, trimmed it to size, added some Hardware Heads and inked the edges before adding it to the card.
There you are! I hope you enjoyed learning a bit more about how I created my card featuring The Professor 2!
SUPPLIES
This post contains affiliate links to Scrapbook.com and Simon Says Stamp. If you buy anything through my links, it adds no extra cost to you. I truly appreciate and thank you for your support! (If you're interested, you can see my full disclosure statement here.)


No comments
Every time you smile at someone, it is an action of love, a gift to that person, a beautiful thing. ~Mother Teresa
HUGS!
JULIANA