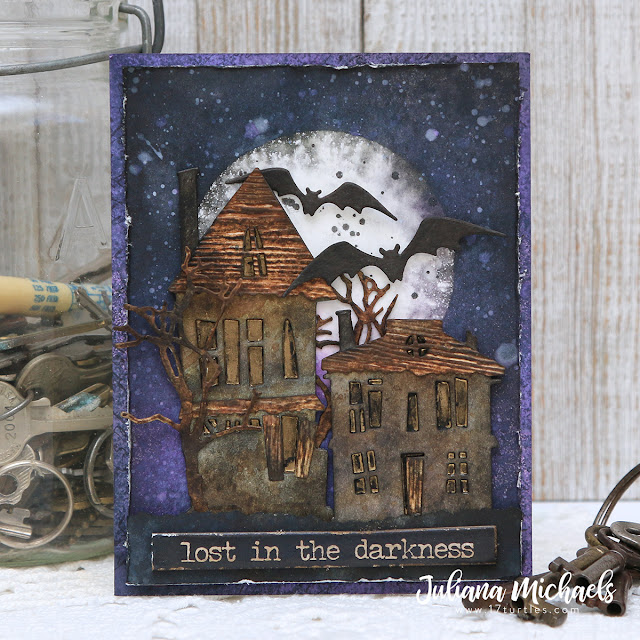
Hello my crafty friends! It's been a bit, but I'm back today to share a Halloween card I created recently using a mix of Tim Holtz Sizzix dies and a fun full moon background technique. I came across this technique thanks to the talented Stacy Hutchison. I modified her technique a bit to fit the supplies I had on hand, but in the end I was Lost In The Darkness for sure!
LOST IN THE DARKNESS | HALLOWEEN CARD
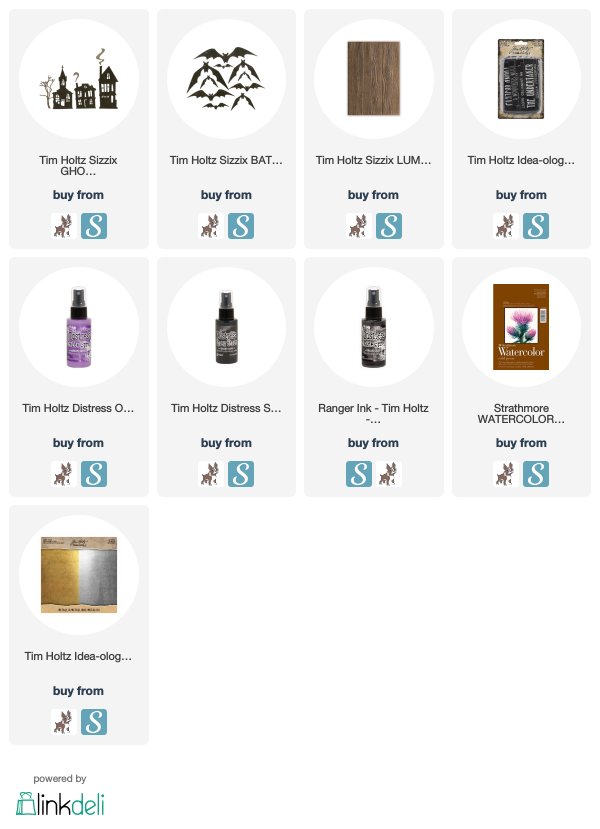
(A full list of supplies with affiliate links is located below.)
To create the background, I die cut a piece of gold foiled cardstock with a 3 inch circle die to use as a mask for the moon. (Stacy used a piece of Yupo paper, however I didn't have this on hand.) You really just need a piece of paper that has a slick surface on one side, so dig through you crafty stash to see what you have on hand that will work. The slick surface prevents the ink from drying, so you can wipe off the ink and use the mask over and over.
Once everything was dry, I spritzed the piece with water and that as Stacy says..."is when the magic happens!" The ink magically runs toward the center of the moon and creates these cool streaks.
I then dried it again and then splattered the piece with a bit of watered down black acrylic paint, dried it again and then repeated the splattering with white acrylic paint.

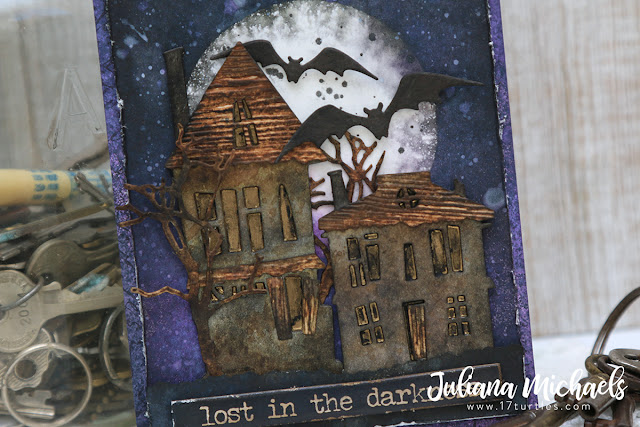
Once the background was dry, I was able to add a spooky Halloween scene using the Ghost Town and Bat Crazy dies.
The houses use the same technique for the windows that I shared in my Halloween Haunted House. I switched up the color of the houses to more brown tones of Distress Ink. For the roofs, I cut extra houses and trimmed off the roofs. I then went a little old school and pulled out my Deckle Edge scissors and trimmed the edges to give them some interest. I then embossed them using the Lumber 3D Texture Fade Embossing Folder. This was another fun idea I saw on another amazing project Stacy shared.

After I finished adhering the haunted houses and bats I added a Halloween Quote Chip. To grunge it up a bit, I distressed the edges with the back side of my kraft knife and added a bit of Distress Ink.


SUPPLIES
This post contains affiliate links to Scrapbook.com and Simon Says Stamp. If you buy anything through my links, it adds no extra cost to you, but it does help me keep my blog up and running and allows me to share this content with you! I truly appreciate and thank you for your support! (If you're interested, you can see my full disclosure statement here.)


This is amazing! I love it! Happy Halloween to you and yours!
ReplyDelete