
Hello friends and welcome to Day 6 of my 12 Days of Christmas Card Ideas. Today I'm sharing a Christmas card idea that uses a mix of some of my favorite crafting supplies...dies, stencils and cardstock!
Poinsettia Christmas Card
Do you love die cutting? If you're like me and the answer is yes, then you know that paper is the next thing you reach for when you're die cutting. Well, Scrapbook.com has you covered with their brand new Smooth Cardstock A2 Paper Pads that are perfect for all your die cutting needs. They come in six beautiful color combinations!

Before we get to the cardstock, let's just take a look at that beautiful Poinsettia die! This is from the Fresh Cut Florals Edition 4 by Concord & 9th. I'm always a sucker for a poinsettia and as soon as I saw this one, I knew I needed it! It's simple to assemble and comes with a nice combination of leaves to layer and create your design. I also combined it with Fresh Cut Florals Edition 3 to add some berry looking foliage, but you could certainly leave those out.
So now, back to the cardstock. As I mentioned, I used the Scrapbook.com Christmas and Floral A2 Paper Pads to create this floral cluster. This is a lightweight smooth cardstock and it cut beautifully with these detailed dies, including the "merry" from the Scrapbook.com Merry Christmas Sentiments Decorative Die Set.

The background for this card was created using a kraft card base. I placed the Scrapbook.com Mixed Stripes Stencil on top of the card base and used Mint Tape to hold it in place. Using a sponge dauber I applied Scrapbook.com Premium Metallic Gold Pigment Ink. I then dried the ink using my heat tool so I could ink the edges with a bit of Vintage Photo Distress Ink. To finish off the card base, I spritzed it with my Distress Sprayer and dabbed it dry to add a slightly distressed look.
FYI: Pigment inks are made of tiny particles that sit on top of your paper instead of soaking into it like dye ink. Because they don't soak in, they take a longer time to dry. To speed up the drying time you can use a heat tool. Pigment inks tend to be brighter and have more color saturation that makes them work well with dark colors of cardstock. They are also great for heat embossing since they stay wet longer.

To finish off the card, I stamped "Merry Christmas" onto a strip of white cardstock using the Scrapbook.com Wordfetti December Stamp Set. I then, of course, inked the edges with Vintage Photo Distress Ink.

Thanks so much for stopping by today. I hope you enjoyed learning more about the new Scrapbook.com A2 Cardstock Paper Pads and the Poinsettia Christmas Card I made.
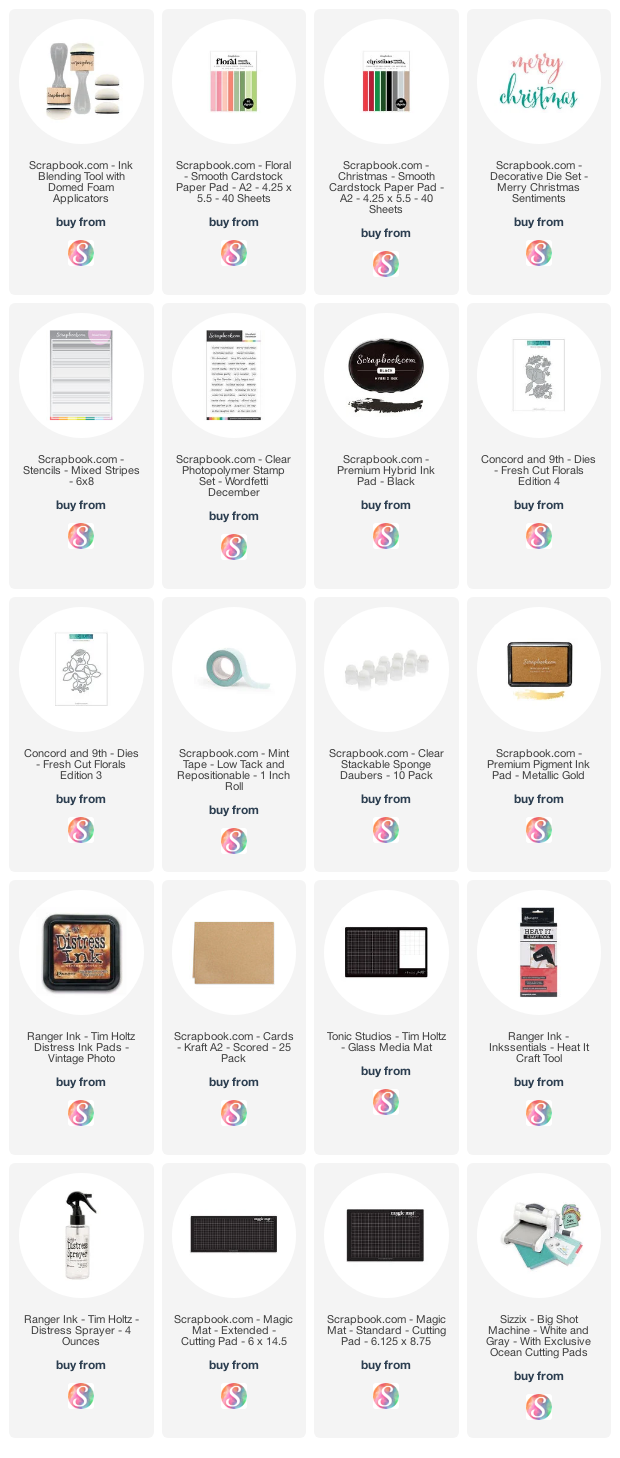
Supplies
As always you can find a complete supply list below. This post contains compensated affiliate links to Scrapbook.com at no cost to you. If you want to learn more about what an affiliate link is, you can see my full affiliate and product disclosure statement here.


No comments
Every time you smile at someone, it is an action of love, a gift to that person, a beautiful thing. ~Mother Teresa
HUGS!
JULIANA