Hello friends and welcome to the Sunny Studio 4th Birthday Blog Hop! I'm so excited to be a part of this fun hop and to celebrate this wonderful milestone with Sunny Studio. Let me share a bit about what's going on today. As you hop along, you're going to be inspired with projects featuring the upcoming Sunny Studio Stamps Fall Release! AND...you will be able to PRE-order the new release during the blog hop! Yep, you read that correctly! Also, no blog hop would be complete without some fabulous prizes! You'll have the chance to win a $25 gift code from me to the Sunny Studio Online Shop! In fact, there is a total of $450 in prizes being given away during this hop, so make sure you check out all the details below.

You should be coming here from the fabulous Ana Anderson, but if not, you can certainly start here and continue along the hop. But first, let me share a set of Christmas Tags featuring the gorgeous new Layered Poinsettia Die! I've created 2 versions of the same tag...one clean and one distressed! I'd love to know which one you like the most!
CLEAN & DISTRESSED LAYERED POINSETTIA CHRISTMAS TAGS
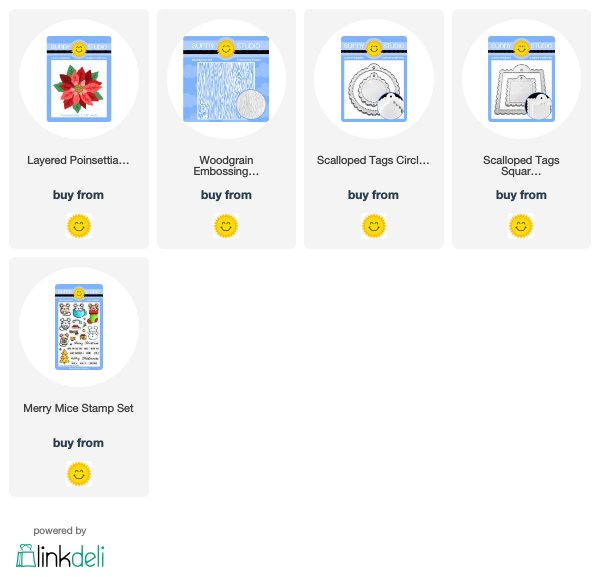
For the clean set of tags, I began by taking the Scalloped Circle and Square Tag Dies and die cutting a piece of off white cardstock to create the tag base. I then repeated the die cutting with a piece of brown cardstock.


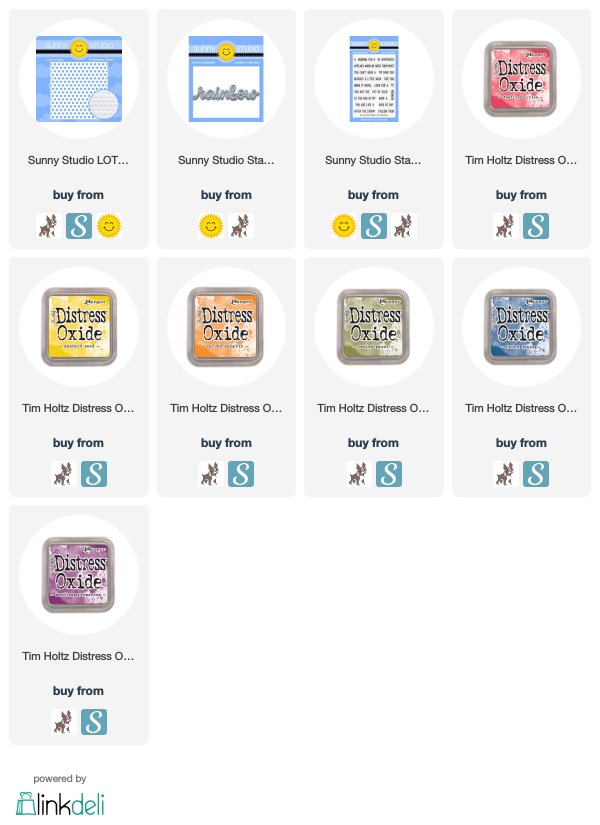
For the poinsettia, I created my own custom red and green paper using Distress Sprays and Distress Oxide Sprays.
RED: I spritzed watercolor paper with water and then sprayed it with a mix of Distress Spray in Fired Brick, Festive Berries and Aged Mahogany. I dried it with a heat tool and then sprayed the paper with Distress Oxide Spray in Fired Brick and Peeled Paint. I then sprayed the paper with a bit of water to activate the oxide. I then dried it and then sprayed on just a bit of Distress Spray in Old Paper.
GREEN: I spritzed watercolor paper with water and then sprayed it with a mix of Distress Spray in Peeled Paint, Bundled Sage and Old Paper. I dried it with a heat tool and then sprayed the paper with Distress Oxide Spray in Iced Spruce and Peeled Paint. I then sprayed the paper with a bit of water to activate the oxide. I then dried it and then sprayed on just a bit of Distress Spray in Old Paper.

Once all of the papers were ready to go, I die cut each of the layers from its respective color. I then inked the edges of each piece with Vintage Photo Distress Ink and then began assembling each Poinsettia.
To finish off each tag, I again added the sentiment from the Merry Mice Stamp Set and then for a vintage touch I added crinkle ribbon died with Distress Spray to coordinate with the tags.

I hope you enjoyed these two versions of Christmas tags using the Layered Poinsettia Die! You can find the full list of Sunny Studio products used below.
BLOG HOP DETAILS & GIVEAWAY
Here are a few more details about the blog hop and giveaway...

Along with being able to PRE-order the new release Sunny Studio will be offering FREE shipping within the USA and a mini light bulb die on all orders (or a $4 discount + a free mini light bulb die on international orders) + a FREE enamel pin on orders over $50 through September 30th. See that cute little mouse in the mug? That's the adorable enamel pin you can get!

If you are interested in winning a $25 gift code from me to the Sunny Studio shop, leave me comment below! (Please make sure I have a way to contact you if you are the winner.) The contest is open through Friday, September 27th 11:59 pm PDT and the winner will be announced on the Sunny Studio blog on Tuesday, October 1st. Good luck and thanks so much for stopping by today!
Now hop along to your next stop which is the amazingly talented Anja Bytyqi.
Just in case, here is the complete hop list:
Sunny Studio
Nichol Spohr
Sandy Allnock
Laura Bassen
Kay Miller
Michelle Short
Francine Vuillème
Teri Anderson
Rachel Alvarado
Angelica Conrad
Francesca Vignoli
Leanne West
Vanessa Menhorn
Eloise Blue
Ana Anderson
Juliana Michaels
Anja Bytyqi
Candice Fisher
SUPPLIES
This post contains affiliate links to Sunny Studio Stamps. If you buy anything through my links, it adds no extra cost to you, but it does help me keep my blog up and running and allows me to share this content with you! I truly appreciate and thank you so very much for your support! (If you're interested, you can see my full disclosure statement here.)