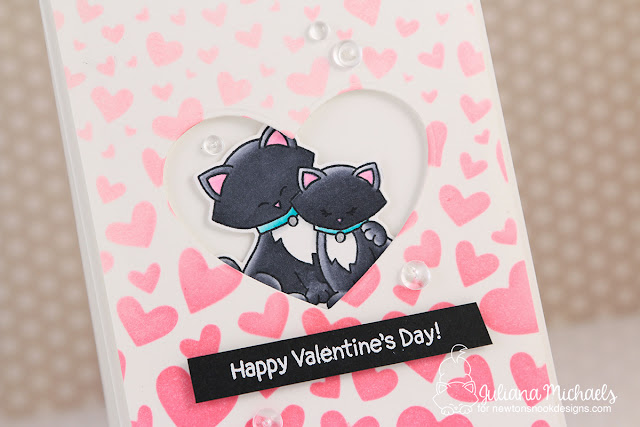
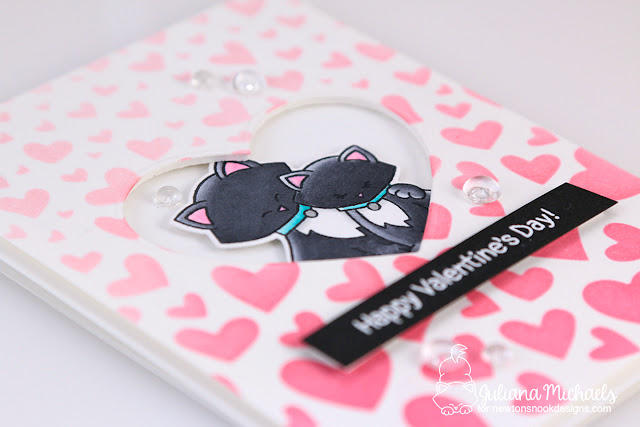
Hi and hello friends! Today, I'm excited to share a Happy Valentine's Day card with a Die Cut Stenciled Ombre Background using some lovely new products from Newton's Nook Designs! Their recent January release included a new set featuring Newton called Newton's Sweetheart Stamp Set and a fun new stencil called Tumbling Hearts. I'm using both of those along with a couple of other products to create the card I'm sharing with you today.
Die Cut Stenciled Ombre Background
To get started, take a piece of white cardstock and center the heart die from the Darling Hearts Die Set. Use low tack tape to hold it in place and run it through your die cut machine. You might notice the fun purple colored tape I'm using here. It's a brand new product from Therm O Web called Purple Tape and it's it perfect for holding your dies in place from this sort of technique. The tape is repositionable and doesn't tear your paper when you remove it.
After the die cutting is complete, take the same tape and position the Tumbling Hearts Stencil on top of the cardstock. Ink blend it using Distress Ink or Distress Oxide and a blending tool. To achieve the Ombre look, begin by applying the ink at the bottom of the card and work your way up. This way more ink will be applied at the bottom and the ink color with fade as you progress toward the top.
Remove the stencil and your background is ready to use. For this card, I started with a 4.25 x 5.5 inch piece of cardstock. I then trimmed it down to 4 x 5.25 inches.
I wanted to give the die cut stenciled panel some depth when I attached it to the card front. To do this, place the heart die on a piece of craft foam and run it through your die cut machine. Trim the foam to just smaller than the card front and adhere it to the back side of the card front.
Adhere the panel to the card base. Stamp, color and die cut one of the adorable Newton's Sweetheart images and tuck it behind the die cut heart opening. Use a bit of double sided foam adhesive to adhere the image inside the opening for even more depth and dimension.
Stamp the sentiment from the Love Bites Stamp Set onto black cardstock using Versmark Embossing Ink and then heat emboss it with white embossing powder. Trim to size and then adhere it to the card front, again popping it up with some double sided foam adhesive. For the final touch add some clear gems or sequins.
Supplies
Here are the supplies I used on the card I created and shared with you. Affiliate links have been used to Simon Says Stamp. Thank you so much for your support!

Newton's Nook Designs Love Bites Stamp Set (sentiment)


No comments
Every time you smile at someone, it is an action of love, a gift to that person, a beautiful thing. ~Mother Teresa
HUGS!
JULIANA