Looking for creative ways to use the new Tim Holtz A5 3D Embossing Folders? In my latest project and video, I’m sharing a beautiful DIY decorative panel that doubles as a unique home decor piece—perfect for adding a bit of crafty flair to your space!
These popular embossing folder designs are back from the vault, now in a larger A5 size, giving makers even more possibilities for texture, layering, and mixed media techniques. Whether you’re a card maker, scrapbooker, or love home decor crafts, you’ll find inspiration in this easy-to-follow project.
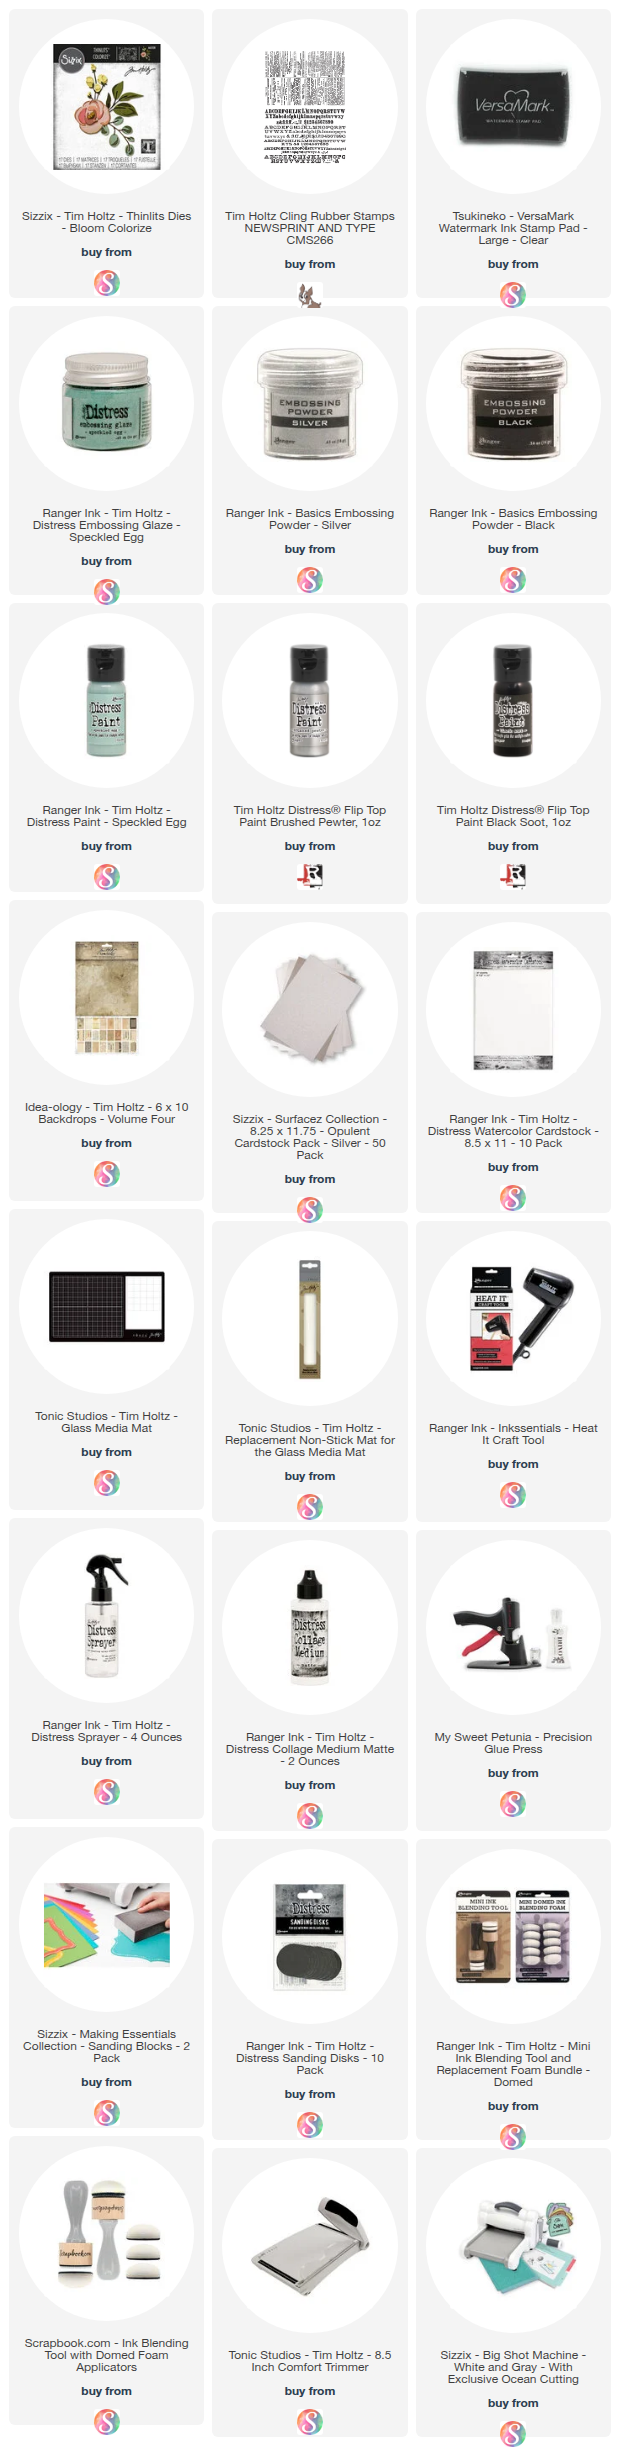
This project uses the A5 Typewriter Embossing Folder to create the background behind the retro typewriter and beautiful blooms.
You can either watch the video below or head over to my YouTube Channel HERE to check it out.
Please feel free to use products from your stash to recreate something similar. However, if you are interested in any of the products I’m using, you can find the supply list with links down below. Using these links does not cost you anything extra and it helps support my business. It also allows me to continue offering free content and keep my class costs low. I appreciate your support!
SUPPLIES Below you can find the supplies I used to create this card and the swatches. When you shop through those links and whether you purchase that exact item or something else entirely, you’re supporting me at no extra cost to you. The commission I receive helps me cover the costs of my blog and other expenses, and allows me to continue to provide you with FREE inspiration and tutorials. If you want to learn more about what an affiliate link is, you can see my full affiliate and product disclosure statement here. Thank you so much for your love and support!
Are you looking for a fun way to stretch your stencils?
In my latest video, I’ll show you how to use spray inks and your favorite stencils to create gorgeous, one-of-a-kind backgrounds using a simple monoprinting technique. It’s quick, a little messy (in the best way!), and perfect for adding bold color and texture to your handmade cards. You might even find it a bit addictive!
In this video you’ll learn:
How to monoprint with spray inks and stencils
Tips to get a good transfer
Ways to use your printed backgrounds in cardmaking
And I'm also taking you through the entire making process from start to finish
Whether you're a beginner or seasoned crafter, this technique is a great way to experiment and loosen up creatively!
You can either watch the video below or head over to my YouTube Channel HERE to check it out.
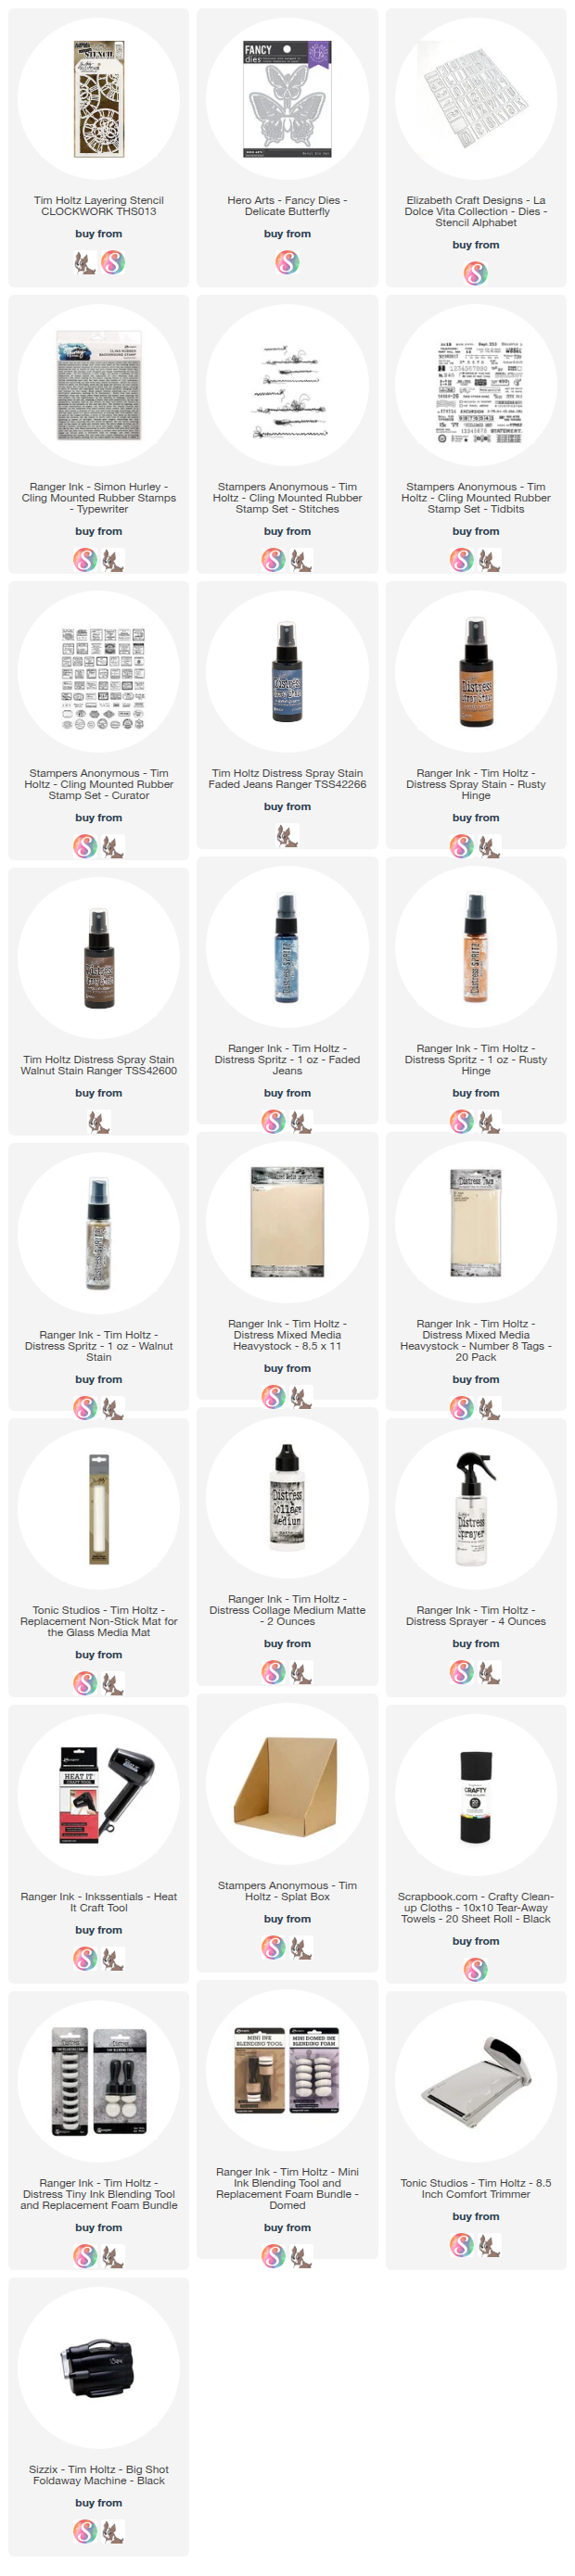
As always, please check your stash for similiar items when it comes to the supplies I’m using. If you are interested in any of the products I’m using in this video, you can find the supply list with links in the description box below. When you shop through those links, and whether you purchase that exact item or something else entirely, you’re supporting me at no extra cost to you and I really appreciate that so very much!
MONOPRINTING WITH STENCILS
Here are some images of the projects I created in this video using the monoprinting with stencils technique.
I hope this technique gives you a spark of inspiration! Remember—spray your ink onto the stencil, flip it over onto your paper, and press to transfer the image. It’s quick, fun, and gives you bold, artsy backgrounds every time. The best part? No two prints are ever the same—and that’s the beauty of monoprinting! I’d love to see your take on this technique, so tag me on social media or drop a comment below if you give it a try. Spray, flip, press—and have fun getting inky!
SUPPLIES Below you can find the supplies I used to create this card and the swatches. When you shop through those links and whether you purchase that exact item or something else entirely, you’re supporting me at no extra cost to you. The commission I receive helps me cover the costs of my blog and other expenses, and allows me to continue to provide you with FREE inspiration and tutorials. If you want to learn more about what an affiliate link is, you can see my full affiliate and product disclosure statement here. Thank you so much for your love and support!
Love the look of shaker cards but feel overwhelmed by all the foam tape, layering, and runaway sequins? I’ve totally been there. But once I figured out the steps, shaker cards quickly became my go-to way to add sparkle, movement, and a little extra wow to my handmade cards.
That’s why I’m so excited to be teaching a classic shaker card in the upcoming Stress Free Cardmaking Summit: Fun Folds & Interactive Cards Edition, happening May 16–18! It’s a completely FREE 3-day online event full of fun, interactive cardmaking techniques—including pop-ups, spinners, flaps, and of course, shaker cards!
In my class, I’ll show you exactly how to create a dimensional shaker card with just 5 essential supplies (plus your basics). We’ll break it down step-by-step so it feels simple, fun, and totally doable.
Check out my latest YouTube video where I share how to make a flat, no-bulk shaker card that’s super mail-friendly—perfect if you’re looking for a fast, fun way to add that signature shakety shake to your cards!
BONUS
Once you register for the summit, you’ll also have the chance to upgrade to the Ultimate Cardmaking Bundle—packed with lifetime access, exclusive live classes, challenges, prizes, and tons of bonuses like SVGs, digital papers, and the gorgeous summit workbook. But hurry—once the summit ends, the bundle disappears!
Scroll down to see a few extra peeks at the cards from my summit class and the flat, no-bulk shaker I shared on YouTube! Whether you love a little dimension or need something mail-friendly, there’s plenty of sparkly goodness to go around.
Hope to see you there (and in the comments on YouTube too)!
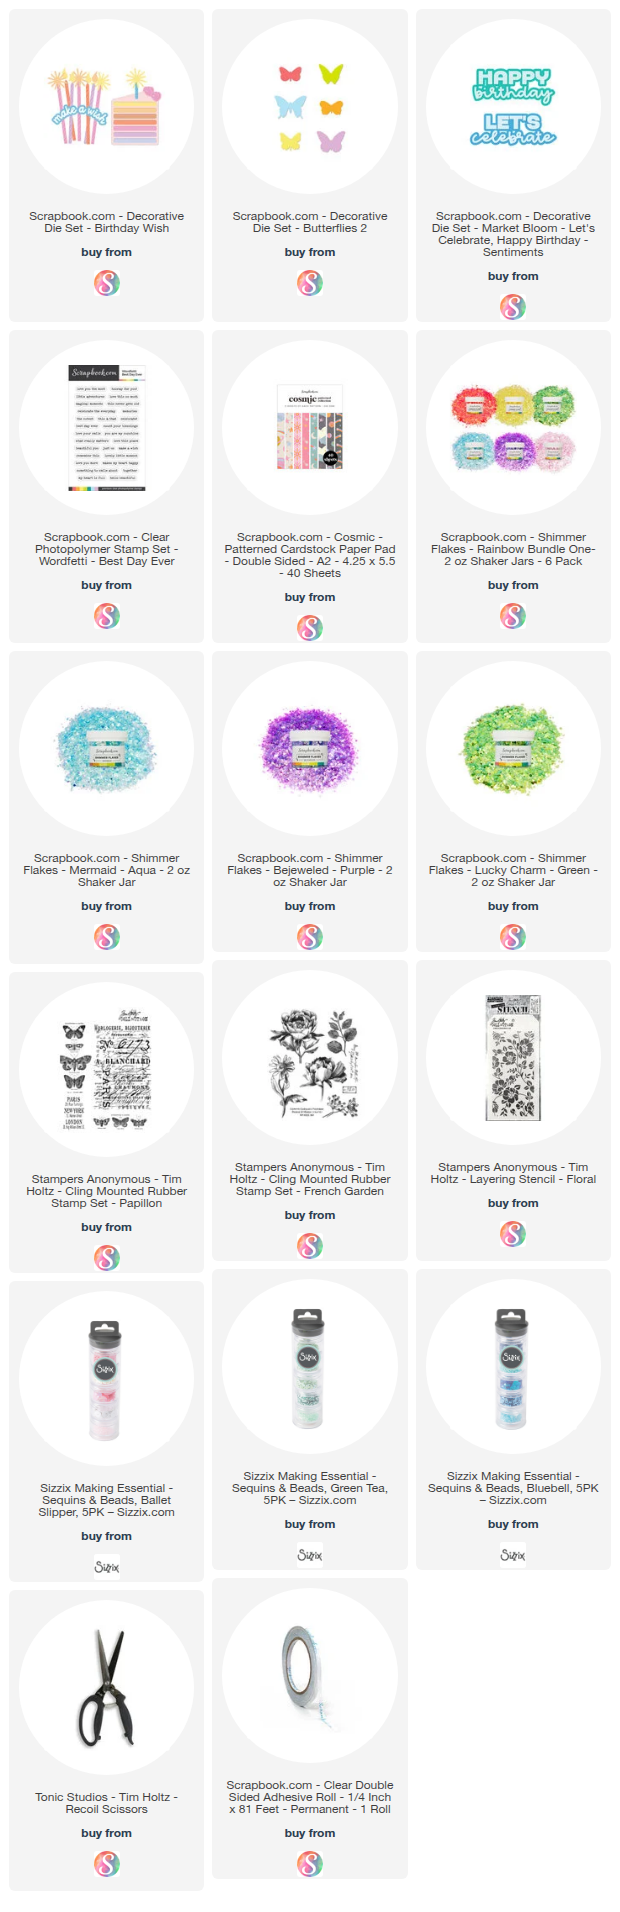
SUPPLIES
Below you can find the supplies I used to create the cards in this video. When you shop through those links, and whether you purchase that exact item or something else entirely, you’re supporting me at no extra cost to you. The commission I receive helps me cover the costs of my blog and other expenses, and allows me to continue to provide you with FREE inspiration and tutorials. If you want to learn more about what an affiliate link is, you can see my full affiliate and product disclosure statement here. Thank you so much for your love and support!
I'm so excited to share my latest project featuring the brand new Color Wheel Collection by Eileen Hull for Sizzix — now available! The color wheel theme, along with a gorgeous collaboration with Lindy’s Gang, totally inspired me to dive into creating an art journal. I had so much fun getting inky and experimenting with color while making both the cover and the inside pages.
CREATING THE COVER
I used the Handbound Journal Bigz Die to create the journal cover. I first adhered a piece of patterned paper to a sheet of Sizzix Mat Board with a double-sided adhesive sheet. Then I die-cut it using the Handbound Journal Bigz Die, repeating the process for both the front cover and spine. I trimmed the spine to fit and assembled everything using Super Tape for a sturdy hold.
INSIDE PAGES
Interestingly, I started by making the inside pages first! (Maybe not the traditional way, but it worked out beautifully. You just need to measure a little before you decide on what size to make the pages and you can always trim them down to size if needed. Which is what I ended up doing!) I scored and cut patterned papers and vellum sheets to fit the journal, then added layers of art using stamps, stencils, and dies.
COLOR AND DIE CUTTING DETAIL
For the vibrant colors, I played with the Lindy’s Gang Magicals on Distress Watercolor Paper. These are pigment powders that you add water to and can then used to create a colored medium for painting, adding splatters and more. I am by no means an expert as this is my first time using them, but they sure are I used the Boho Dreams and Gypsy Vibes collections and painted one color per panel. After they dried, I die-cut the panels with the large color wheel from the Rainbow Wheels Die Set.
To keep the interior pieces in place while die cutting, I used Mint Tape.
I also die cut color wheels from black cardstock, and used the colorful inside pieces to fill in the black wheels for a stunning contrast throughout the journal.
EXTRA EMBELLISHMENTS
I also die-cut butterflies from the painted panels using the Bookmark, Pockets, and Toppers Die Set. For the stems I used patterned paper with the Fine Stems 01 Die Set.
STAMPING AND STENCILING PAGES
For the background designs on the stamped and stenciled pages I used:
Swatch Card Stamp Set
Fan Favorites Stamp Set
Bird Song Stamp Set
Plate and Pattern Stencil
I did some collage stamping directly onto the patterned papers with Black Soot Archival Ink, followed by a coat of clear gesso. This not only protected the paper but also allowed the Lindy's Gang Magicals to beautifully tint the stamped images, creating even more color and texture.
THE REST OF THE JOURNAL
Keep scrolling to take a look at the rest of the pages in the journal. As you will see, I used the same techniques throughout, to make it cohesive while sharing and swatching the various colors of the Lindy's Gang Magicals.
I loved every second of creating this art journal — it’s such a celebration of color, creativity, and Eileen’s new collection!
If you love vibrant colors and mixed media, you’ll definitely want to check out the Color Wheel Collection — available now!
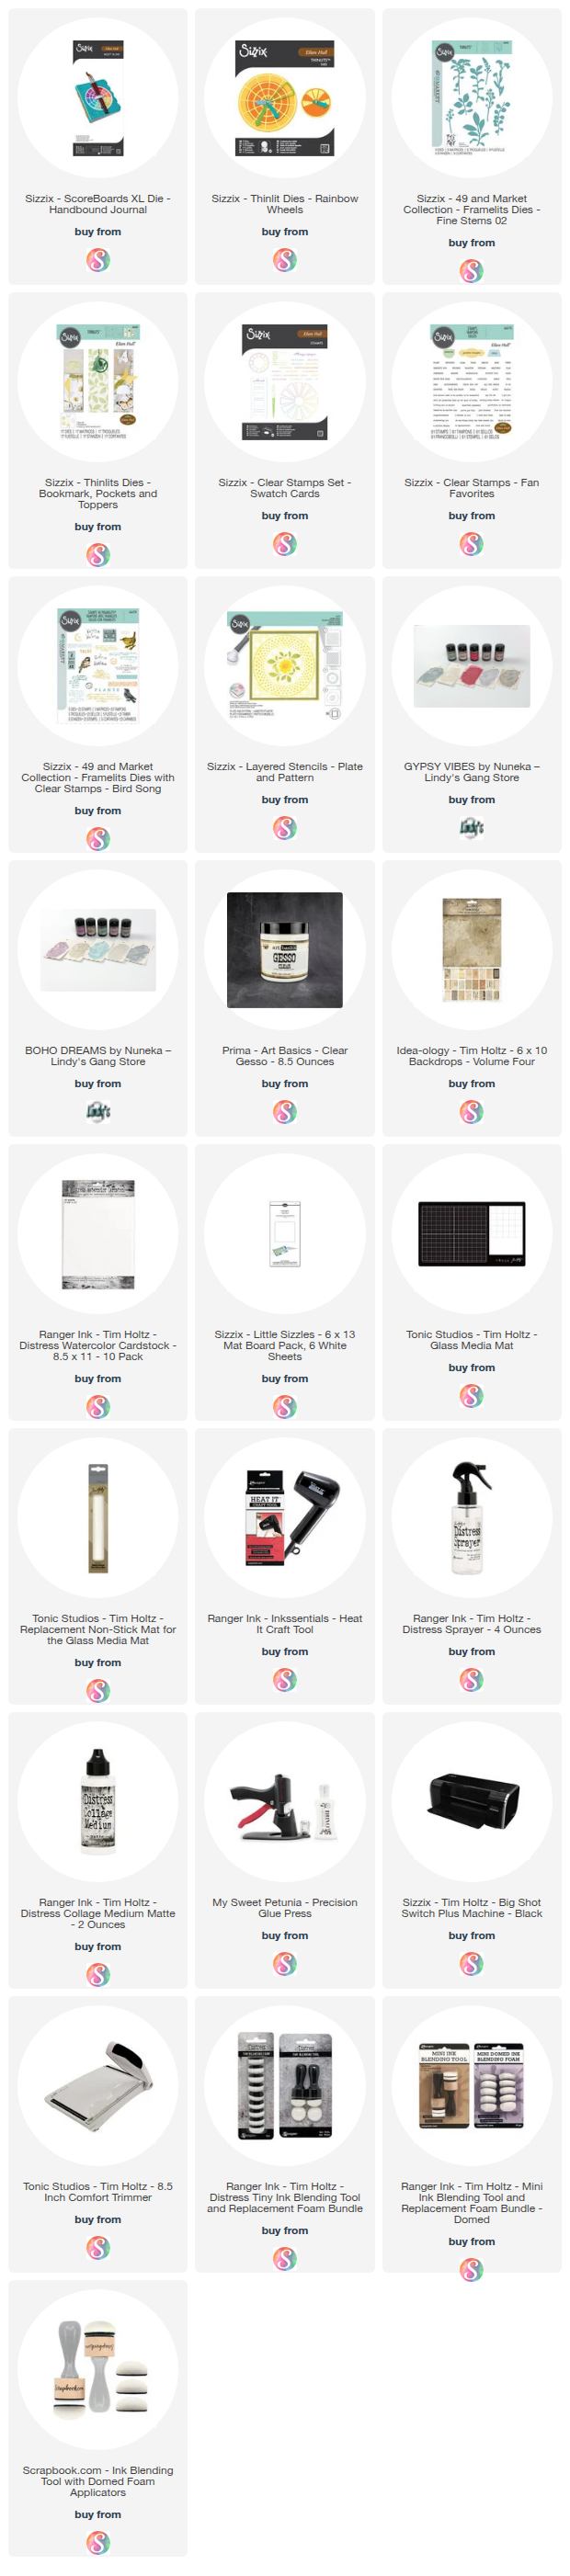
SUPPLIES
Below you can find the supplies I used to create this art journal. When you shop through those links, and whether you purchase that exact item or something else entirely, you’re supporting me at no extra cost to you. The commission I receive helps me cover the costs of my blog and other expenses, and allows me to continue to provide you with FREE inspiration and tutorials. If you want to learn more about what an affiliate link is, you can see my full affiliate and product disclosure statement here. Thank you so much for your love and support!
In this video, I'm sharing some simple and fun Distress Ink techniques you can use with stamps and embossing folders to create custom backgrounds and embellishments for your cards.
For today’s project, I’m playing with stamps and stencils from the Tim Holtz Stampers Anonymous Spring Curated Collection. This collection is filled with spring and Easter-themed designs, and while the images themselves aren’t brand new—they were released in past seasons—they might be new to you.
Stampers Anonymous never retires any of their stamp or stencil designs, which means these gems are always available on their website. But since many of them came out before I became a full-on Tim Holtz fan, most of these designs feel brand new to me too! I was only familiar with a couple of the stamp sets and stencils—so discovering the rest felt like finding hidden treasures.
Please feel free to use products from your stash to recreate something similar. However, if you are interested in any of the products I’m using, you can find the supply list with links down below. Using these links does not cost you anything extra and it helps support my business. It also allows me to continue offering free content and keep my class costs low. I appreciate your support!
IT'S ALL PERSPECTIVE CARD
You can either watch the video below or head over to my YouTube Channel HERE to check it out.
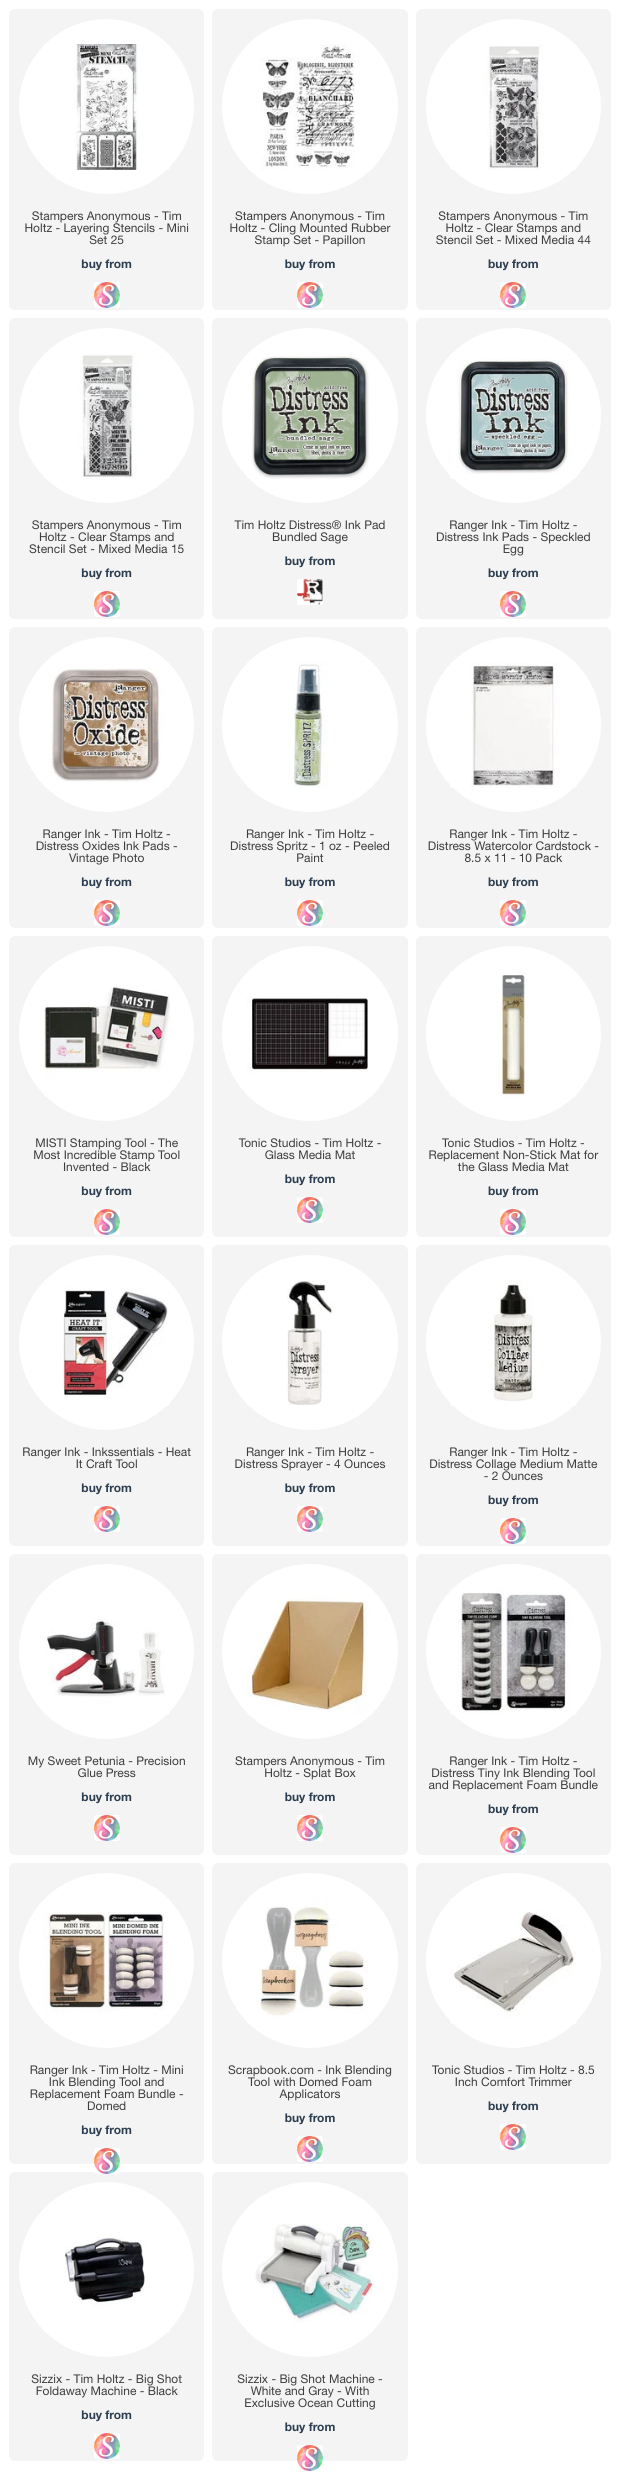
SUPPLIES
Below you can find the supplies I used to create this card and the swatches. When you shop through those links and whether you purchase that exact item or something else entirely, you’re supporting me at no extra cost to you. The commission I receive helps me cover the costs of my blog and other expenses, and allows me to continue to provide you with FREE inspiration and tutorials. If you want to learn more about what an affiliate link is, you can see my full affiliate and product disclosure statement here. Thank you so much for your love and support!