Ghost Town 2 Tag Book | Tim Holtz Sizzix Halloween

Hello friends! It's finally here...my Ghost Town 2 Tag Book that I made for the Tim Holtz Sizzix Halloween YouTube Live! I know many of you have been waiting for me to share this project. It's a bit of a long post, so grab a cup of your favorite beverage and sit back and enjoy.

Ghost Town 2 Tag Book by Juliana Michaels featuring Tim Holtz Sizzix Ghost Town 2 and Ghost Town 1 Thinlits

To get started I began by selecting a mix of patterned papers from an older Halloween paper pad. If you don't have these papers, please don't freak your freak as Tim would say! Just grab what you have and start mixing and matching. I selected 10 different patterns to create the front and back of 5 tags and die cut them using a tag die. You will see how all these tags play out later on.


Next I picked the five tags that would be the front side and using a mix of stencils, I applied Grave Distress Texture Paste in random spots on each stencil. The stencils I used are listed below in my supply list if you are interested. I then set these to the side to dry.


While they were drying, I die cut all of the Ghost Town 1 and Ghost Town 2 houses from black cardstock. I stamped each house with white pigment ink using a mix of stamps. This created a kind of ghostly look to each house. The stamps I used are listed below in my supply list if you are interested.


I also stamped and fussy cut out a mix of labels to layer with the houses. These are stamped onto Distress Watercolor paper with Black Soot Archival Ink and then ink smooshed into a bit of Old Paper Distress Ink and inked around the edges with some Walnut Stain Distress Ink.

In the photo below the second and fourth tag were my first run when I was making this tag book. Originally, I was going to do different backgrounds on each tag. These actually have Distress Crackle Paste on them and the one was colored over with the Distress Crayon. I didn't like how it looked, so I ended up redoing them to all have a similar look.


To give each house the look of ghostly lights shining through the windows, I backed them with gold metallic kraftstock. There are various ways you could do this, but I die cut the house from the gold paper, and while it was still in the die, I applied adhesive tape (you could also use washi tape) to the backside to hold the small pieces in place. I then adhered this to the backside of the black die cuts. To grunge them up a bit, I rubbed some Black Soot Distress Crayon around the window openings. 


Another layer of interest I added were some die cut Decor Frames. After I die cut them, I used the 3D Lumber Texture Fade embossing folder to emboss them. These are cut from Distress Watercolor paper and inked with Walnut Stain Distress Ink.


Once again, I grunged them up with a bit of Black Soot Distress Crayon.


A final addition to the tags was a few black die cut florals that were then layered into the frames. Now that each tag was completed, I was ready to start assembling the tag book.


I placed the tags next to each other and used Tim Holtz Fabric Tape to hold the tags together. Make sure to leave a very slight (like the thickness of the tag) between each tag so that when you fold the book each page folds nice and flat.


Because I didn't want the backside to be "ugly", I adhered those extra tags I cut out in the beginning to the backside of each tag.


To create the closure for the tag book, I used seam binding that was dyed with Black Soot Distress Spray. I cut a length long enough to wrap around the book once it was closed and create a nice bow when tied. The only spot I attached the ribbon to was the first tag, so that it stayed with the book when it was opened.

One last final detail is the machine stitching that I added to each tag. I did this at the very end once the entire book was assembled.


Now that you know how I created this tag book, here are some more detailed images of each page for your inspiration and enjoyment.


This is a look at the cover.


Here is a look at the second and third pages on the inside.

Ghost Town 2 Tag Book by Juliana Michaels featuring Tim Holtz Sizzix Ghost Town 2 and Ghost Town 1 Thinlits


These are the fourth and fifth pages.

Ghost Town 2 Tag Book by Juliana Michaels featuring Tim Holtz Sizzix Ghost Town 2 and Ghost Town 1 Thinlits


A look at the entire tag book when it is open.

Ghost Town 2 Tag Book by Juliana Michaels featuring Tim Holtz Sizzix Ghost Town 2 and Ghost Town 1 Thinlits

This is what the backside looks like.


I hope you enjoyed this long detailed blog post about my Ghost Town 2 Tag Book and that it inspires you to create your own version of this. For more tag book inspiration you can check out my Field Notes Tag Book.

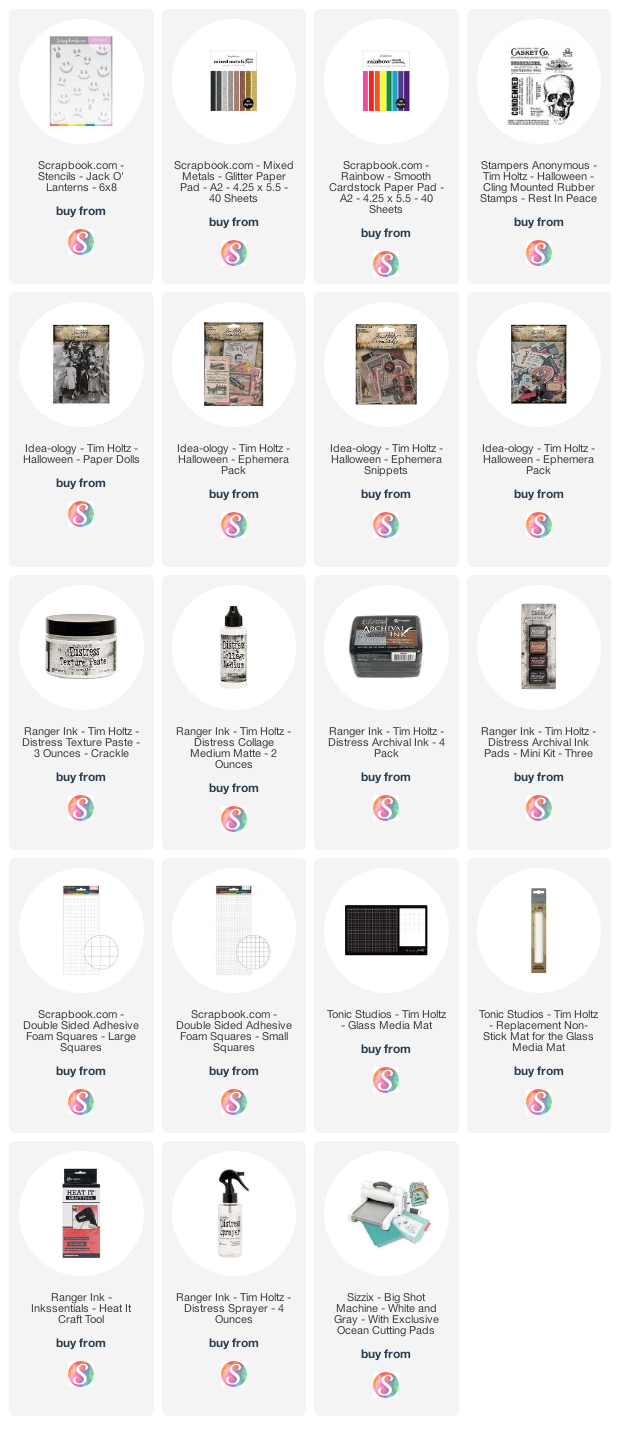
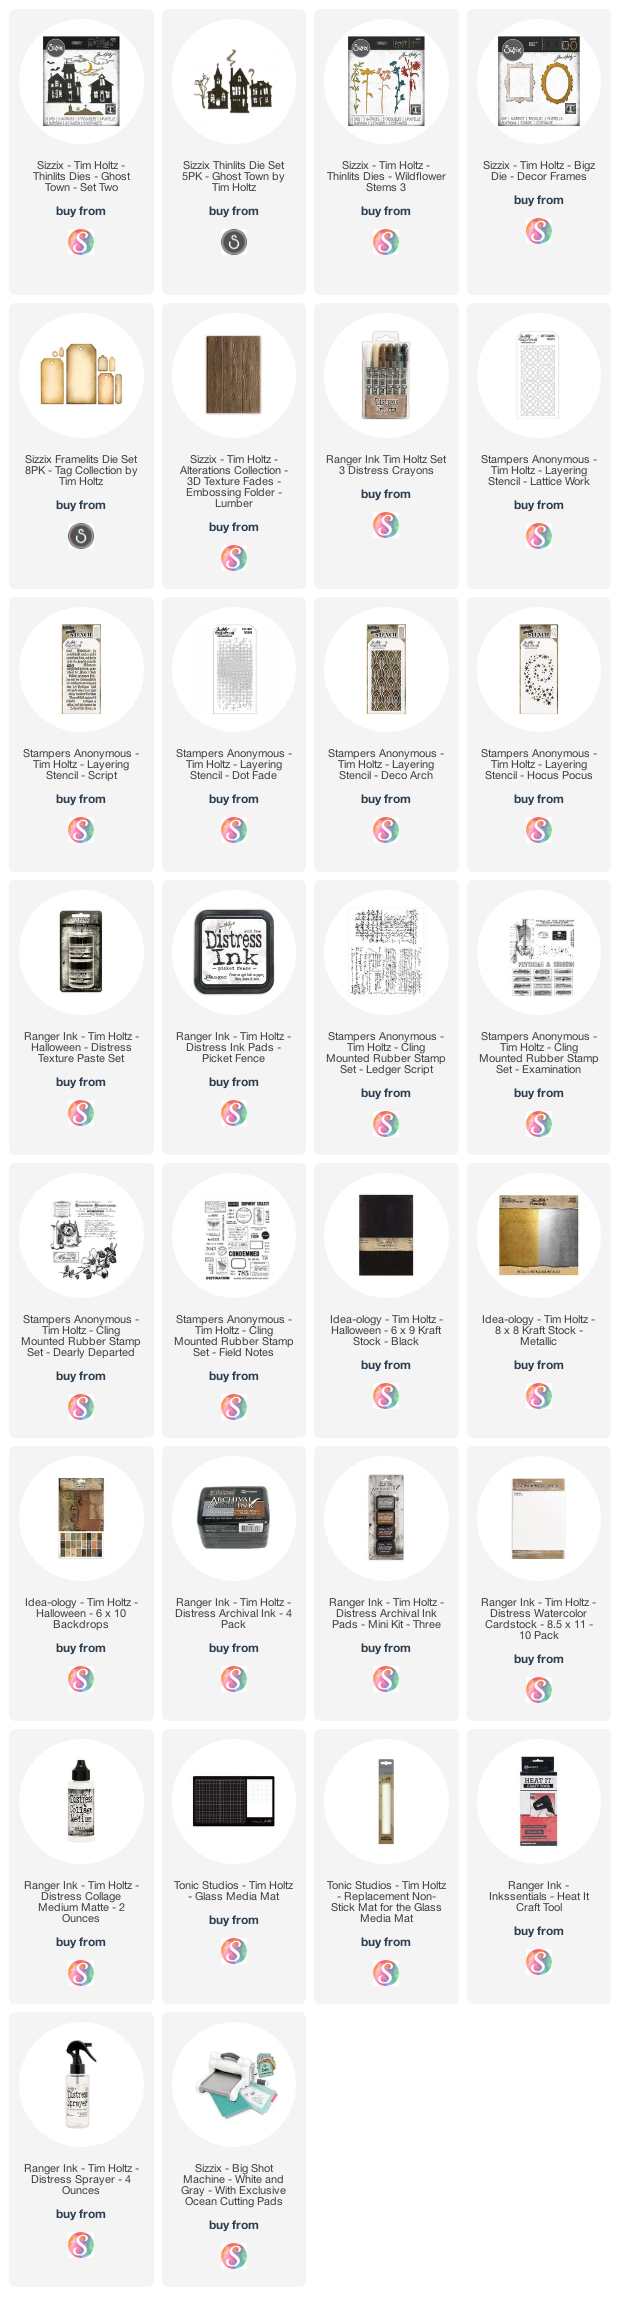
Supplies

You can find the products I used to create these projects along with compensated affiliate links to  Scrapbook.com and Sizzix. These links are at absolutely no extra cost to you. If you want to learn more about what an affiliate link is, you can see my full affiliate and product disclosure statement here.
Wicked Halloween Card | Stencils, Ephemera & Frosted Crystal

Halloween is fast approaching. Too fast for me and all the Halloween craft ideas that are still swirling around in my head. But who says we have to stop just because Halloween is over?! This year, I really may just continue the Halloween crafting a little longer. As for now, I've got a Wicked Halloween Card to share with you using a mix of goodies from Tim Holtz and Scrapbook.com.

Wicked Halloween Card by Juliana Michaels featuring Scrapbook.com Jack O Lantern Stencil and Tim Holtz Halloween Ephemera and Paper Dolls

I decided to try a little something different this time and pulled out some ephemera to mix in with some stamping and die cuts. I began by creating the background using a piece of orange cardstock from the Scrapbook.com Rainbow Paper Pad trimmed to 4 x 5.25 inches. I stenciled it using the Jack O Lantern Stencil and Black Soot Distress Oxide. I then added some texture stamping using the Tim Holtz Rest In Peace Stamp Set with Black Soot Archival Ink. I then got a bit messy and added some Distress Crackle Paste to the edges and let it dry. Once the paste was dry I inked the edges with a bit of Black Soot Distress Ink and then added some mess machine stitching.


Now because this paper is not really made for adding heavy mediums such as Crackle Paste, the paper did warp. I personally didn't care as it just added to the mixed media/grungy feel I was going for.


Next I grabbed various bits of ephemera from a mix of an older Halloween Ephemera Pack and Halloween Paper Dolls, but you can find lots of good ones in the newer packs as well. I played around with the placement and began adhering the layers. When I got to the paper doll, I decided to try my hand at coloring it using the Frosted Crystal/Distress Crayon technique. The Frosted Crystal is an embossing powder that adds a frosted looking texture to things. And because these is texture on what was once a smooth surface, the Distress Crayons have something to grip to and the color stays a bit easier. I covered the entire surface of the paper doll with embossing ink, sprinkled it with the Frosted Crystal and then heat embossed it with my heat gun.  The trick with this powder is to not overheat it, so once you see the powder start to change move on to the next area. With the Frosted Crystal applied, I then used my Distress Crayons to color the dress, bow and to add a touch of pink to her cheeks.
I then continued with adhering the layers and also included a couple of stickers from the Tim Holtz Halloween Sticker Book.


For a final bit of interest, I added a couple of bats die cut from Scrapbook.com black glitter paper, which can be found in their Mixed Metals Paper Pad. To finish off the card, I layered everything onto a piece of black cardstock.


Thanks so much for stopping by today to check out my Wicked Halloween Card! I hope it inspires you to continue your Halloween crafting!

Supplies

You can find the products I used to create these projects along with compensated affiliate links to  Scrapbook.com. These links are at absolutely no extra cost to you. If you want to learn more about what an affiliate link is, you can see my full affiliate and product disclosure statement here.

Hocus Pocus Halloween Tag

Hocus Pocus...it's time for wicked fun! And by wicked fun I'm referring to Halloween crafting! I love all things Halloween related unless it's super gory or scary. I'm not into that at all. But bring on the purple, orange and black along with pumpkins, skulls and witches, add a touch of glitter and I'm good to go! 

Speaking of glitter, have you seen the Glitter Paper Pads from Scrapbook.com? They come in two options: a Rainbow Glitter and a Mixed Metals Glitter Paper Pad. The paper is easy to die cut or punch and you will never have to worry about having a glitter mess all over your craft room.

Hocus Pocus Halloween Tag

I used both the Rainbow and Mixed Metals Glitter Paper Pads to create this Hocus Pocus Halloween Tag to share with you today. Let me walk you through the process and share a bit of Halloween inspiration along the way.

Hocus Pocus Halloween Tag by Juliana Michaels featuring Scrapbook.com Glitter Paper Pads and Typewriter Alphabet Dies

I began by die cutting the base tag from the purple glitter paper using the largest Scrapbook.com Nested Tag Die. This glitter paper is bright and beautiful but to tone it down just a bit, I inked it lightly with Black Soot Distress Ink. This gave it a slightly distressed vintage look that I just love!

Next, I die cut the next smallest tag from Ranger Distress Heavystock and placed the Scrapbook.com Bat Stencil over the paper. Using a palette knife, I applied Therm O Web Deco Foil Transfer Gel through the stencil. I gently removed the stencil, washed it and set the tag to the side to dry. Once the gel was dry, I applied Therm O Web Black Deco Foil to the paper using a Minc Foil Machine. This makes the bats a beautiful shiny black against the inky background.

With the foiling completed, I ink blended a combination of Prize Ribbon and Chipped Sapphire Distress Oxide Ink and used a very lightly damp paper towel to wipe off the ink that covered the bats. Next, I added some stamping using a script stamp and Black Soot Archival Ink. I then added a touch of Wilted Violet to the edges to darken it just a bit. I also spritzed it with some water using my Distress Sprayer and dabbed the water dry with a paper towel to lift off some of the ink. For the final touch I added some machine stitching with black thread.


To create the moon, I used the Tim Holtz Moon Mask. I first took a circle die from my stash that was similar in size to the mask and die cut a piece of Ranger Distress Heavystock. I then inked through the mask using Antique Linen Distress Ink. I also spritzed it with some water using my Distress Sprayer and dried it with my heat tool. I then adhered the moon to the tag using double sided foam adhesive.

I used the Tim Holtz Toil and Trouble Thinlits and die cut the witch and bats from black glitter cardstock and the broom from silver. To make them a little thicker I die cut them from black cardstock a second time and glued the layers together. I then adhered them using double sided foam adhesive.


For the sentiment, I used the Scrapbook.com Typewriter Alphabet Dies. I cut them once from silver glitter paper and a second time from white and adhered them together before I attached them to the tag. You could definitely skip this part, I just wanted a little more dimension. The "wicked fun" is stamped using the Tim Holtz Life of the Party Stamp Set and heat embossed with clear embossing powder. I then painted over the paper with Black Soot Distress Paint and quickly wiped over it to remove the paint from the letters. I then trimmed the strip to size and adhered it using double sided foam adhesive strips.

To finish off the tag, I added a bow tied from Tim Holtz Mummy Cloth.

Die Storage & Organization Tip:

If you are looking for a way to keep all of your dies organized I highly recommend the Scrapbook.com Plastic Storage Envelopes. They come in a wide range of sizes that are perfect for all your needs. I personally love the small ones for storing my alphabet dies!

Hocus Pocus Halloween Tag by Juliana Michaels featuring Scrapbook.com Glitter Paper Pads and Typewriter Alphabet Dies

Thanks for stopping by today to check out my Hocus Pocus Halloween Tag. Now it's time for you to focus on some Halloween crafting!

P.S. You can also check out my Hocus Pocus Halloween Tag over in the Scrapbook.com Gallery. In case you missed the announcement, they have updated their Gallery and it is now an even more interactive and fun place to share your projects and find inspiration!

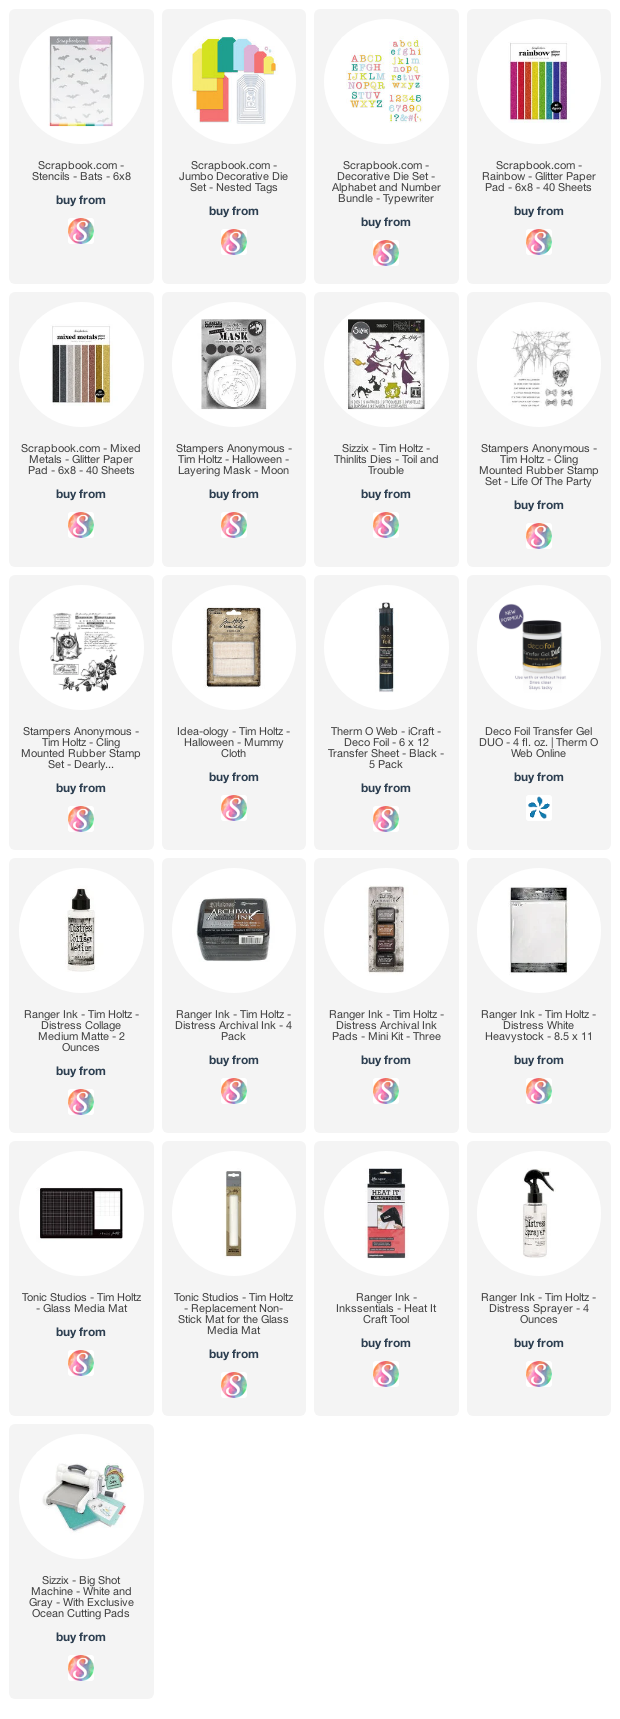
Supplies

You can find the products I used to create these projects along with compensated affiliate links to  Scrapbook.com. These links are at absolutely no extra cost to you. If you want to learn more about what an affiliate link is, you can see my full affiliate and product disclosure statement here.

Wicked Hipsters | Tim Holtz Stampers Anonymous Halloween

Boo friends! I'm back today to share a couple of cards I created for the Tim Holtz Stampers Anonymous Halloween 2021 release. These cards use one my new faves...Wicked Hipster and I've combined it with the Bold Frights and Rest In Peace Stamp Sets. I love that this set can be used for so much more than just Halloween and I promise to share some more inspiration with it soon that shows you the range of this wicked fun set!

Wicked Hipsters Halloween Cards by Juliana Michaels featuring Tim Holtz Stampers Anonymous Wicked Hipsters and Bold Frights Stamp Sets

The background for each of these slimline cards was created using gel plates, Distress Oxide Inks and stencils. For the details on how this technique works, you can check out my How To Create Backgrounds with Gel Plates, Distress Oxide Inks & Stencils.

Boo Halloween Card by Juliana Michaels featuring Tim Holtz Stampers Anonymous Wicked Hipsters and Bold Frights Stamp Sets

The stencils I used on the Boo card include the Trellis, Dot Fade, Falling Stars Layering Stencils. I really recommend just taking your time to play with colors and stencils and create a bunch of backgrounds all at once.


When I sit down to create with my gel plate, I usually make 6-8 backgrounds at a time...or more! I love the creative playtime and when I'm finished I have a pile of backgrounds to choose from when I'm ready to create a card. 


Once I was ready to start creating my cards, I selected two backgrounds that I thought looked nice together because I knew that I wanted the cards to coordinate.

Trick or Treat Halloween Card by Juliana Michaels featuring Tim Holtz Stampers Anonymous Wicked Hipsters and Bold Frights Stamp Sets

Next, I then stamped the Wicked Hipsters onto Distress Watercolor with Black Soot Archival Ink and then colored them using a water brush and Distress Ink. I used Wilted Violet, Twisted Citron and then different shades of browns for the hair. I added a bit of shadow using Hickory Smoke Distress Ink. Once the ink was dry, I fussy cut each image and adhered them to the card front using double sided foam adhesive.


On the Trick or Treat card is used the Trellis, Shatter, Dot Fade and Crate Stencils. For both cards I used the following Distress Oxide Inks: Wilted Violet, Twisted Citron, Fossilized Amber and Black Soot.


The sentiments for both cards are from the Bold Frights Stamp Set. I used Black Soot Archival Ink to stamp directly onto the background paper.

Wicked Hipsters Halloween Cards by Juliana Michaels featuring Tim Holtz Stampers Anonymous Wicked Hipsters and Bold Frights Stamp Sets

Thanks so much for stopping by today to check out my Halloween Cards featuring the Tim Holtz Wicket Hipsters Stamp Set from the recent Stampers Anonymous Halloween Release.

Finished card size: 3.75 x 7.25"

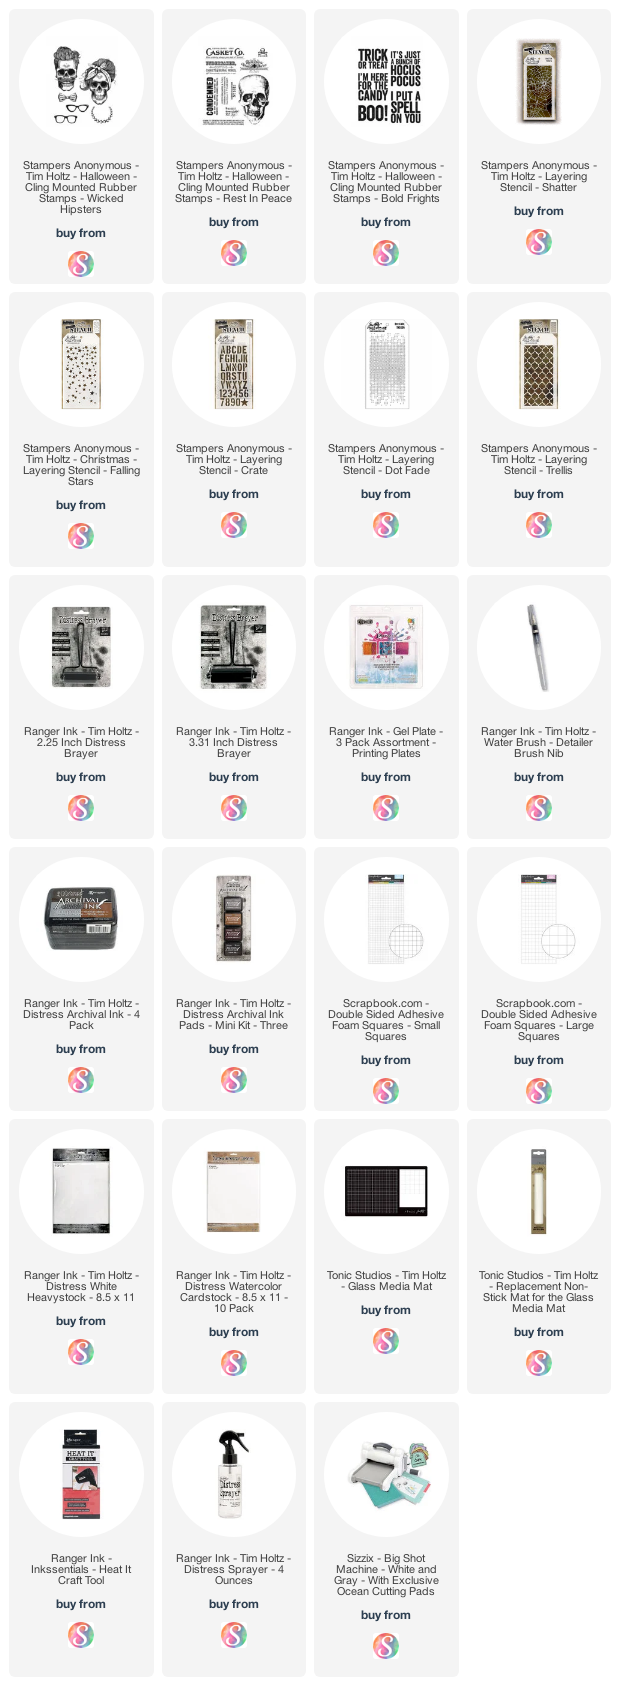
Supplies

You can find the products I used to create these projects along with compensated affiliate links to  Scrapbook.com. These links are at absolutely no extra cost to you. If you want to learn more about what an affiliate link is, you can see my full affiliate and product disclosure statement here.

1 Stencil 3 Ways | Fall Cards with Scrapbook.com Oak Leaves Stencil

Happy World Cardmaking Day Friends! I hope you are finding a way to celebrate this special day. Whether you're creating cards, attending a crop or class, sending cards to family and friends or shopping for cardmaking supplies, you have loads of options for celebrating this special day. I'm starting off the day by sharing a trio of cards I created using the Scrapbook.com Oak Leaves Stencil 3 ways. You might notice a bit of a fall theme to these cards. I was super inspired by some of the new products I just received from Scrapbook.com. These new goodies include the Mixed Metals Glitter Paper Pads, Pops Of Color Glitter, and the Oak Leaves Stencil. Keep reading to see how I created each background using the Oak Leaves Stencil in 3 different ways.


Stencil + Scrapbook.com Pops of Color Glitter

On this first card, I placed the Oak Leaves stencil over a piece of Distress Watercolor and used a palette knife to spread Pops Of Color Gold Glitter over the stencil. Pops of Color can be used in so many great ways beside just added dots of color. I then carefully removed the stencil, washed it and set the paper to the side to dry. Using Pops of Color with stencils is one of my favorite options. For more ideas on how to use them, you can check out my 3 Ways to use Scrapbook.com Pops of Color post.

Thank You Card by Juliana Michaels featuring Scrapbook.com Oak Leaves Stencil and Pops Of Color Gold Glitter

Once dry, I added a bit of stamping using a script stamp and Vintage Photo Distress Ink. Next, I inked the edges with the Vintage Photo Distress Ink and spritzed the paper with my Distress Sprayer. I then used a paper towel to dab the water dry and lift off some of the ink.


I used the Tim Holtz Funky Foliage Thinlits to die cut Distress Heavystock and then inked the various pieces with a variety of Distress Ink colors. I then added them to a Tim Holtz Funky Wreaths and adhered all of the pieces to my card front. The card was finished off with a gold heat embossed sentiment from the Hero Arts Message Strips Stamp Set.


Stencil + Tim Holtz Distress Texture Paste

Next up is a new fave that Tim Holtz himself shared during one of his recent Lives to share the new Distress Halloween Collection. Here I placed the Oak Leaves stencil on top of a piece Distress Heavystock. Using a palette knife I spread Distress Texture Paste Matte over the stencil. I then carefully removed the stencil, washed it and set the paper to the side to dry. Once the paste was dry, I sprayed the paper with Distress Mica Stain in Jack O Lantern and Flickering Candle. These products were a limited seasonal release and are now sold out, so I sure hope you managed to grab some before they were gone. They are truly one of my new favorite mediums for adding both color and shine to my projects!

Thanks Card by Juliana Michaels featuring Scrapbook.com Oak Leaves Stencil and Distress Texture Paste

With the background completed, I used the Tim Holtz Leaf Fragments Thinlits to die cut some leaves from a couple different shades of brown paper from the Scrapbook.com Neutrals Paper Pad. I used Vintage Photo Distress Ink to ink the edges.


The sentiment is die cut from black cardstock using the Scrapbook.com Thank You Sentiments Die Set. Before adhering it to the card, I added a bit of gold thread behind it.


Stencil + Dry Embossing

Dry embossing with a stencil is an oldie but a goodie! All you need for this technique is a stencil, a die cutting machine and a silicone rubber pad. I have a Sizzix Big Shot and use the Texturz Silicone Rubber pad. For this card, I once again used the Oak Leaves Stencil and embossed it onto a piece of black paper from the Scrapbook.com Neutrals Paper Pad.

Thinking of You Card by Juliana Michaels featuring Scrapbook.com Oak Leaves Stencil and Dry Embossing

I then splattered the paper with a bit of Scrapbook.com Metallic Rose Gold Ink Refill. To do this, I mixed a drop of it with a bit of water and used a long thin brush to splatter it onto the paper. Once it was dry, I layered on the die cuts. These are the Tim Holtz Skeleton Leaves Thinlits and they are cut out of different colors of glitter cardstock from the Scrapbook.com Mixed Metals Glitter Paper Pad.


To finish off the card, I stamped the sentiment and heat embossed it with gold embossing powder using the Scrapbook.com Botanical Borders Stamp Set.

Thanks so much for stopping by today to celebrate World Cardmaking Day with me and to check out the cards I created using 1 stencil 3 ways.

Finished card sizes: 4.25 x 5.5 inches

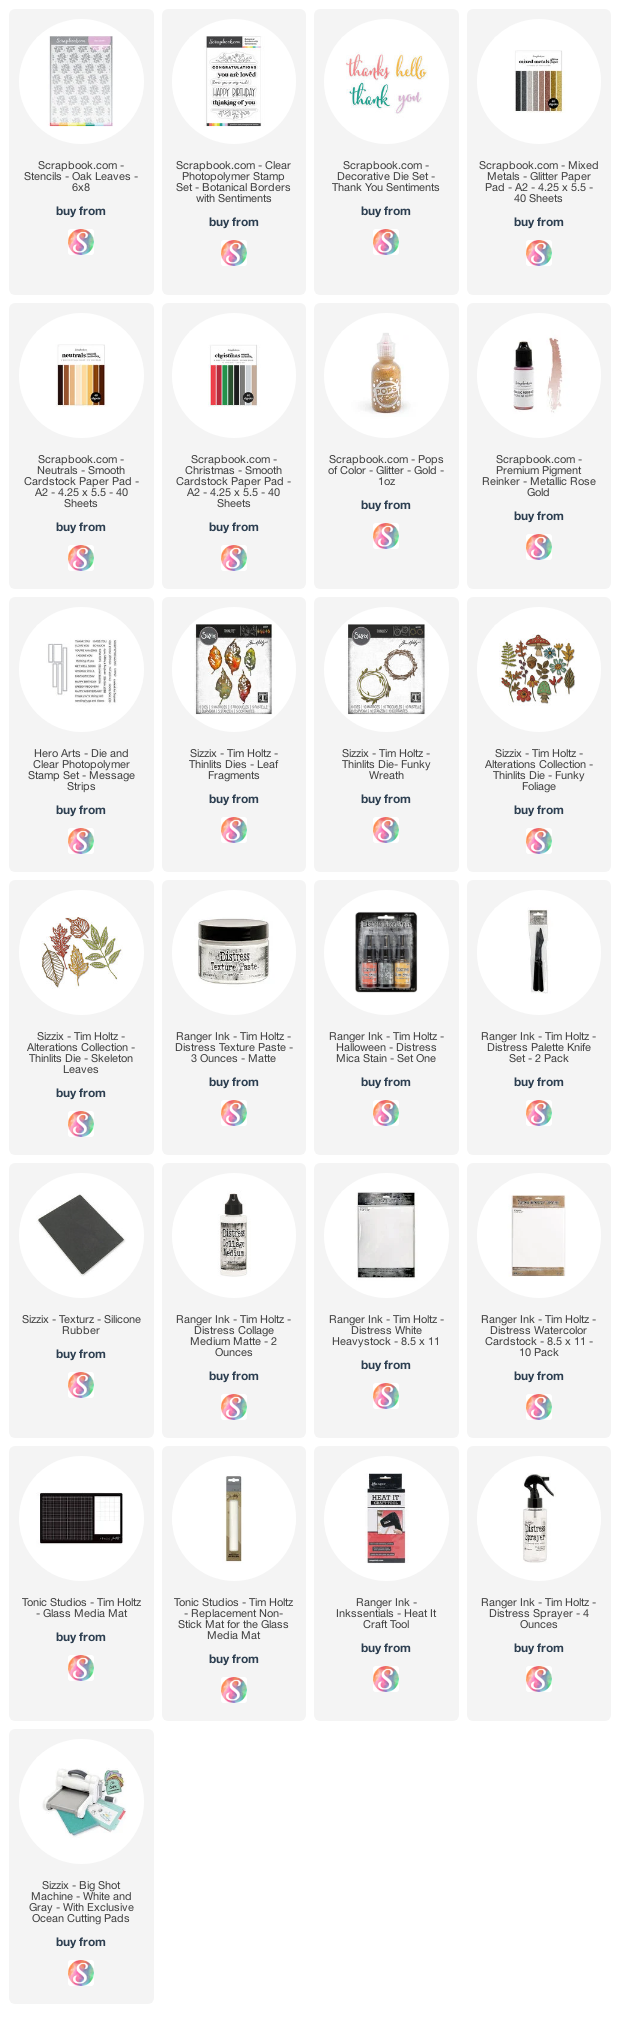
Supplies

You can find the products I used to create these projects along with compensated affiliate links to  Scrapbook.com. These links are at absolutely no extra cost to you. If you want to learn more about what an affiliate link is, you can see my full affiliate and product disclosure statement here.

Subscribe