Happy Easter Placeholders | Tim Holtz Bunny Hop Thinlits Die

Hello friends! Today is an awesome day because it's time for me to begin sharing some of the Creativation 2020 projects I created for Tim Holtz. I was blessed to have been asked to create projects for both the Sizzix and Stampers Anonymous Booths. I'm going to start with sharing the rest of the project I made for the Sizzix booth. I shared the first one called Collect Beautiful Moments, which features the Scribbly Butterflies Die. If you missed it make sure to click over to check it out.

Hopefully you are already starting to see some images of the booths, but if you missed them, you'll certainly be able to catch a recap of it over on Tim's blog.

So let's get started with some project inspiration. The first project I'm sharing with you is the Happy Easter Placeholders featuring the Bunny Hop Thinlit Dies. From the moment I first saw them, I had the idea of creating Easter table placeholders...and since there are three bunnies I had to make one for Tim, Mario and Paula!

HAPPY EASTER PLACEHOLDERS

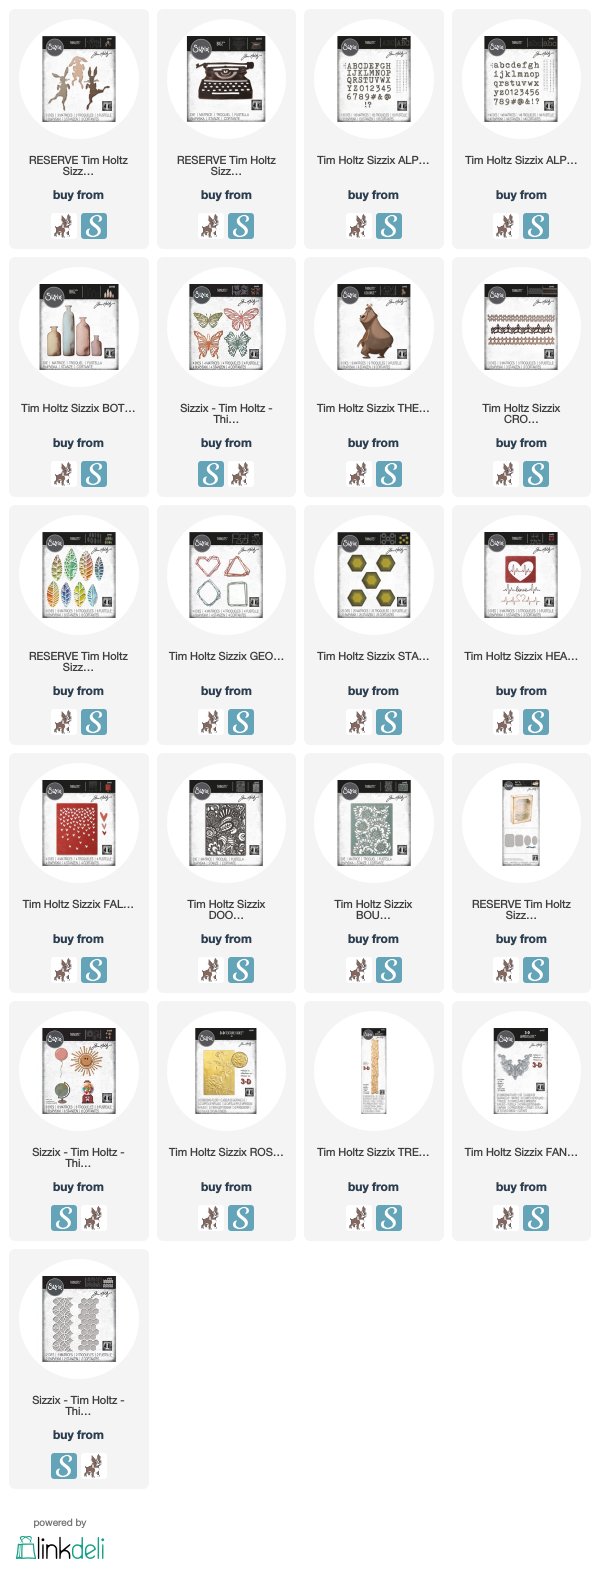
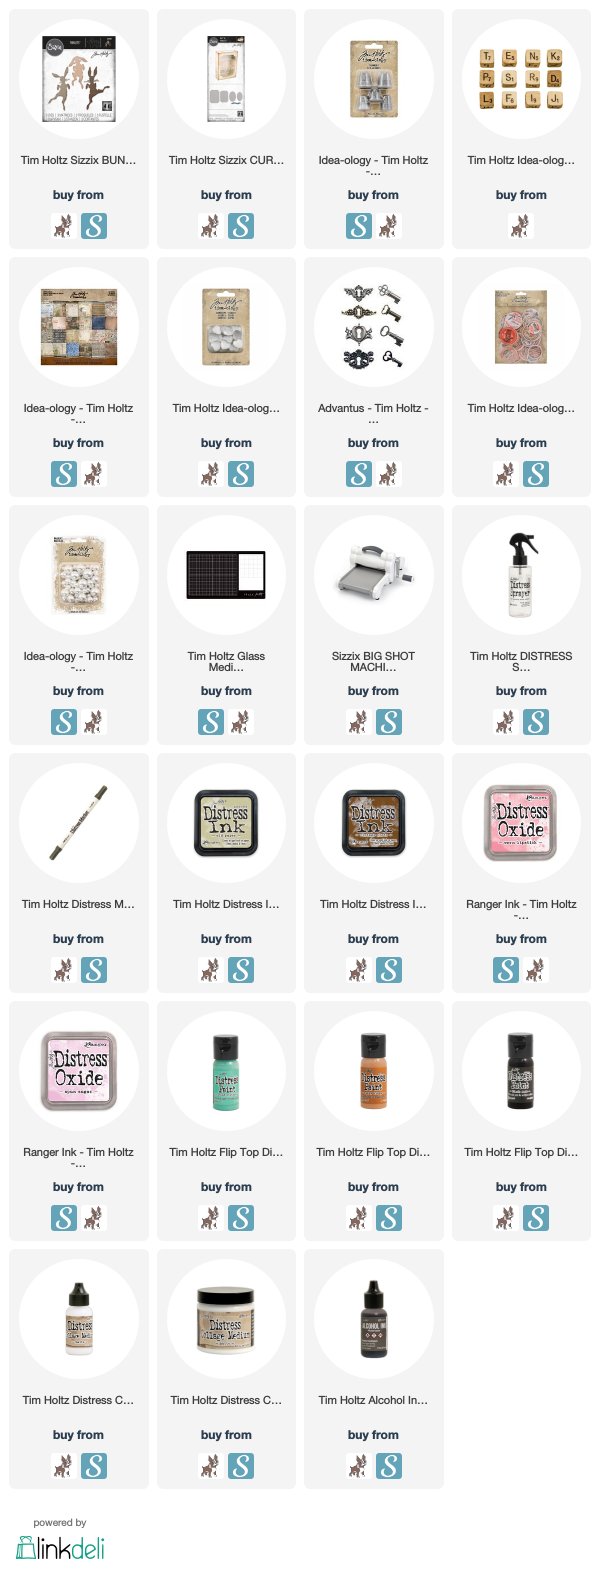
All of the products I've used are listed below with affiliate links to Scrapbook.com and Simon Says Stamp.

TIM HOLTZ SIZZIX BUNNY HOP THINLITS DIE

I began by die cutting the bunnies from watercolor cardstock, a piece of thin chipboard and a piece of patterned paper from the 8x8 Etc Paper Stash. I adhered all of these layers together to give the bunny more substance. I then ink blended the watercolor paper with Distress Oxide in Spun Sugar and Worn Lipstick, spritzed them with water and dabbed them dry. And as I always tend to do, I inked the edges with a bit of Vintage Photo Distress Ink.

Happy Easter Placeholders by Juliana Michaels featuring Tim Holtz Sizzix Chapter 1 Bunny Hop Thinlit Die

I then took the banner die from the Curio Box Bigz Die and cut a banner for each bunny from cardstock. To give the paper a distressed look, I smooshed some Old Paper Distress Ink onto my craft mat, spritzed it with water and then dragged the paper through the ink. To dry the paper, I used my heat tool  and then I hand wrote "Happy Easter" on each one using a Distress Marker in Walnut Stain. I then finished them off with a bit of Vintage Photo Distress Ink along the edges.

Happy Easter Placeholders by Juliana Michaels featuring Tim Holtz Sizzix Chapter 1 Bunny Hop Thinlit Die

CREATING THE BASE

Next, I started on creating a base for them to stand on. This took a bit of trial and error, but in the end I was pleased with final result. I used a metal bottle cap from my stash. These are about 2 inches in diameter. I don't even want to admit how long I've had them in my stash, but at least they finally came to a good use! I did my best to locate them and I was able to find them on Etsy begin sold by Handy Harry.

Happy Easter Placeholders by Juliana Michaels featuring Tim Holtz Sizzix Chapter 1 Bunny Hop Thinlit Die

To fill the inside of the bottle cap, I found that the Idea-ology Milk Caps fit perfectly inside. I also layered some extra chipboard underneath them to raise them up a bit. I carefully cut a slit into the milk cap and chipboard using a craft knife, making sure it was wide enough for the bunnies foot to fit down into. This helped to hold the bunnies in place along with some adhesive.  Once the bunnies were securely attached to the base, I then set about decorating the base around them.

Happy Easter Placeholders by Juliana Michaels featuring Tim Holtz Sizzix Chapter 1 Bunny Hop Thinlit Die

DECORATING THE BASE

Since these are Easter bunnies, they needed Easter baskets! I created these from Idea-ology Thimbles and filled them with Baubles colored with Alcohol Inks in Lemonade, Shell Pink and Aqua. I also added a Gumdrop Heart colored with Shell Pink Alcohol Ink. The other bits I added where a Locket Key and Dice. If you look closely, you will see that the letter on top of each of the dice are T, M and P. Remember I said these for Tim, Mario and Paula!

Happy Easter Placeholders by Juliana Michaels featuring Tim Holtz Sizzix Chapter 1 Bunny Hop Thinlit Die

Happy Easter Placeholders by Juliana Michaels featuring Tim Holtz Sizzix Chapter 1 Bunny Hop Thinlit Die

DISTRESSING THE METAL PIECES

All of the metal pieces for this project were coated with Collage Medium.

Bottle caps: Once the Collage Medium was dry, I applied a mix of Alcohol Ink in Mushroom, Pebble and the tiniest bit of Stream. I then used a Qtip to apply blending solution here and there to blend and lighten the ink.

Thimbles and Keys: Once the Collage Medium was dry, I dabbed on Distress paint with my finger in Black Soot, Cracked Pistachio and Rusty Hinge. I used a heat tool to dry between each color and applied much less of the Cracked Pistachio and Rusty Hinge to give it the look of old metal.

Happy Easter Placeholders by Juliana Michaels featuring Tim Holtz Sizzix Chapter 1 Bunny Hop Thinlit Die

Happy Easter Placeholders by Juliana Michaels featuring Tim Holtz Sizzix Chapter 1 Bunny Hop Thinlit Die

The final touch was the addition of some floral moss, which always adds a touch of softness and texture.

Happy Easter Placeholders by Juliana Michaels featuring Tim Holtz Sizzix Chapter 1 Bunny Hop Thinlit Die

And there you have it...Happy Easter Placeholders featuring the Tim Holtz Bunny Hop ThinLits Die by Sizzix.  I hope you enjoyed learning how these came together for me. I can't wait to see what you all create and share using this adorable new die. Thanks so much for stopping by today!

Happy Easter Placeholders by Juliana Michaels featuring Tim Holtz Sizzix Chapter 1 Bunny Hop Thinlit Die

SUPPLIES

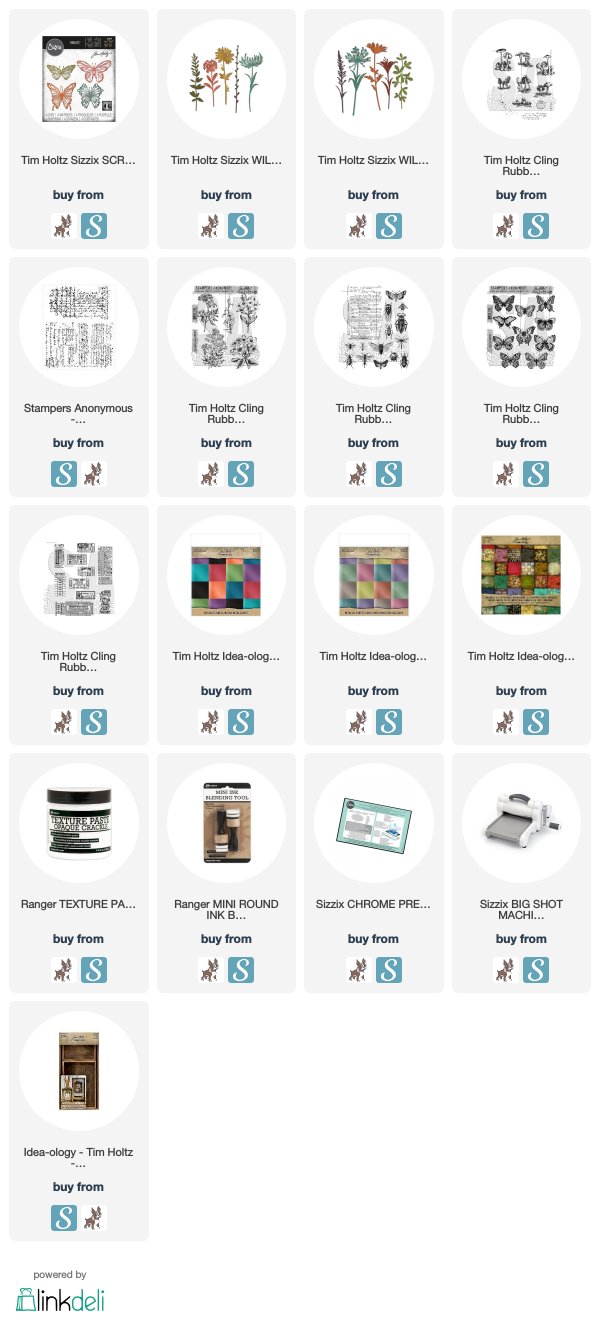
This post contains affiliate links to Scrapbook.com and Simon Says Stamp. If you buy anything through my links, it adds no extra cost to you. I truly appreciate and thank you for your support! (If you're interested, you can see my full disclosure statement here.)

Metal Bottle Caps found for sale by Handy Harry on Etsy - click here.

Sizzix Chapter 1 & 2 Sneak Peek

Hey friends! I'm so happy to have all the new visitors here lately. Many of you may be coming here from Tim Holtz's blog after watching his recent Facebook Live's for Sizzix Chapter 1 and Sizzix Chapter 2.  I was blessed to be one of the makers for his recent release and I wanted to pop in and let you know that I have some upcoming technique and tutorial blog posts that will be starting January 19. These posts will feature three other projects I created using his latest Sizzix release. 

Here's a little sneak peek of the projects I'll be sharing. And another little tease... I'll also have some projects to share from the Stamper's Anonymous Release as well!


If you don't want to miss any of these posts, I invite you to subscribe through Feedburner, Mad Mimi or Bloglovin. Once you do this, you'll receive an email when my blog posts go live!

Tim Holtz Sizzix Chapter 1 and Chapter 2  Videos

If you missed the Facebook Live's, you can still check them out and I highly recommend taking some time to do so. (I've shared them below for your convenience.) In the videos, he shares all the fabulous new dies, tons of inspiration from his team of makers and as always some insights on what inspired him to create the dies and his thoughts on ways they could be used. I was seriously blown away by what the other makers created!

The Sizzix Chapter 1 dies are available NOW from your favorite stores and Chapter 2 will be in stores in April.
Tim Holtz Sizzix Chapter 1


Tim Holtz Sizzix Chapter 2


Sizzix Chapter 1 Available Now

Below I've linked to all the new Sizzix Chapter 1 dies available now at Scrapbook.com and Simon Says Stamp. These are affiliate links. If you buy anything through my links, it adds no extra cost to you, but I truly appreciate and thank you for your support! (If you're interested, you can learn more about what affiliate links are and read my full disclosure statement here.)


Collect Beautiful Moments | Tim Holtz Sizzix Chapter 1

Hello friends and Happy New Year! I have something super exciting to share with you. One of those things that I had only dreamed about, but when I got the email back in October, I nearly fell over from shock! I was being asked to create projects for Tim Holtz for the 2020 Sizzix Chapter 1 Release! Now, today I'm excited to share with you one of the projects I created and that you may have seen on the Tim Holtz Sizzix Chapter 1 Facebook Live. If you missed it, you can check out the full replay here.

The project I'm sharing today is called Collect Beautiful Moments and it's a vignette box featuring the gorgeous new Scribbly Butterflies. If you know me at all, you know I love butterflies. Like, I would use them on every project if I could, love butterflies! So as soon as I saw these beautiful dies, I knew I had to create a springtime garden for them.


To get started, I created the background for the vignette box by stamping various images from the following stamp sets: Ticket Booth, Flutter, Entomology, Illustrated Garden, Ledger Script and Tiny Toadstools using the Stamp and Smear Technique I shared on my Wicked Halloween Tags. This is one of my favorite techniques for creating a patterned background. Feel free to grab your stash of stamps and mix and match them to create your own design.

Collect Beautiful Moments Vignette Box Tim Holtz Sizzix Chapter 1 2020 Scribbly Butterflies by Juliana Michaels

For this project I used the following Distress Oxide Inks: Peeled Paint, Forest Moss, Brushed Corduroy, Peacock Feathers, Fossilized Amber, and for the edges Vintage Photo and Walnut Stain. Once this was completed, I trimmed to paper to size to fit the inside of the box...the back, top, bottom and both sides.

Collect Beautiful Moments Vignette Box Tim Holtz Sizzix Chapter 1 2020 Scribbly Butterflies by Juliana Michaels

Continuing on to the inside of the box, I die cut watercolor paper using the Wildflower Stems #1 and Wildflower Stems #2. I then watercolored them using a waterbrush with Distress Ink. To do this, smoosh the ink pad directly onto your craft mat, use the waterbrush to pick up the color from the mat and then color the die cuts. Here I used Mustard Seed, Wild Honey, Ripe Persimmon and Spiced Marmalade for the yellow flowers. For the blue flowers I used Peacock Feathers, for the purple ones I used Dusty Concord, Seedless Preserves and Wilted Violet and for the stems I used Forest Moss and Peeled Paint.

Collect Beautiful Moments Vignette Box Tim Holtz Sizzix Chapter 1 2020 Scribbly Butterflies by Juliana Michaels

To get the little "dots" of color, I simply spritzed the darker inks that were left on my craft mat and dabbed the paper into them. I also recommend using your heat tool to dry between colors for more interest.

Collect Beautiful Moments Vignette Box Tim Holtz Sizzix Chapter 1 2020 Scribbly Butterflies by Juliana Michaels

Now for those beautiful Scribbly Butterflies! These dies are super think and intricate, so I highly recommend that you use a Sizzix Precision Chrome Base Plate when cutting them. I die cut them from a mix of purple and teal colors found in the Metallic Jewels and Metallic Confections 8x8 Kraft Stock Paper Pads. I then took the die cut shape and used it as a template to cut out a solid butterfly shape from a piece of cardstock. I then inked that paper with a coordinating Distress Ink to match the Metallic Paper. For these I used Peacock Feathers, Dusty Concord and Wilted Violet.

Collect Beautiful Moments Vignette Box Tim Holtz Sizzix Chapter 1 2020 Scribbly Butterflies by Juliana Michaels

A couple of other details at the bottom of the vignette box include the title piece. This was created using an Ideology Quote Chip. I built up a ledge on the bottom of the box to the height of the Quote Chip using scraps of Chipboard. I then added a Metal Gate that I cut in half and some florist moss to complete the look of a springtime garden. 

Collect Beautiful Moments Vignette Box Tim Holtz Sizzix Chapter 1 2020 Scribbly Butterflies by Juliana Michaels

The final detail was to finish the outside of the box. I cut strips of patterned paper from the Lost and Found 12x12 Paper Stack and adhered them to the back, sides, top and bottom. I then inked the edges with Walnut Stain Distress Ink. I also inked the edges of the front of the box. Yes, I inked the wood. After inking the wood, I then added Opaque Crackle Paste with my finger and allowed it to dry. I have found that by inking under the paste, the color kind of seeps through and gives the paste I nice aged look without any more work on my part!

Collect Beautiful Moments Vignette Box Tim Holtz Sizzix Chapter 1 2020 Scribbly Butterflies by Juliana Michaels

So there you have it. I hope you enjoyed this peek into my creative process for my Collect Beautiful Moments Vignette Box featuring the Tim Holtz 2020 Sizzix Chapter 1 Thinlit Die Scribbly Butterflies. Thank you so much for stopping by and I hope I'll see again soon!

SUPPLIES

This post contains affiliate links to Scrapbook.com and Simon Says Stamp. If you buy anything through my links, it adds no extra cost to you. I truly appreciate and thank you for your support! (If you're interested, you can see my full disclosure statement here.)


Dog Sympathy Cards

Hello friends! No one likes to send sympathy cards, but most of us find the need for them more often than we want. Now, thanks to Scrapbook.com we have a set of Dog Sympathy and Pet Sympathy Stamp Sets that make creating this type of card a bit easier. Scrapbook.com recently sent me some of their new stamps to create with. At about the same time, I had some friends who lost their dog unexpectedly. The Dog Sympathy set was just what I needed at the moment to create a card for them.

Dog Sympathy Cards by Juliana Michaels featuring Scrapbook.com Dog Sympathy Stamp Set

I paired the Dog Sympathy Stamp Set with the Tim Holtz Crazy Dog Stamp Set. I stamped the dog images and colored them with Copic Markers. I then die cut them using the coordinating Crazy Dog Dies. You can find a full list of the supplies I used including affiliate links to Scrapbook.com at the bottom of this post.

Dog Sympathy Cards by Juliana Michaels featuring Scrapbook.com Dog Sympathy Stamp Set

Next, I took a 5.5 x 4.25 inch Neenah Flat Card Front in Solar White and die cut it using a postage edged die. You could use any frame type die from your stash. I then temporarily positioned the dog image where I wanted it and stamped the sentiment from the Dog Sympathy Stamp Set using the Scrapbook.com Hybrid Ink Pad in Black. To add a bit more interest on the panel, I stamped the paw prints from the same stamp set using the Scrapbook.com Hybrid Ink Pad in Fog. Unfortunately, the ink is so light it was nearly impossible for me to get the image to show up in the photos. In person, thought it adds a nice subtle touch to the background.

Dog Sympathy Cards by Juliana Michaels featuring Scrapbook.com Dog Sympathy Stamp Set

The other thing I did to add some texture to the card front was to take a wood grain embossing folder and emboss a 5.5 x 4.25 inch Neenah Flat Card Front in Solar White. I layered this onto a card base and then added a piece of coordinating cardstock and then the main card panel to complete the card.

Dog Sympathy Cards by Juliana Michaels featuring Scrapbook.com Dog Sympathy Stamp Set

Since I add all of my supplies out, I decided to make a second card to keep in my stash for the future. It's always nice to have this sort of card ready to go when you need it the most.

Dog Sympathy Cards by Juliana Michaels featuring Scrapbook.com Dog Sympathy Stamp Set

Dog Sympathy Cards by Juliana Michaels featuring Scrapbook.com Dog Sympathy Stamp Set

Just in case you missed it, Scrapbook.com has free shipping on orders $60+ using the Coupon Code: SANTASHIP2019. This offer is going on through tonight December 16th midnight MST. They also have a deal for you international shoppers as well. You can find all the details here and make sure to check out the most recent freebie!

Supply List


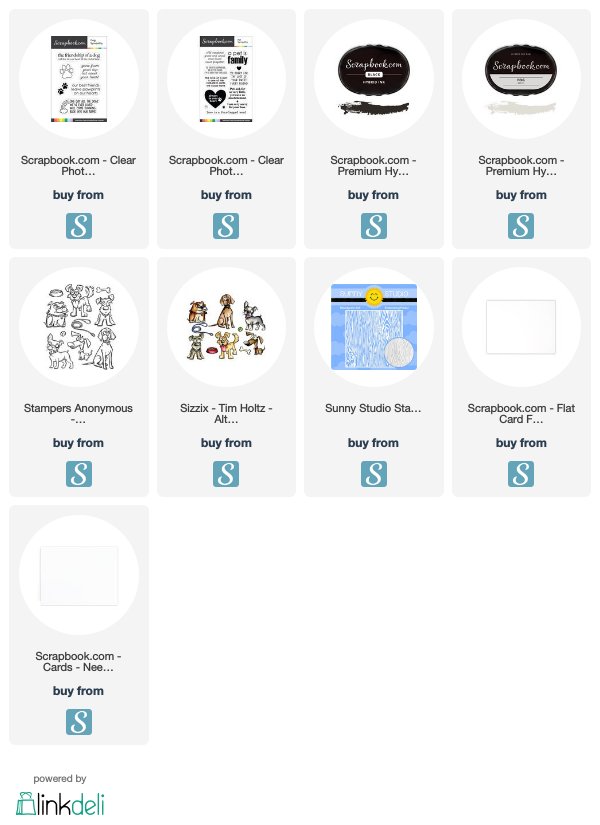
Here is a full list of the main supplies I used to create my Dog Sympathy Cards. These are affiliate links to Scrapbook.com and if you buy through my links, I would greatly appreciate it. Doing so adds no extra cost to you. (You can check out my full affiliate disclosure statement here.) If you have any questions about the supplies I used, please feel free to ask!


Your Dreams Card & FREE Tonic Die

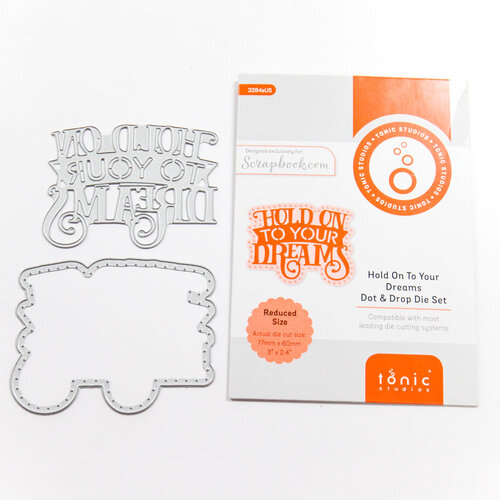
Hello friends! Today I'm here to share an exclusive "Hold On To Your Dreams"Tonic Studio Die that's FREE today (Wednesday, December 11th) at Scrapbook.com with any purchase through Thursday, December 12th at midnight MST or while supplies last.

HOLD ONTO YOUR DREAMS DIE | TONIC STUDIO SCRAPBOOK.COM EXCLUSIVE


Hold On To Your Dreams Card by Juliana Micheals featuring Tonic Studios Hold On To Your Dreams Dot and Drop Die Exclusively for Scrapbook.com

This fun die is one of Tonic's Dot and Drop Layering Dies. And I hate to admit it, but this was my first time to play with one! Besides cutting a fun design, it also provides a perfect guide for placing Nuvo Crystal, Glitter and Jewel Drops.

At the bottom of this post you will find links to all of the products I used. These links are affiliate links to shop at Scrapbook.com.  You can read my full disclosure regarding this here.

Another thing I hate to admit is I don't have any Nuvo Drops of any kind, so I decided to challenge myself and come up with another way to use those guide holes.

Hold On To Your Dreams Card by Juliana Micheals featuring Tonic Studios Hold On To Your Dreams Dot and Drop Die Exclusively for Scrapbook.com

I began by die cutting the phrase from white cardstock and the layering back piece from a piece of Tim Holtz Metallic Kraft Stock in gold.

Since the die is a phrase, I knew I wanted to make it the focal point of my card. As I pondered what to do, the idea of using those holes as a stitching guide popped in my head! I pulled out my stash of embroidery thread and using 4 strands and a needle, I stitched along the edge to created a colorful and textured border for the phrase.

Hold On To Your Dreams Card by Juliana Micheals featuring Tonic Studios Hold On To Your Dreams Dot and Drop Die Exclusively for Scrapbook.com

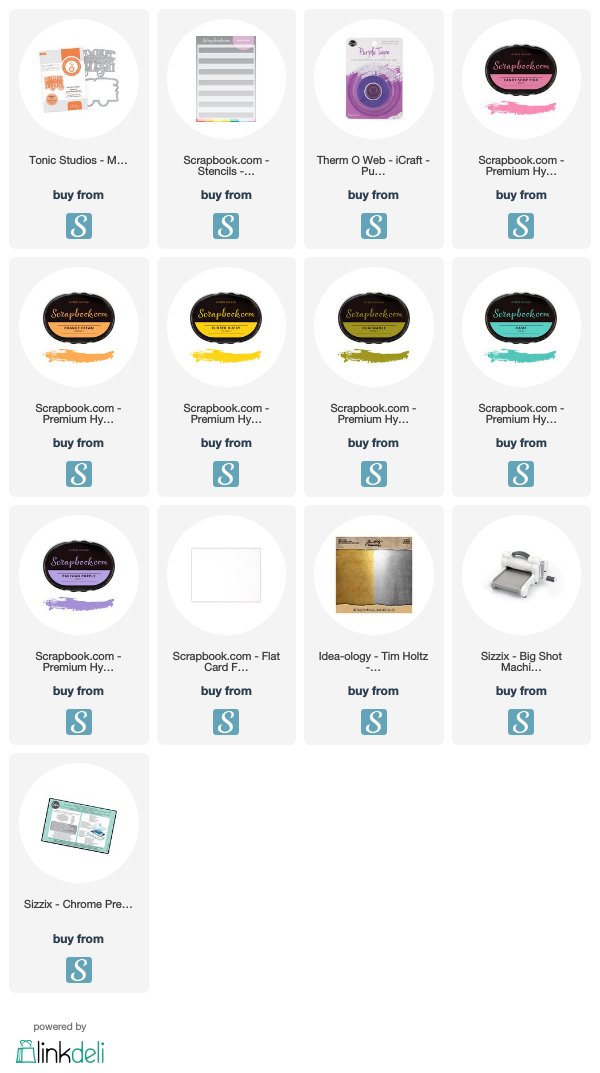
Once the stitching was completed, I knew it needed a fun background to make the die cut pop. I pulled out the Scrapbook.com Bold Stripes Stencil and placed it diagonally onto a 5.5 x 4.25 inch Neenah Flat Card Front in Solar White. I used a bit of adhesive to hold it to my craft mat and I used Therm O Web Purple Tape to hold the stencil in place while I inked it up in a rainbow of Scrapbook.com Hybrid Ink colors.

Scrapbook.com Bold Stripes Stencil with Ink Blending using Scrapbook.com Hybrid Inks and Domed Foam Blending Applicator

I finished off the card with a few splatters of watered down white and black acrylic paint and then adhered the sentiment using Scrapbook.com Double Sided Adhesive Foam Squares.

Hold On To Your Dreams Card by Juliana Micheals featuring Tonic Studios Hold On To Your Dreams Dot and Drop Die Exclusively for Scrapbook.com

Thanks for stopping by today! I hope you enjoyed seeing a new twist on using Tonic Studios Dot and Drop dies with stitching! This freebie is only available through Thursday, December 12th at midnight MST or until the supply run outs. What are you waiting for? Head on over to Scrapbook.com NOW to get your free die with any purchase!

SUPPLIES

Here is a list with links to Scrapbook.com of the supplies I used to create my Vintage Style Christmas Cards. These are affiliate links to Scrapbook.com. If you buy anything through my links, it adds no extra cost to you. I truly appreciate and thank you for your support! (You can see my full affiliate disclosure statement here.)


Subscribe