
Tim Holtz and Ranger just released a set of new festive Distress products that are perfect for adding shimmer, shine and sparkle to all the things. The one I couldn't wait to try was the new Pearlescent Texture Paste, which adds a beautiful glossy, pearly finish. There are also four new Distress Spritz colors: Tarnished Brass, Antiqued Bronze and Brushed Pewter, plus Picket Fence.
With the holidays quickly approaching, I thought it would be perfect to use them on a Christmas card, and it gave me a chance to play with a couple of Tim's new Christmas stamp sets and stencils. I can never resist a good Santa stamp, and the one in the Festive Mechanic stamp set is just fabulous!

If you want to learn more about the new Pearlescent Texture Paste and see even more ways to use it, be sure to check out Tim's video here.
Below you'll find a step-by-step tutorial showing how I created this card, along with the full supply list. If you'd rather watch the process, you'll find the video tutorial at the end of the post.
How to Color Pearlescent Texture Paste
To create the background, I started with a piece of Distress Watercolor Cardstock cut to 4 x 5.25 inches. I put some of the new Pearlescent Texture Paste onto my craft mat and added a few drops of Peeled Paint Distress Ink Reinker. I chose a reinker because it has less fluid than a spray, so it won't make the paste too runny. That's important here because we're using the paste with a stencil. I mixed the ink and paste together until the color was even, and you can add more drops of reinker until you get the shade you want. Every texture paste behaves a little differently when you add color, so this is what works best with the Pearlescent.

Stenciling the Background
Using a palette knife, I applied the colored paste through the Retro Diamond stencil from Mini Set 63 onto the upper left side of the panel, then carefully lifted off the stencil. You can set the paper aside to air dry, or dry it with a heat tool as long as you keep the heat tool moving and don't hold it in one spot for too long. I then repeated the process on the lower right side.
Next I added color to the background using the ink smooshing technique. I smooshed the Old Paper Distress Ink Pad onto my craft mat, spritzed it with water, then pressed the paper into the ink and dried it with my heat tool. I inked the edges with Vintage Photo Distress Ink, spritzed the panel with water and dried it again. For extra interest, I stamped a script stamp here and there over the background with Vintage Photo Distress Ink.
The final step was adding splatters with the new Tarnished Brass Distress Spritz. Be sure to shake the bottle well to mix in the mica, then remove the nozzle and flick the ink onto the background.

Coloring the Vintage Santa
For the embellishment, I stamped the Santa from Festive Mechanic and the holly from Holiday Botanical onto Distress Watercolor Cardstock using Black Soot Archival Ink. I watercolored the images with a water brush and Distress Inks in Rustic Wilderness, Peeled Paint, Forest Moss, Lumberjack Plaid, Aged Mahogany, Tye Dye and Spun Sugar. Then I fussy cut the images and inked the edges with Vintage Photo Distress Ink.
I stamped the Santa a second time onto Distress Watercolor Cardstock and die cut it with a circle die. I ink smooshed it with Old Paper Distress Ink and inked the edges with Vintage Photo.

Putting It All Together
I layered the pieces together with double-sided foam adhesive for a little dimension, then adhered them to the background. For the sentiment, I stamped it onto black cardstock with embossing ink, heat embossed it with white embossing powder, trimmed it to size and added it to the card. The final touch was matting the entire panel onto red cardstock cut to 4.25 x 5.5 inches.
Watch the Full Tutorial
Ready to see the Pearlescent paste in action? You can watch the complete tutorial in the video below, or head over to my YouTube channel to check it out.
I hope this inspires you to give the new Pearlescent Texture Paste a try and make it your own with your favorite holiday colors.
Supplies
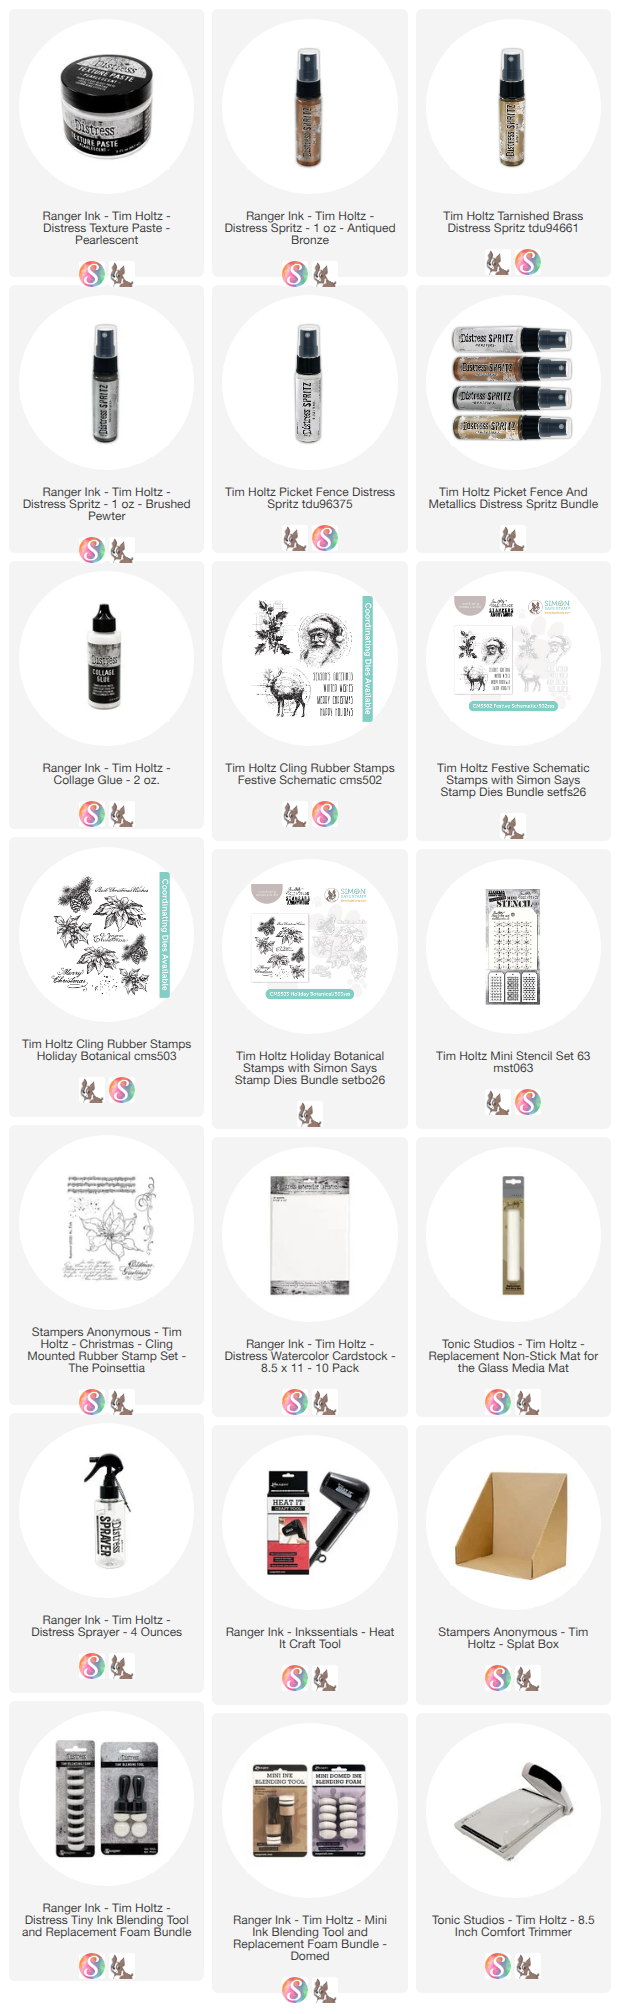
Below you will find links to the supplies I used to create these cards. When you shop through these links—whether you purchase that exact item or something else entirely—you're supporting me at no extra cost to you. The commission I receive helps me cover the costs of my blog and other expenses, and allows me to continue providing you with FREE inspiration and tutorials. If you want to learn more, you can see my full affiliate and product disclosure statement here. Thank you so much for your love and support.



No comments
Every time you smile at someone, it is an action of love, a gift to that person, a beautiful thing. ~Mother Teresa
HUGS!
JULIANA