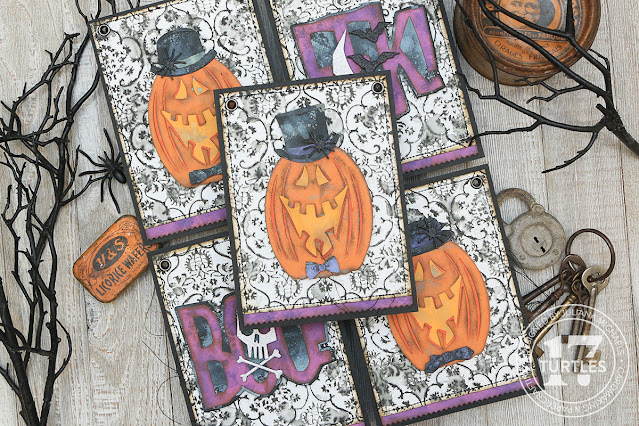
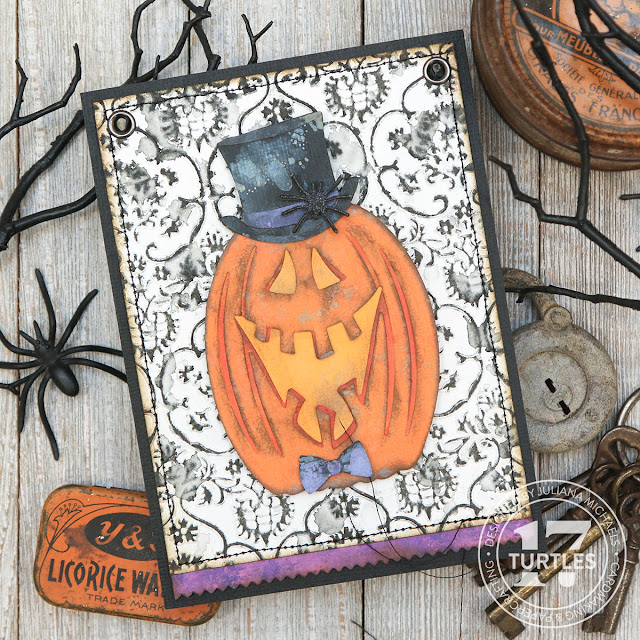
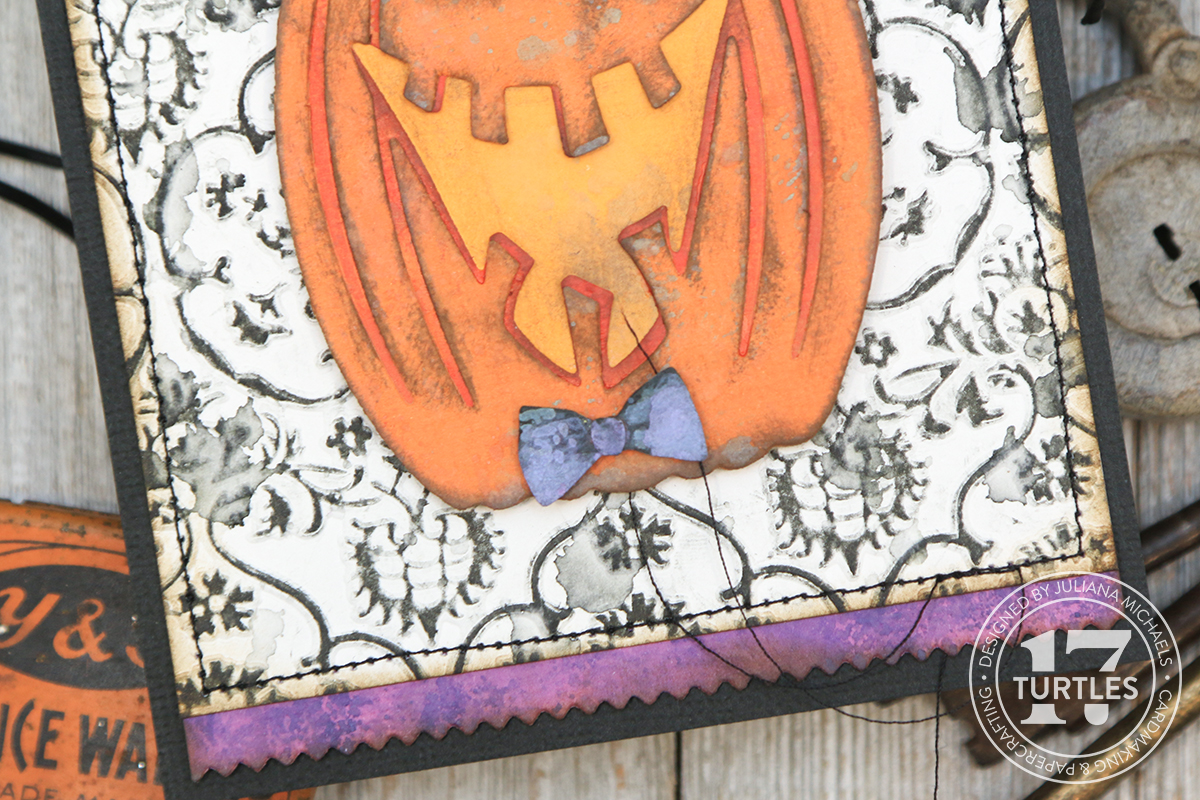
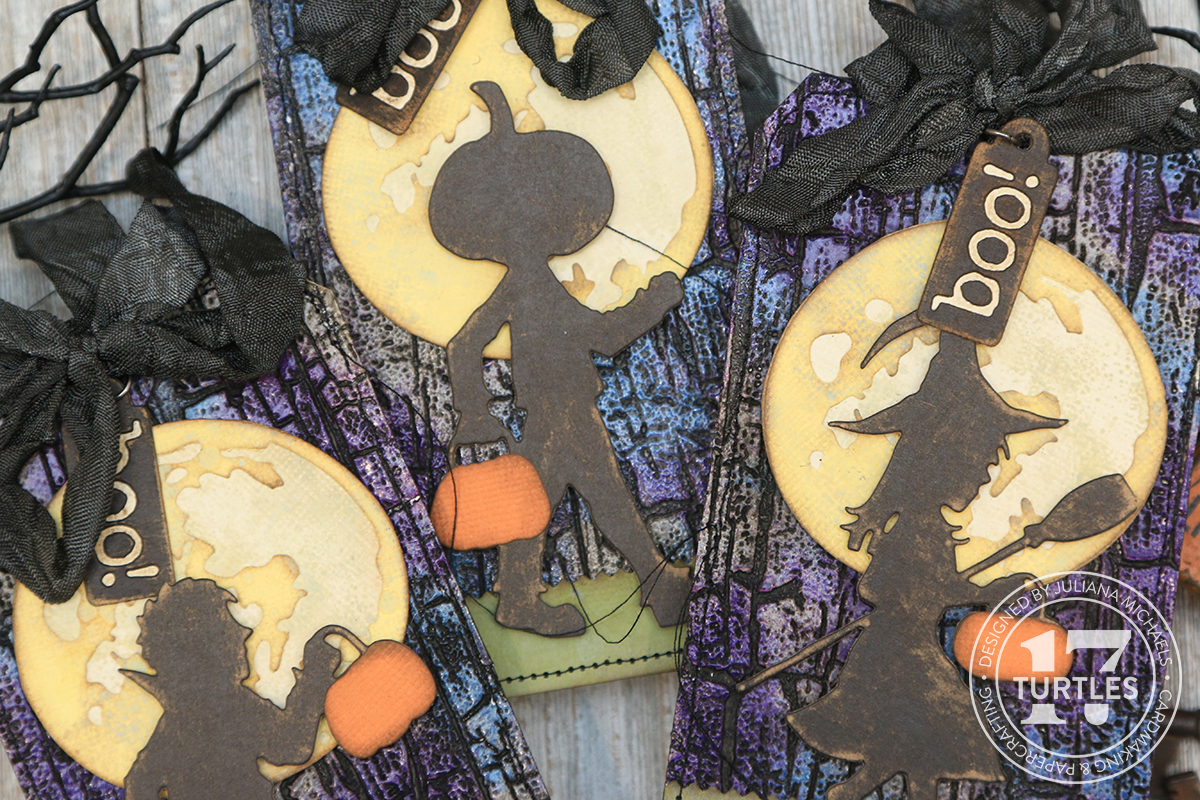
Hello and welcome! In this blog post I'm going to be sharing how I created this trio of Halloween Tags using some of the dies and embossing folders from the Tim Holtz Sizzix Halloween 2023 release. If you are looking for more inspiration featuring this new release make sure to check out the Tim Holtz Sizzix Halloween YouTube Live and Blog Post where you can find links to the projects created by the other Makers.

If you prefer a video format, you can watch below or head over to my YouTube channel to see the process in more detail.
To create this set of tags, I'll be working with the Moonlight Die Set and the Halloween Night Die Set. I'll also be using the Cracked 3D Embossing Folder. I'll also be sharing how to use Distress Embossing Glaze with an embossing folder to create the background for each tag. I'll also take you step by step through how I created the embellishments on each tag. If you're interested in the exact products I used, you can find a complete supply list at the bottom of this blog post with affiliate links to Scrapbook.com. When you shop through these links, it supports me and I really appreciate that so very much!
Now let's get on with the making!
HALLOWEEN TAGS WITH EMBOSSING GLAZE BACKGROUNDS

THE BACKGROUND
For the tag base, I'm used Distress Tags which are a heavystock mixed media paper and can handle different types of mediums. I lightly spritzed the tag with water using a Distress Sprayer, placed it inside the embossing folder and ran it through my die cutting machine. The water makes the paper more pliable and really allows it to take in all the detail from the embossing folder.
I then took the tag and gently rubbed a Versamark Watermark Embossing Ink Pad over the side that has more raised areas, because it will work best for this technique. I placed the tag over a piece of printer paper and applied Distress Embossing in Hickory Smoke, Villainous Potion and Prize Ribbon. I used my fingers to pinch out small amounts of each color and sprinkled it over the surface of the tag. I created little areas of each color and then repeated these sections to help spread the color across the tag. Once the tag was covered with the powder, I tapped off the excess powder and used a heat embossing tool to apply heat and melt the powder until it turned shiny.
You may be wondering where the black came from that you can see on the tag. To do that, I used a Black Soot Distress Crayon. I applied the crayon by coloring it directly onto the tag. I then spritzed a small amount of water onto my craft mat, dipped a stiff bristled brush into the water and then used the brush to blend the color and spread it into the cracks and crevices of the embossed design. I continued applying the crayon until the entire surface was covered with color. I then rubbed over the surface of the tag using a damp paper towel to remove the crayon from the areas where I had applied the Embossing Glaze.
THE CRINKLE RIBBON
To create the black crinkle ribbon I used seam binding. To make this, I cut a length of seam binding, placed it in a plastic bag and sprayed Black Soot Distress Spray Stain into the bag. I then worked the ink into the ribbon, pulled it out, crinkled it up into a ball and dried the ribbon with my heat tool. After I tied the ribbon onto the tag, I used a jump ring to attach the small Boo tag to the ribbon.

THE DIE CUTS
To embellish each tag, I die cut the individual trick or treaters from the Halloween Night die set. I cut them from Distress Black Kraft Stock. This is a kraft paper that has black printed on one side. After I die cut the image, I gently rubbed a sanding disc over the paper but you could also use a fine grit sandpaper. The sanding removes some of the black and reveals the kraft core which creates a distressed look.
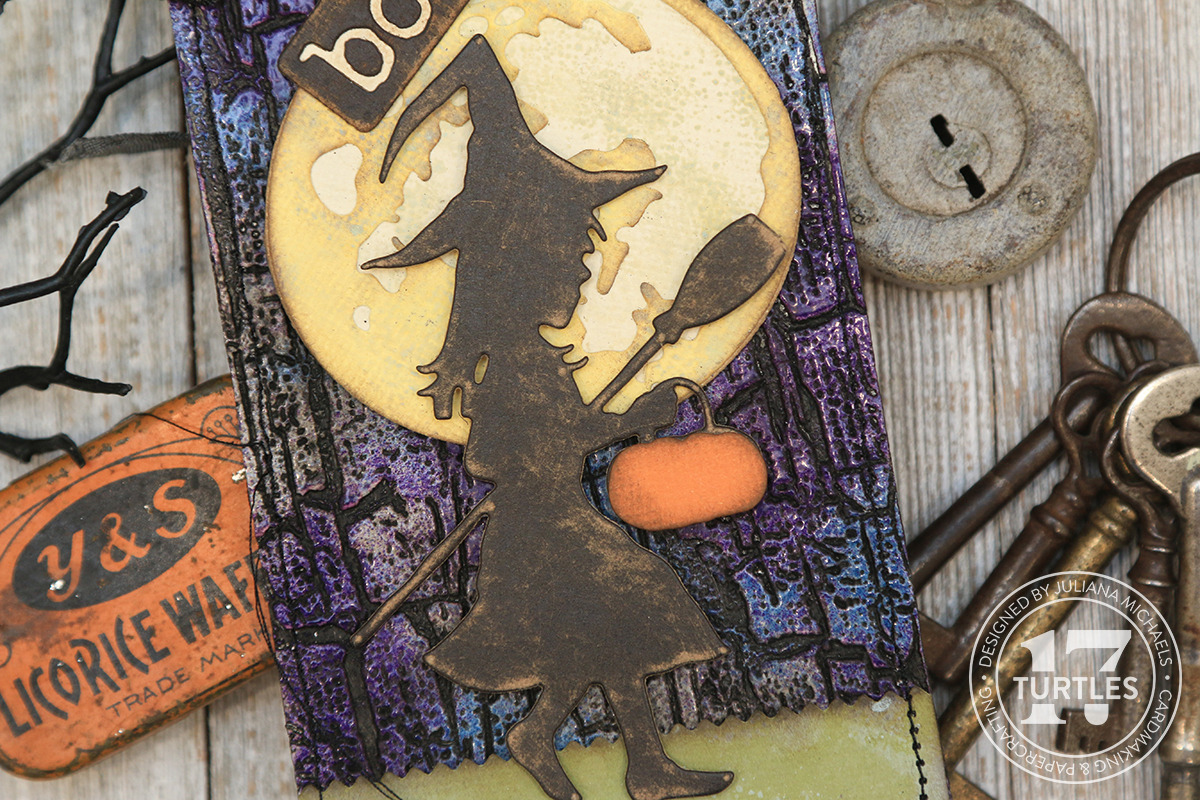
Next up I created the moon. For this I used the smaller moon from the Moonlight Die Set. I cut the base layer from a cream colored cardstock and the top layer from a pale yellow cardstock. To give the paper more interest, I smooshed a Distress Oxide Ink Pad in Old Paper onto my craft mat, spritzed the ink with water using my Distress Sprayer and then smooshed the die cuts into the ink. I then dried the paper with a heat tool. You could also set the paper to the side to dry. Once the paper was dry, I used a blending tool to ink the edges of each die cut using Walnut Stain Distress Oxide Ink.
Next, I adhered the layers together using Distress Collage Medium. Because the shape of the moon is a little wonky, it can be difficult to get the layers lined up perfectly. If they aren't, you can use scissors to trim off any excess and then just re-ink the edges.

For the grass below the trick or treaters, I used the large pinked edge die from the Tim Holtz Decorative Trims Die Set to cut a piece of green cardstock. To add interest to this piece, I once again smooshed the Distress Oxide Ink Pad in Old Paper onto my craft mat, spritzed the ink with water using my Distress Sprayer, smooshed the die cut into the ink and then dried it with a heat tool. I finished it off by using a blending tool to ink the edges with Walnut Stain Distress Oxide Ink.
THE BOO TAG
To create the little tag that says Boo, I used the Tim Holtz Alphanumeric Tiny Type Lowercase Die Set for the word boo and the smallest tag from the Tim Holtz Tag Collection die set for the tag. I spelled out the word boo on my craft mat, making sure the cutting side was facing down and placed a piece of Mint Tape over the dies (you could also use a piece of washi tape). I was then able to pick them up, place them onto a piece of Distress Black Kraft Stock and die cut them from the paper. After die cutting the letters, I removed the die cut letters, dies and Mint Tape from the paper which left me with the negative of the letters. I placed the tag die on top of this piece of paper, using Mint Tape to hold it in place and die cut it again. I also cut a second tag from a piece of Mixed Media Heavystock as well. This is the same paper the tag bases are made from and set this to the side.

Once all the die cutting was completed, I adhered the black tag on top of the cream colored tag. I then adhered the inside of the letter die cuts to give the word a more finished look. If you don't want to waste the letters, you could adhere them to a tag and use them that way if you like. I finished off the tag by rubbing over the Black Kraft Stock with a sanding disc just like I did the trick or treater die cut.

MACHINE STITCHING
Before I attached the ribbon, I added machine stitching with black thread around the outer edge of the tag. To adhere the moon and trick or treaters I used double sided foam adhesive to give them a little dimension and I used double sided tape to adhere the grass.

THE ORANGE PUMPKIN
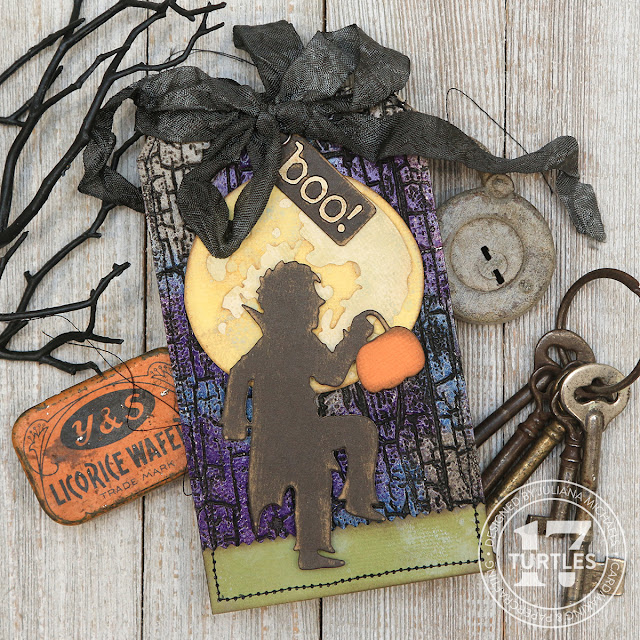
The last touch was the addition of the orange pumpkin. Originally I was going to leave them all black, but I cut one of the pumpkins out of orange cardstock and inked the edges with Walnut Stain Distress Ink just to see how it looked. As soon as I placed it onto the die cut, I knew I had to add them to the other tags!

This is a look at the pumpkin head trick or treater tag.


And there you have it! A trio of Halloween tags that can be used as cards, treat toppers or just as decor as you decorate for the Halloween season!

I hope you enjoyed learning how these Halloween Tags featuring the Tim Holtz Sizzix Halloween 2023 release came together. Thanks so much for stopping by and until next time, stay crafty my friend!
SUPPLIES
Below you can find the products I've used to create these Halloween Tags. When you shop through the links below, I receive a small commission from Scrapbook.com. These links are at absolutely no cost to you and the commission I receive helps me cover the costs of my blog and other expenses, which allows me to continue to provide you with FREE inspiration and tutorials. If you want to learn more about what an affiliate link is, you can see my full affiliate and product disclosure statement here. Thank you so much for your love and support!