
I love mixed media, but I'd be lying if I said it wasn't intense sometimes. The layers, the drying time, the beautiful mess of it all. So when I went to work on some projects for Scrapbook.com using their Exclusive Products, I decided to give myself permission to play a little differently. Just papers, die cuts, and the freedom to explore without overthinking it.

This Halloween card surprised me with how much I enjoyed the process. I'm not typically drawn to cutesy designs, but whimsical? That's different. This witch has character—and working with her as my focal point let me build something playful while keeping my aesthetic: vintage ephemera, intentional layering, and a color palette that feels sophisticated even in a fun theme.
These are unusual Halloween colors (peach, coral, sage) instead of traditional orange and black, but the color palette was made super easy using the Scrapbook.com Oak Lane Patterned Paper Pad.
Why This Card Works
Before I dive into the how, let me share what makes this design successful:
- The illustrated witch is the star — everything else supports her rather than competing for attention
- Unexpected color palette — peach, coral, and sage instead of traditional Halloween orange and black (thank you, Oak Lane Paper Pad!)
- Busy vs. calm balance — the patterned background plays against that solid arched frame
- Vintage ephemera grounds the whimsy — keeps it from tipping into overly cute territory

The "Character & Whimsy" Principle
Here's what I learned: when working with illustrated die cuts or character stamps, your job is to build a stage, not compete for attention. This means:
- Choosing backgrounds that enhance without overwhelming
- Creating frames or spaces that spotlight your character
- Using repetition (notice those yellow flowers?) to tie elements together
- Keeping sentiments simple and supportive

Building the Card
Step 1: Build Your Star
The witch is the star of this show, so I began by die cutting her various pieces. Feel free to cut pieces from multiple patterns and colors and play around with combinations—I loved mixing patterns for her dress and hat. When it came time to adhere her, I used double-sided foam adhesive to add dimension.
Step 2: Choose Your Sentiment
Early on I came across "Let's Go Ghouls" from the Scrapbook.com Boo Time Stamp set, and it felt perfect—playful enough to support the witch without stealing her thunder.
Step 3: Create The Stage
Once I was happy with how she looked, I began laying out solid colors to go behind her. The Nested Notched Arches became my grounding layer—I knew patterned paper would compete too much here. Then I layered the striped paper behind the solid to create visual movement. Your eye travels up and down those stripes, which works perfectly with the vertical witch figure.
Step 4: Create The Background
At this point I began playing around with the background. I knew I wanted to use the diamond pattern as it had a vintage Halloween feel to the design, and it also wasn't overly busy so as to detract from the focal point. The spider web layer was created using the Scrapbook.com Spiderwebs A2 die. I trimmed off the border to give it a little more texture and openness to the design.
Step 5: Finishing Touches
Next I began adding the florals, again using papers from the Oak Lane Paper Pad and die cutting the various pieces from multiple colors until I was pleased with their arrangement. I used double-sided foam adhesive to give them a little bit of dimension. I then finished it off by tucking in some vintage-style ephemera in the way of some Tim Holtz Tickets and Stamps.
Design Techniques Worth Noting
Creating Depth Without Mixed Media
One of my biggest takeaways from this project? You can create serious dimension with just paper:
- Layer various colors and patterns to build interest
- Use foam adhesive strategically—not everywhere, just on key elements that should pop
- Overlap elements intentionally to create shadows and depth
The Rule of Odd Numbers
Notice those three main yellow flowers? That's not an accident. Three creates visual interest, while odd-numbered groupings feel more organic than even ones. It's a design trick that works every time.

A Different Kind of Creative Energy
Normally, I would have built my own background using stamping, texture paste, stencils, and layers of ink. And honestly? I missed having my stamps and inks in hand—that's my comfort zone.
But this process taught me to trust good patterned paper and thoughtful layering. The Oak Lane Paper Pad did the heavy lifting on color and pattern coordination, which freed me up to focus purely on composition and storytelling. Different energy, but equally satisfying.
Coming Up in This Series
This is the first of four cards I'm sharing using Scrapbook.com Exclusives—each exploring paper-only cardmaking from a different angle:
- Next: Christmas card — Foundation & Focal Points
- Then: Love card — Dimension & Movement
- Finally: Thinking of You — Vintage Vibes
Each card taught me something different about design principles that work across any style, mixed media or not.
Let's Connect!
Ready to create your own? Grab these Scrapbook.com exclusives using the supply list below.
I'd love to hear from you: Do you prefer traditional Halloween colors (orange and black) or something unexpected like these peachy corals? Drop a comment!
If you make this card, please tag me—I absolutely love seeing your versions!
Don't miss the rest of this series! Subscribe to my email newsletter so you never miss a new project, post, or video.
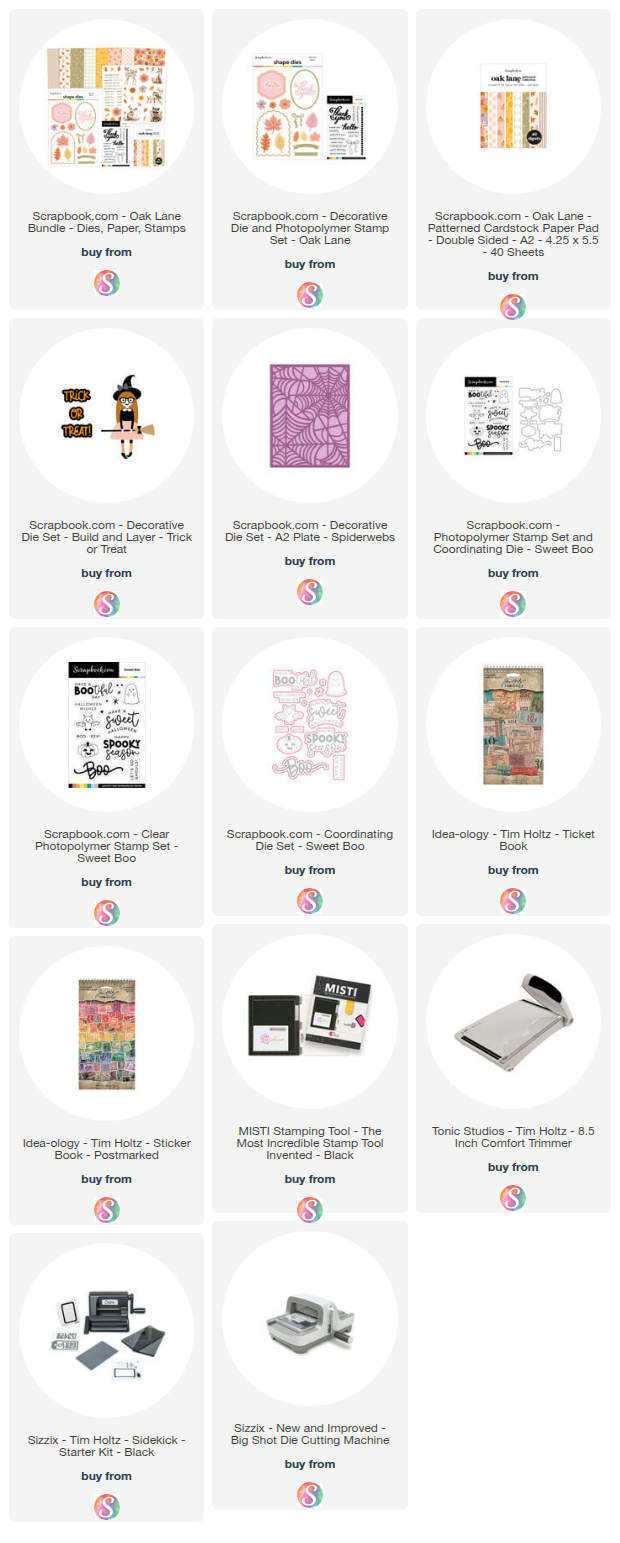
Supply List
Below you can find the supplies I used to create this card. When you shop through those links—whether you purchase that exact item or something else entirely—you're supporting me at no extra cost to you. The commission I receive helps me cover the costs of my blog and other expenses, and allows me to continue to provide you with FREE inspiration and tutorials. If you want to learn more about what an affiliate link is, you can see my full affiliate and product disclosure statement here. Thank you so much for your love and support!


Adorable card! I love how you used nontraditional Halloween colors along with your vintage vibe. All of your elements work beautifully together. Thank you for the lovely inspiration!
ReplyDelete