
These minis are the same size as the Distress Ink Mini Pads, but they’re filled with the same unique ink formula as the full-size Distress Oxide Ink Pads. I love that Tim and the Ranger chemists were able to make this happen—it wasn’t something they originally thought would be possible!
Now, the mini size might not be for everyone—especially if you already own the full-size pads—but if you’re new to Distress Oxides, this is a fantastic (and more affordable) way to start exploring the medium. Plus, they’re perfect for travel and storage, and as I’ll show in today’s project—and in my most recent video—there are certain techniques you just can’t do with the large pads.
That said, there are a couple things to keep in mind: because they’re smaller, you’ll likely need to re-ink them more often, so it’s worth investing in the coordinating re-inkers. Also, the lids are quite snug. This helps prevent them from drying out, but they can be tricky to remove if you have hand pain, arthritis, or grip issues.
Alright, now let’s get into the making!

To create this card, I used the same stamping technique I shared in my most recent video—you can check that out HERE to see it in action! The stamp set I used is the Tim Holtz Perspective Stamp Set.

I applied Mini Distress Oxide Inks in Stormy Sky, Peeled Paint, Rusty Hinge, and Ground Espresso directly to the butterfly stamp. After lightly misting it with water, I stamped the image onto a piece of Distress Heavystock. Once it was dry, I used the coordinating die—available exclusively from Simon Says Stamp—to cut out the butterfly.

For the sentiment, I inked it up with Ground Espresso, then used the matching die from the same exclusive set to cut it out.
The background was created by pressing the Vintage Photo Distress Oxide Mini Ink Pad directly onto a piece of Distress Heavystock, creating imperfect squares of color. I repeated this to form a loose grid pattern. Next, I used the Halftone Stencil to apply Stormy Sky Distress Oxide, followed by Distress Texture Paste Opaque through the Blossom Stencil. I set the panel aside to dry.

One of my favorite details? How the Texture Paste absorbs the Vintage Photo Oxide Ink, adding unexpected texture and variation to the background. I finished the panel by inking the edges with Stormy Sky—wait, what?! No Vintage Photo or brown ink for the edges this time? I know! I can't believe it either… but honestly? I’m kind of loving it!
Whether you're new to Distress Oxides or already a fan, the minis are a fun and fresh way to shake things up in your crafting. I’m having so much fun exploring the possibilities. I hope you’ll give them a try too!
SUPPLIES
Below you can find the supplies I used to create this card and the swatches. When you shop through those links and whether you purchase that exact item or something else entirely, you’re supporting me at no extra cost to you. The commission I receive helps me cover the costs of my blog and other expenses, and allows me to continue to provide you with FREE inspiration and tutorials. If you want to learn more about what an affiliate link is, you can see my full affiliate and product disclosure statement here. Thank you so much for your love and support!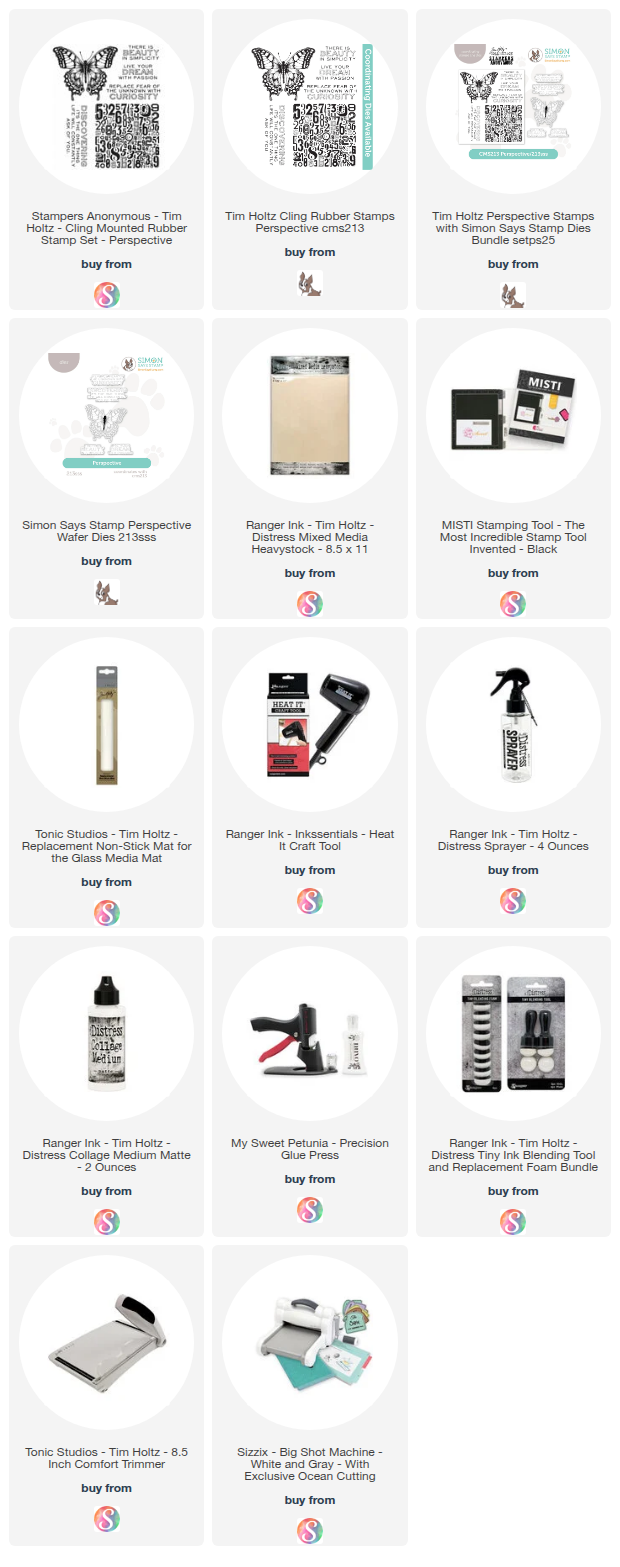


Such a cool looking card and the video linked was helpful too. I think that stormy sky on edges of card looks great. Thanks for sharing your techniques for inspiration. Much appreciated.
ReplyDelete