
Alcohol ink backgrounds can be so dreamy! Don't you agree? Especially when you use Alcohol Lift Ink and stamps from Tim Holtz to add to the design. This has become a favorite holiday background for me and I've spent some time working out the details on getting a good stamped image with this technique when using more detailed stamped images. Today for my Day 10 of the 12 Days of Christmas Card Ideas I'll be sharing all about this with you.
Special Delivery Christmas Card
Around Halloween, I created a card using this Alcohol Lift Ink technique and it seemed to work so easy for me. However, when I had the idea to try it for a Christmas card I was on the struggle bus trying to get it to work and give me a similar look. Well, I think I've found the secret, or at least what works for me. I've found that if I use one, maybe two similar alcohol ink colors to create the background AND cover the paper with Alcohol Blending Solution before I add the ink I seem to get the larger more solid cells of color which allow the Alcohol Lift Ink to really show the stamped detail. Once I apply the ink, I use the Air Blower to move the ink around with long squeezes on the blower. Of course you still need to following the recommendations of dabbing the ink off with a clean paper towel to lift off the ink. So, with this technique now down to a "science" I was able to create and share today's card with you.


The sentiment along the left hand side is from the Tiny Text Christmas Stamp Set and is heat embossed with Rose Gold Embossing Powder. I added a couple of brads to each end to attach it to the card front. I then finished it off with the Special Delivery label from the Vintage Holidays Stamp Set and heat embossed it as well.


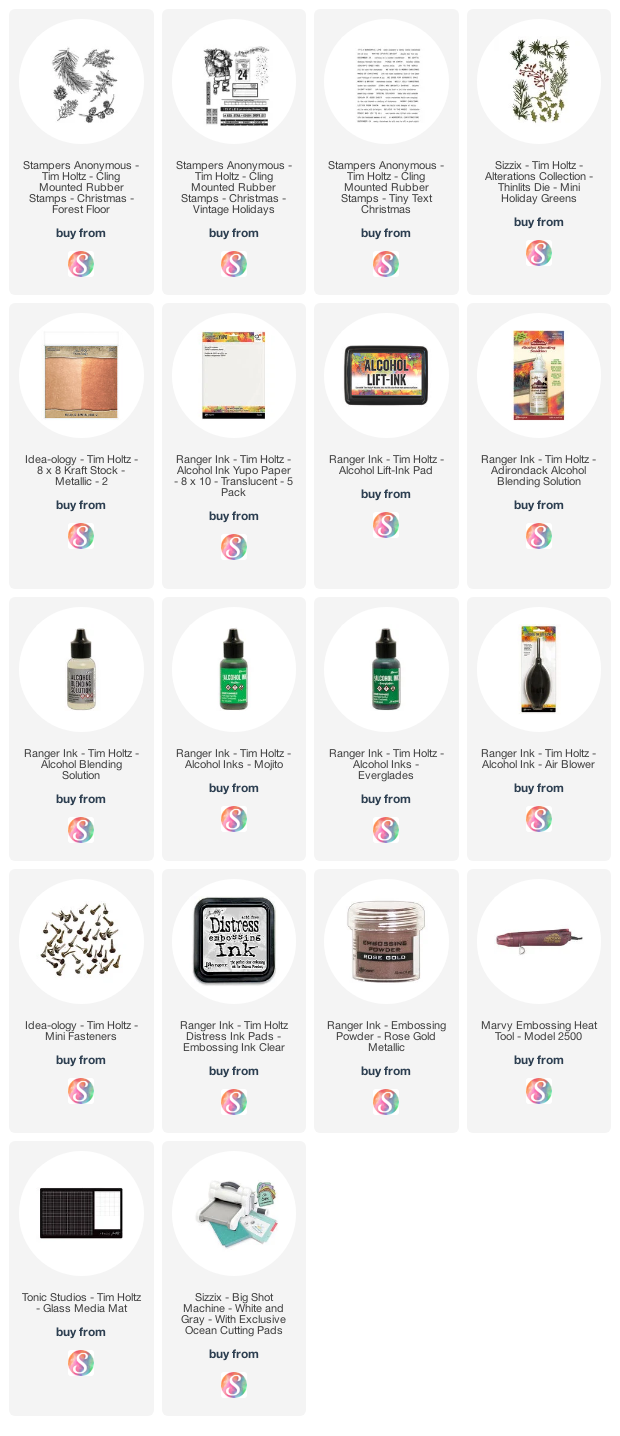
Supplies


What a chic, dazzlingly beautiful design. It's fresh and wholly timeless in the same go.
ReplyDeleteAutumn Zenith 🎃 Witchcrafted Life