
Raise your hand if you're a MemoryDex Fan? Did you know that Scrapbook.com has partnered with Heidi Swapp to release an Exclusive Blush MemoryDex? I can now say I am a huge MemoryDex Fan! I remember when it was first out on the market in 2014, but at the time I was into other crafty things and it didn't really catch my attention. That all changed recently when one was given to me by Scrapbook.com and I was told to have fun with it and make it my own. That's exactly what I did! I took the beautiful Scrapbook.com Exclusive Blush MemoryDex and made it my own, with a bit of a Tim Holtz twist.

Despite the beautiful Blush color, I knew that in order to make it my own, the color would have to change. Thanks to the help of a can of Krylon Spray Paint, I was easily able to transform it from Blush to Black. So, if Blush is not your color, don't be afraid to switch it up with a can of spray paint. If you plan on doing this, I recommend using a spray paint that also includes a primer. Before you begin, remove the turning knobs and then lightly sand the entire piece. Wash and dry it to remove any dust and then follow the directions on the bottle of spray paint. I let mine sit for a couple of days after I spray painted it to let it cure. I then reassembled it and was ready to go. Well almost. The crystal knobs weren't working for me either, so I pulled out some Alcohol Inks and went to work to give them an aged mirror effect. To achieve this, I applied Pebble and Gilded Alloy Alcohol Inks and used just a touch of Alcohol Ink Blending Solution and an Alcohol Ink Blower to move the ink around until I was pleased with the result. Once they were dry, I assembled my MemoryDex and I was ready to begin creating cards for it.

During the process of making the MemoryDex my own style, I had decided that I wanted to use mine as a pretty inspiration piece on my desk. My cards will be a chance for me to just play on a small canvas with whatever strikes my fancy at the moment. Maybe it's a new color (like Rustic Wilderness Distress Ink) or a technique or maybe there is a quote that has inspired me. With each card, I'm going to take the time to enjoy the creative process while adding a touch of inspiration and beauty to my desk.

So now, let me share one of the cards I've created for my MemoryDex. This started from a piece of Distress White Heavystock cut to 4x4" and then punched with the MemoryDex Hole Punch. I then used the dab and dry technique by placing some Rustic Wilderness Distress Ink on my craft mat, spritzed it with water, dabbed my paper into it and dried it with my heat tool. I repeated this until I was happy with the look. I then added some stamping using Archival Ink in Black Soot for the large butterfly from the Tim Holtz Specimen Stamp Set. I also used some Vintage Photo and Peacock Feathers for some small detail stamping using images from the Tiny Toadstools Stamp Set. After the stamping was completed, I inked the edges with some Vintage Photo Distress Ink and a bit of Fossilized Amber and then spritzed the card with my Distress Sprayer and dabbed it dry. I then added some splatters of gold ink using the Metallic Gold Reinker. I squirted some of the ink onto my craft mat, added a tiny bit of water, used a paint brush to pick up the ink and then flicked the brush over the paper to create the splatters.

Next I went about adding the die cut flowers from Wildstems 1 and 2 which are both cut from Distress White Heavystock and lightly inked with Vintage Photo Distress Ink.

For the saying, I die cut the title using the Scrapbook.com Inspirational Life Sentiments Die Set from a piece of rose gold paper found in the Metallic 2 Kraftstock Paper Pad. I finished it off with a sticker from the Scrapbook.com Charcoal and Blush with Rose Gold Accents Sticker Book.

I thought the card was finished at this point, but then I decided to add a little more texture with a stencil. I placed the Scrapbook.com Teardrop Floral Stencil over the card and applied some Distress Translucent Grit Paste through it using a palette knife. Once this was dry, I rubbed some Rustic Wilderness Distress Crayon over it and blended it in with my finger so the design would show a bit more. It's a subtle touch of texture, but I loved what it added to the overall design.

Enabler alert! If you are interested in getting your hands on a Memory Dex, they are on sale NOW at Scrapbook.com during their Black Friday sale! Make sure to check out their coupon page for ALL the details, coupon codes AND freebies!
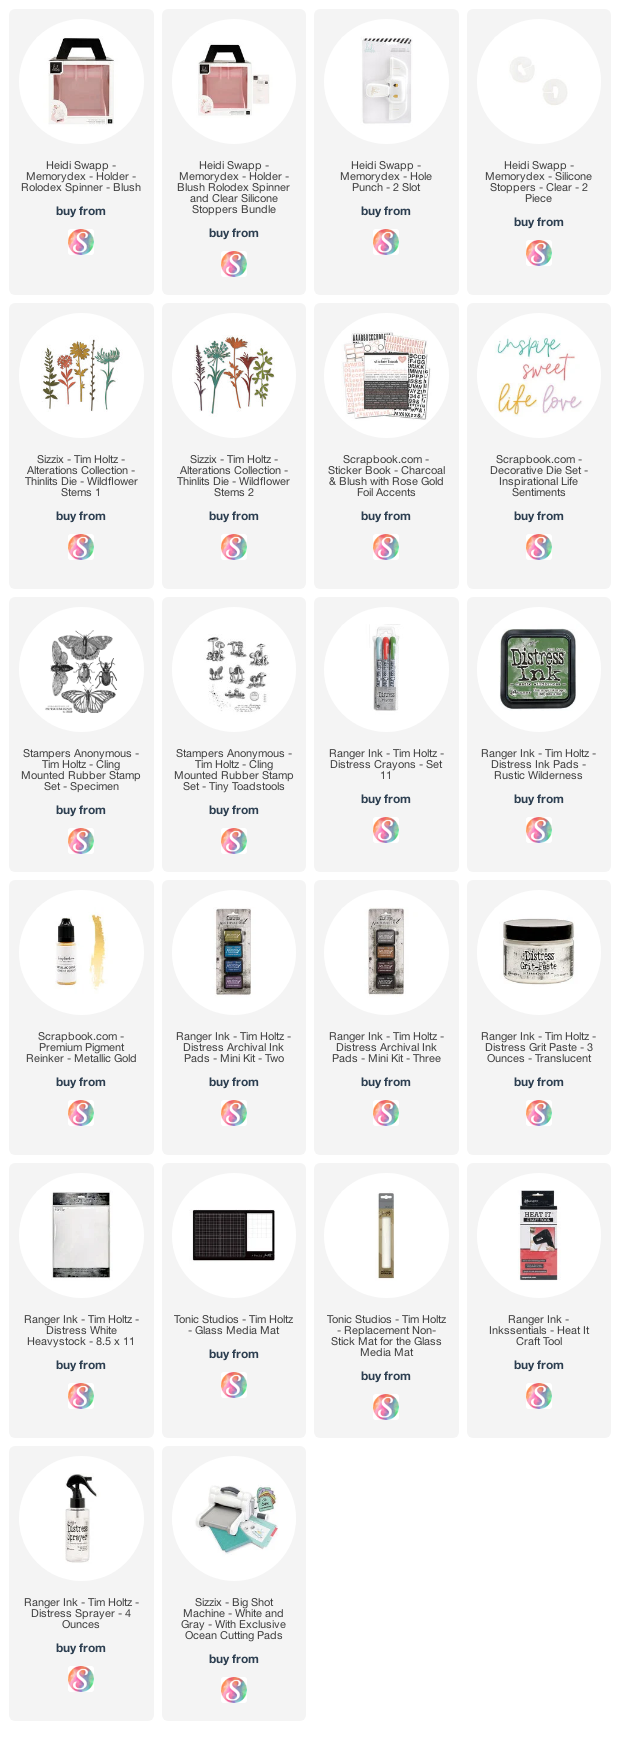
Supplies
You can find a supply list of the products I used to create this project below. This post contains compensated affiliate links to Scrapbook.com at no cost to you. If you want to learn more about what an affiliate link is, you can see my full affiliate and product disclosure statement here.


No comments
Every time you smile at someone, it is an action of love, a gift to that person, a beautiful thing. ~Mother Teresa
HUGS!
JULIANA