


Now let me walk you through how this inlaid design came together. When I was originally creating this card, I seriously took the long and difficult road. I don't want you to have to struggle like I did, so I'll be sharing what I think might be a slightly easier option as well as how I actually created it. Either way you choose will end up with this final result and you may actually prefer one method over the other if you attempt something like this.

To get started, I cut a piece of Bristol Smooth Paper to 4.25 x 5.5 inches. I then placed the larger die from the Holly Pieces Thinlits into the right corner. I used Therm O Web Purple Tape to hold it in place and ran it through my die cutting machine. I then flipped the die around, placed it in the opposite corner, taped it in place and ran it through my die cutting machine a second time. As you can see, I placed it so there would be a small border around the outside edge of the cut areas. Feel free to die cut some sections using the tiny berries that are included as well.

This next step is where I would now change things quite a bit. Begin with a 4.25 x 5.5 inch piece of Bristol Paper and ink blend it with your choice of red Distress Ink. Repeat this process with your choice of green Distress Inks. For my card I used Candied Apple, Fried Brick, Peeled Paint and Forest Moss. I then took each of these papers and die cut each of them with the Holly Pieces Thinlits, making sure to keep all the little pieces. You will also need 2 of each image to fill in all of the openings.
Next, take the original panel you die cut with the holly pieces in each corner and back it with a sheet of double sided adhesive cut to size. Then start popping in the pieces from the ink blended paper to fill in the die cut design. Once all of the pieces are in place, ink the edges with a bit of Vintage Photo and Walnut Stain Distress Ink. And there you have your inlaid design!
Originally, I cut the initial panel and kept all the pieces intact and adhered a double sided adhesive sheet to the back side of the panel. I then die cut an extra Holly Pieces from a scrap of cardstock and used it as a mask to ink the red and green areas. Because the areas are so close together, I had to tape off the areas to prevent the red and green ink from covering up each other too much.
Either option takes a bit of time to complete, but now that you know the different ways to achieve this look, you are certainly free to take your pick! You may prefer one over the other!

To create the sentiment for the card, I die cut Merry from black cardstock several times using the Merry & Bright Thinlits Dies. I then adhered them together using a little Collage Medium. I then finished it off by stamping "merry & bright" from the Stripes & Holiday Stamp Set. This is a background stamp, so I stamped it onto black cardstock with embossing ink and heat set it with white embossing powder. I then trimmed off the words I wanted to use for this card and saved the others for future projects.

I then finished off the card by mounting it onto a piece of patterned paper from the Christmas 2019 Paper Stash and then again onto another piece of cardstock inked with Vintage Photo and Walnut Stain Distress Ink.

I hope you enjoyed learning how to create this Merry & Bright inlaid die cut card featuring the Tim Holtz Sizzix Holly Pieces and Merry & Bright Thinlits Dies.
Supplies
You can find a supply list of the products I used to create this project below. This post contains compensated affiliate links to Scrapbook.com at no cost to you. If you want to learn more about what an affiliate link is, you can see my full affiliate and product disclosure statement here. The products I used to create this project are a mix of products I purchased myself and products I received as compensation for creating for the Tim Holtz Sizzix Chapter 3 Release.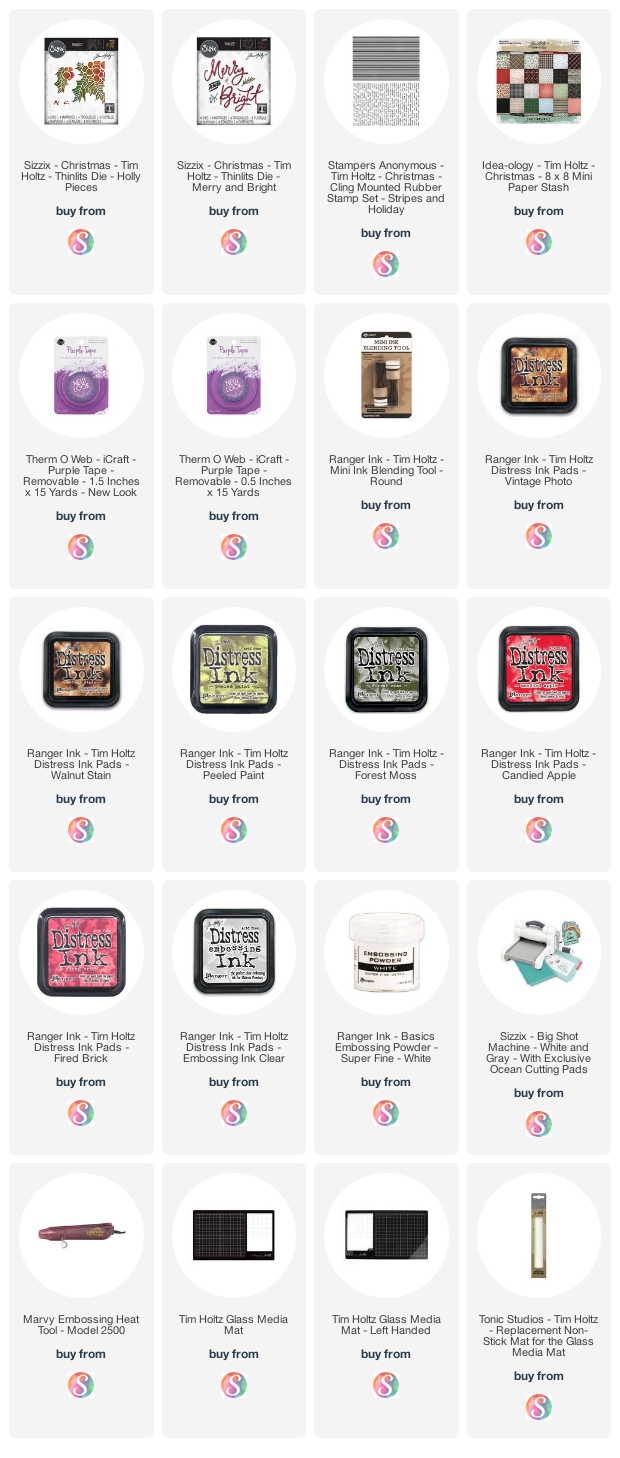


Great card Juliana! I have got to try this since I have the die!!
ReplyDeleteOne of my favorites from the release...my die set in on the way...yippee! It's beginning to look a lot like Christmas...dang, didn't work, do not feel any cooler...LOL...
ReplyDeleteVery cool with in the inlay design. LOVE this simple yet elegant look as well.
ReplyDelete