
Hello friends! Today I'm sharing a set of tags I created a bit ago. I don't know about you, but sometimes I can get so lost in the creative process that I just forget about the sharing part. And then sometimes...like now, I find myself not having the energy or mojo to share.

With that being said, today I'm finally getting around to sharing these textured tags. I was inspired to create them after watching several of Tim Holtz's Saturday Demos. Some of the techniques are ones I learned from watching the videos and some were just me wondering "what if I try this". I originally shared how the tags started out on Instagram. They started out quite bright and pretty in this "before" photo.


I then went about creating the Glazed Ceramic effect before I added the final touches. Keep scrolling to see how each tag turned out. I'm also sharing some of the different techniques I used to create the various textures on each tag.

As you can see each tag was finished off with a similar treatment. I added a Paper Doll to each one that was colored with Embossing Glaze. I used an Embossing Pen to color the clothing area, sprinkled it with Embossing Glaze and then heat set it with my embossing gun. To continue the repeated treatment, I also added some die cut circles. These were all cut from scraps of patterned paper, which I tend to hoard, using the Sizzix Thinlits Stacked Circles. Because there are multiples of each size, it was a breeze to cut a bunch of circles all at once. I then finished each one off with a Idea-ology Small Talk sticker.

3D Embossing Folders + Glaze
These first three tags each began as a piece of watercolor paper die cut using the Sizzix Thinlits Tag Collection. After cutting each tag I embossed each one with a different 3D Embossing Folder. From left to right I used: Brickwork, Elegant and Foundry. Next, I rubbed over each tag with an Embossing Ink Pad, sprinkled it with Embossing Glaze, tapped off the excess and then heat embossed it with my embossing heat tool. I tried this technique with the Embossing Dauber the first time, but I personally liked how the ink pad covered more surface area and seemed to cover the paper more evenly than the Dauber when rubbing it over the textured surfaces.

On the Brickwork tag I used Vintage Photo Embossing Glaze, on the Elegant tag I used Peeled Paint and on the Foundry tag I used Hickory Smoke. At this point, the tags were bright and shiny like the original image I shared above.

To get that Glazed Ceramic look and to add a touch of grunge, I used Distress Crayons. Working in small sections and rubbing it in as I went I added the crayons to each tag to pull out the embossed detail. On the Brickwork tag I used Walnut Stain and Black Soot Distress Crayons.

On the Elegant tag I used Peeled Paint and Ground Espresso Distress Crayons. For the Foundry Tag, I didn't quite get all of the paper covered with embossing glaze, so I inked the edges with Distress Ink in Rusty Hinge and a touch of Black Soot. I then finished it off with some Walnut Stain and Rusty Hinge Distress Crayons.


Stencils + Glaze
For this next set of tags I used Stencils to achieve a similar effect as the embossing folders. This was one of those what if I try this moments for me. Here I used the following stencils from left to right: Bouquet, Digits, Doodle Art 2 and Bouquet.

By adding Texture Paste through the stencil, I was able to create a textured surface similiar to what I achieved with the 3D Embossing Folders. On the Bouquet tag, I placed the stencil on top of the tag and used a palette knife I wipe Texture Paste over the stencil. I gently lifted it off and set the tag to the side to dry. While it was drying, I also washed the stencil. I repeated this same process for the Digits Tag and Doodle Art 2 Tag.

On the Digits tag, I didn't quite cover the entire tag with Embossing Glaze, so I inked the edges and open spaces with Cracked Pistachio Distress Oxide, Twisted Citron Distress Oxide and Walnut Stain Distress Ink. I then spritzed the tag with my Distress Sprayer, dabbed it dry and then splattered on a bit of Vintage Photo and Cracked Pistachio Distress Spray.

I tried a slightly different idea on the other Bouquet Tag. I first stamped several images with Archival Ink from the Field Notes Stamp Set onto the tag. I then used Crackle Paste instead of Texture Paste.

Once the paste was dry, I used the same process as before. I wiped over the tag with the Embossing Ink Pad and embossed each one with a different color of Embossing Glaze. From left to right I used Tattered Rose, Cracked Pistachio, Broken China and Fossilized Amber Embossing Glaze. At this point, as I mentioned earlier, the tags were very bright and pretty.
And as before, I achieved the Glazed Ceramic look using primarily Distress Crayons. The Bouquet tag used Vintage Photo Distress Crayon and the Doodle Art 2 used Walnut Stain and Rusty Hinge.


I hope you enjoyed the Glazed Ceramic Tags I shared with you today. If you have any questions about them, please feel free to reach out and ask!
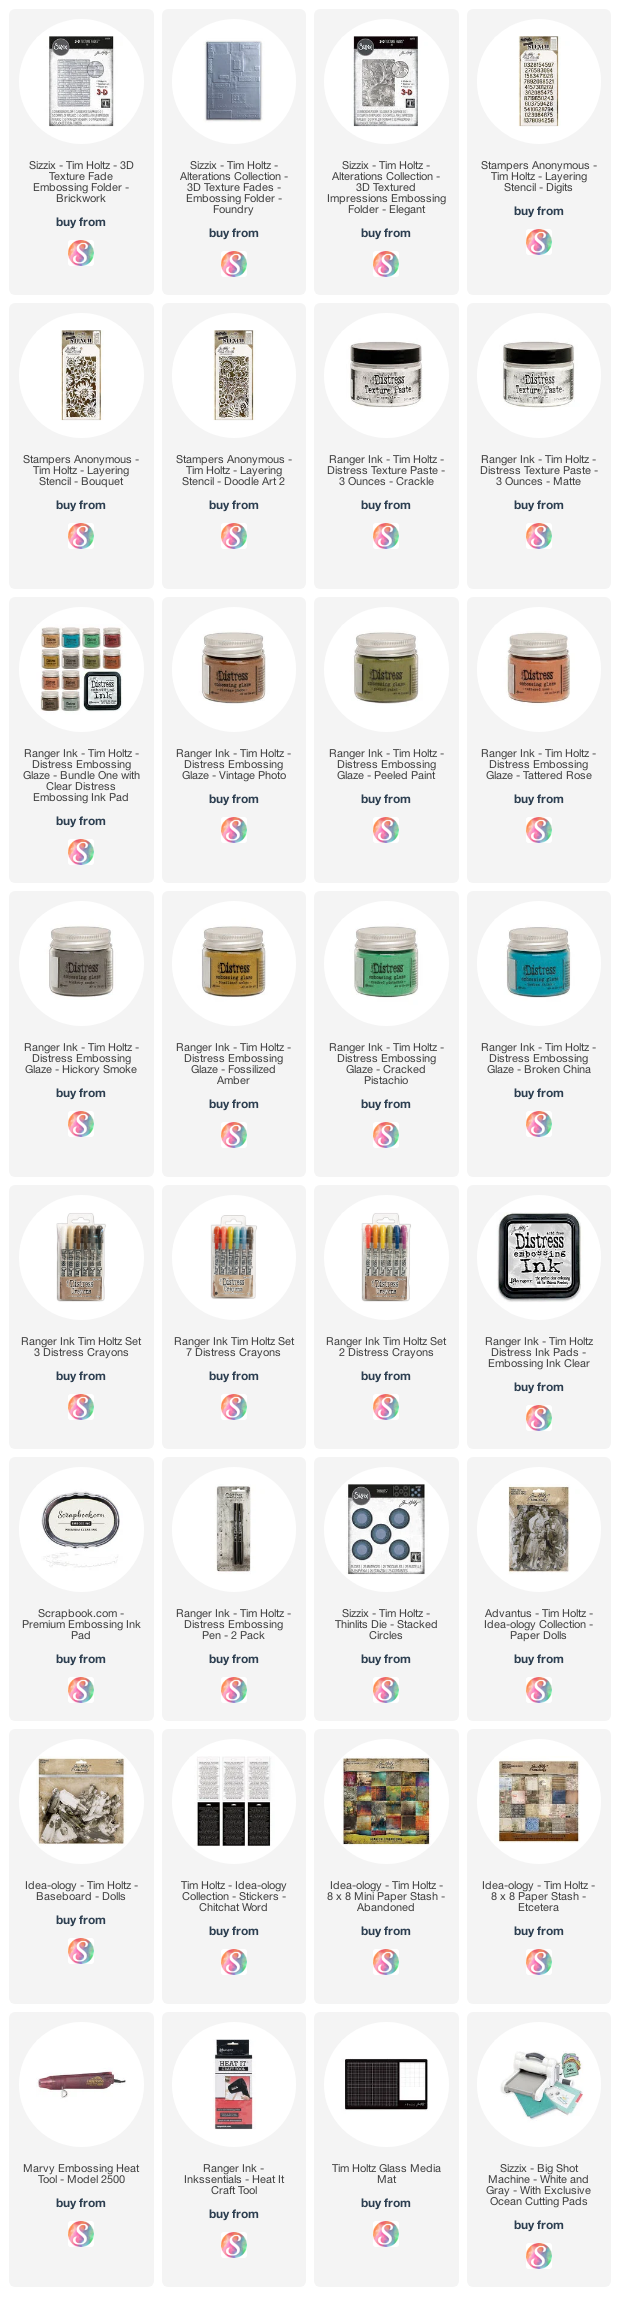
You can find a supply list of the products I used to create this project below. This post contains compensated affiliate links to Scrapbook.com at no cost to you. If you want to learn more about what an affiliate link is, you can see my full affiliate and product disclosure statement here. This is not a sponsored post. The products I used to create these tags are a mix of products I purchased myself and products I received as compensation for projects I created for the Tim Holtz Sizzix Chapter 1 and 2 Release.


these are so cool. I love all the different techniques to make these backgrounds. they are so rich feeling and make for an exceptional background for each collage.
ReplyDeleteThey are all fabulous!!! So much fun!!!
ReplyDelete