Clipboard Mini Album | Tim Holtz Sizzix March 2025

The Vault has been opened once again and Tim Holtz is back with a new Sizzix Vault release! I used the new Vault Noteworthy along with some Idea-ology bits and piece to create this Clipboard Mini Album. 

Clipboard Mini Album by Juliana Michaels featuring Tim Holtz Sizzix Vault Noteworthy

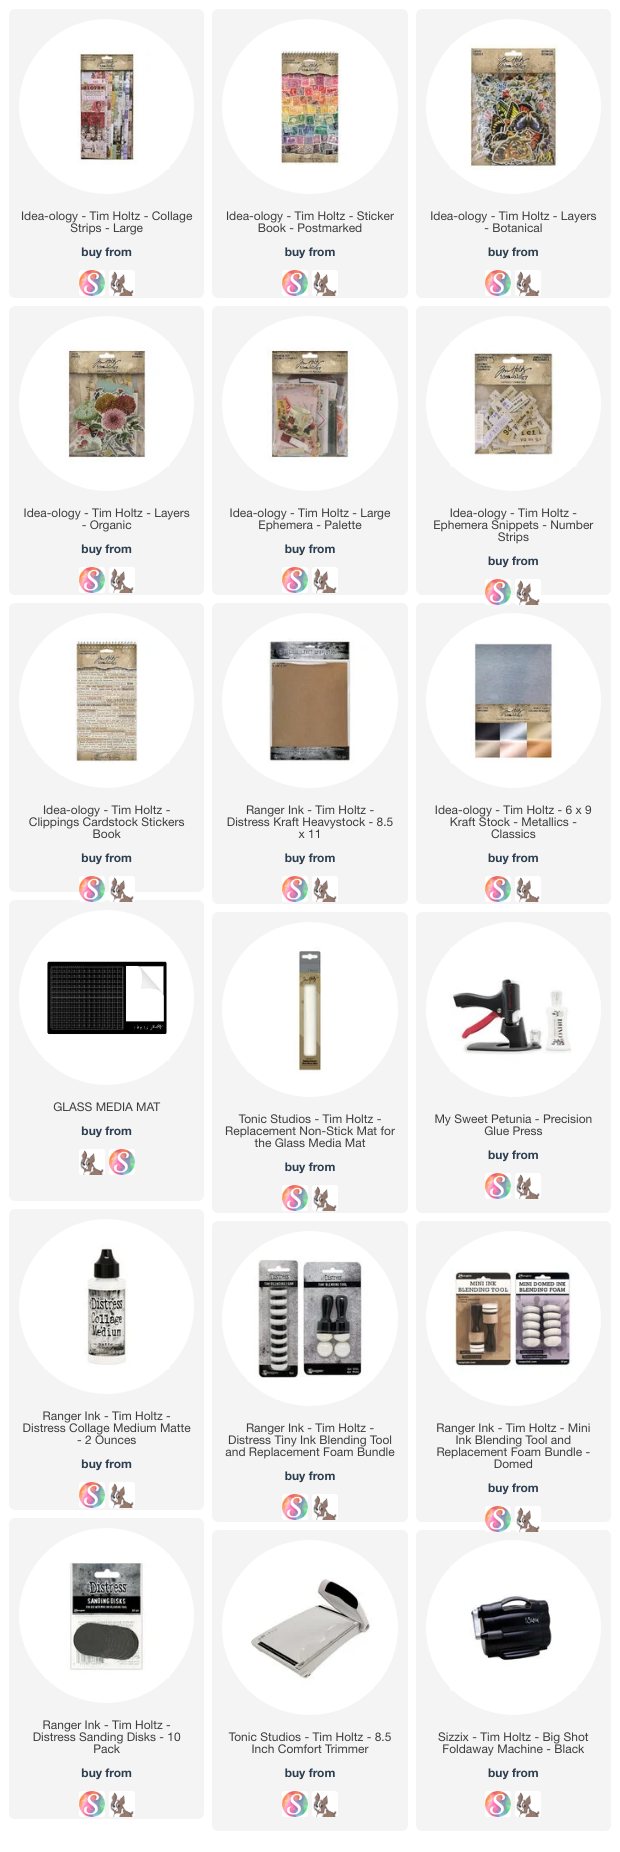
The first thing I thought of when I saw the clipboard die was a mini album or tag album of some sort. Initially I was going to create a swatch book with it, but since I already have a lot of my inks and such swatched, I decided to go in a slightly different direction and create a swatch book using some of my Idea-ology stash! The 2024 Idea-ology release came in a rainbow of colors and while I had collected all the things, I had yet to use them. So I gathered them and sort them by color and started creating my little mini album.


I began by die cutting the clipboard using Kraftstock and Silver Metallic Craftstock. I inked the edges of the Kraftstock clipboard with Walnut Stain Distress Ink. I then sanded the metallic clip piece to give it a distressed effect and then inked it with the same Walnut Stain Distress Ink. I then assembled each of the clipboards.


Next, I used the paper die to cut out sections from the Large Collage Strips. I then embossed them using the embossing folder from the Vault Side-Order Floristry. I rubbed over the embossed design with some Sizzix Gold Luster Wax for a little interest. I  then inked the edges with Walnut Stain Distress Ink. 


Once that was completed it was just a matter of going through my stash and selecting ephemera pieces in the coordinating color to create a small collage on the paper.


If you look closely I also used some of the rainbow colored stamp stickers from the Postmarked Sticker Book.


For the focal point on each clipboard I selected either a flower or butterfly and adhered that with some double sided foam adhesive for a bit of dimension.


I then finished off each one with a Clippings Sticker.


Lastly, I added all of the clipboards to a book ring and finished that off with a bit of seam binding and some Idea-olgy charms and a skeleton key.


I hope you enjoyed learning how this Clipboard Mini Album featuring the Tim Holtz Vault Noteworthy came together.

SUPPLIES

Below you can find the supplies I used to create this card and the swatches. When you shop through the links below, I receive a small commission from Scrapbook.com. These links are at no cost to you and the commission I receive helps me cover the costs of my blog and other expenses, and allows me to continue to provide you with FREE inspiration and tutorials. If you want to learn more about what an affiliate link is, you can see my full affiliate and product disclosure statement here. Thank you so much for your love and support!
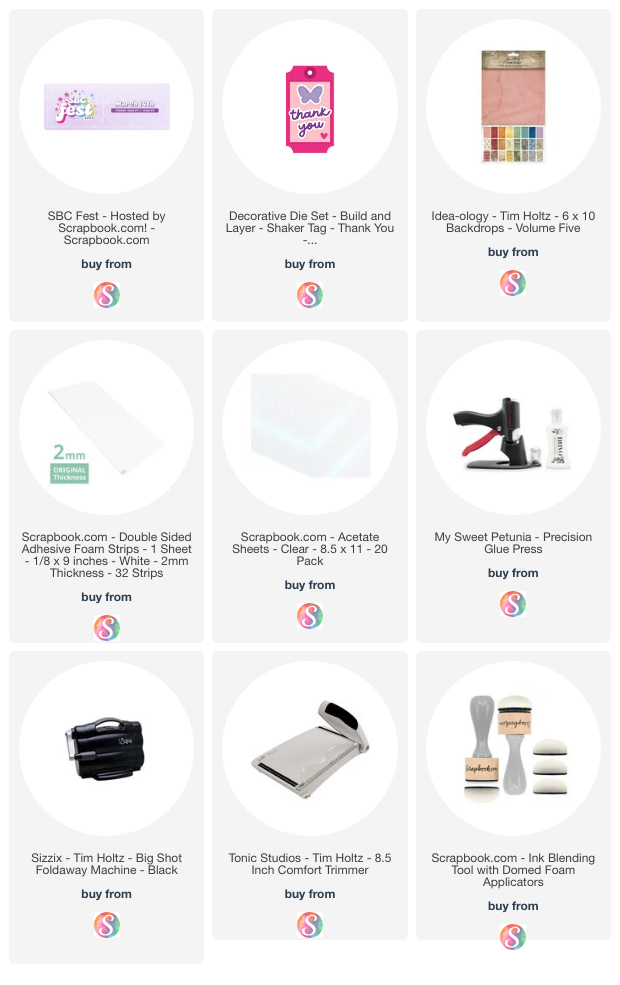
Rainbow Shaker Tag Mini Album | SBC Fest

I have something to admit, I'm on a bit of a mini album kick lately or at least that's what I'm calling them. If you have another suggestion, please let me know. Today I'm sharing this Rainbow Shaker Tag Mini Album that I made using the Scrapbook.com Exclusive Thank You Shaker Tag Die Set.

Rainbow Shaker Tag Mini Album by Juliana Michaels featuring Scrapbook.com Thank You Shaker Tag Die Set

This die set is available for FREE with any purchase while supplies last as part of their Spring 2025 SBC Fest happening today.

SBC FEST IS HAPPENING NOW!


Head to their site to check out all the details, enjoy the free classes and grab your free die set!

GRAB YOUR FREEBIE NOW!

THANK YOU SHAKER TAG DIE SET

I used the Thank You Shaker Tag Die Set to create a set of shaker tags filled with sequins in a rainbow of colors!


I die cut each shaker tag from a mix of patterned papers from the Tim Holtz Backdrops Volume 5. As you can see I created one for each color of the rainbow!

I also die cut several of the small butterflies from the die set to put inside the shaker.


I then assembled the shaker and filled it with a mix of coordinating sequins and the die cut butterflies.


To embellish each tag, I added a die cut butterfly cut from black cardstock using the Scrapbook.com Butterflies 1 Die Set.


I adhered the butterfly die cuts using black double sided foam adhesive.


To finish each one off, I added a motivational sticker from the Tim Holtz Metallic Sticker Book.


Lastly I added the tags to a book ring and dressed it up with a bit of Tim Holtz Mummy Cloth and Idea-ology Charms and Keys.


Thanks so much for stopping by today! I hope you enjoyed learning a bit more about how this mini album came together! 

SUPPLIES

Below you can find the supplies I used to create this card and the swatches. When you shop through the links below, I receive a small commission from Scrapbook.com. These links are at no cost to you and the commission I receive helps me cover the costs of my blog and other expenses, and allows me to continue to provide you with FREE inspiration and tutorials. If you want to learn more about what an affiliate link is, you can see my full affiliate and product disclosure statement here. Thank you so much for your love and support!

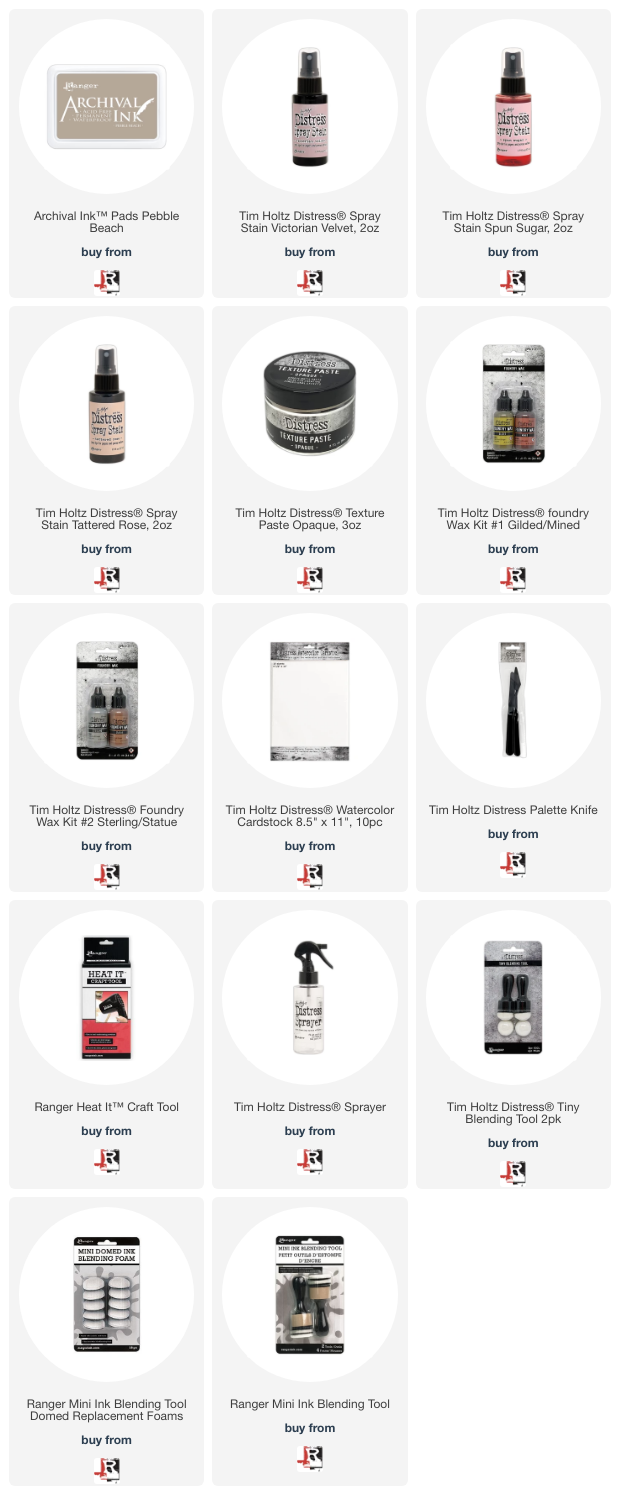
Mixed Media Making | Distress Sprays Stains, Distress Foundry Wax & Archival Ink

Hello friends! I am super excited to share with you that I have a new video up on the Ranger Ink YouTube Channel! I will be creating and sharing a video over there from time to time focusing on using a variety of Tim Holtz Distress products. In this video I've combined Distress Sprays Stains, Distress Foundry Wax and Archival Ink to create a mixed media background.

Just Because Card by Juliana Michaels featuring Tim Holtz Ranger Distress Spray Stains, Distress Foundry Wax and Archival Inks

You can either watch the video below or head over to the Ranger Ink YouTube Channel HERE to check it out.

VIDEO

Please feel free to use products from your stash to recreate something similar. However, if you are interested in any of the products I’m using, you can find the supply list with links down below. Using these links does not cost you anything extra and it helps support my business. 

JUST BECAUSE CARD

Here is an up close look at the card I created in this video using the Tim Holtz Distress Spray Stains, Distress Foundry Wax and Archival Ink. The finished card size is 4 ¼ x 5 ½ inches.

Just Because Card by Juliana Michaels featuring Tim Holtz Ranger Distress Spray Stains, Distress Foundry Wax and Archival Inks


SUPPLIES

Below you can find the supplies I used to create this card and the swatches. When you shop through the links below, I receive a small commission from Scrapbook.com. These links are at no cost to you and the commission I receive helps me cover the costs of my blog and other expenses, and allows me to continue to provide you with FREE inspiration and tutorials. If you want to learn more about what an affiliate link is, you can see my full affiliate and product disclosure statement here. Thank you so much for your love and support!

How To Label Your Distress Products | The Quick & Easy Way!

You asked and you shall receive! In my latest video I'm sharing how to label your Distress Products the quick and easy way!

How to Label Your Distress Products the quick and easy way by Juliana MIchaels

You can either watch the video below or head over to my YouTube Channel HERE to check it out.


If you are interested in any of the products I mention in this video, you can find the supply list with links below. Using these links does not cost you anything extra and it helps support my business. It also allows me to continue offering free content and keep my class costs low. I appreciate your support so very much!

SUPPLIES

Below you can find the supplies I used to create this card and the swatches. When you shop through the links below, I receive a small commission from Scrapbook.com. These links are at no cost to you and the commission I receive helps me cover the costs of my blog and other expenses, and allows me to continue to provide you with FREE inspiration and tutorials. If you want to learn more about what an affiliate link is, you can see my full affiliate and product disclosure statement here. Thank you so much for your love and support!

The BEST New Cardstock To Use With Alcohol Inks

Hello there and welcome! In my most recent video I'm sharing a new cardstock that is perfect for using with Alcohol Inks and Alcohol Pearls. It's the Scrapbook.com Classic Glossy Cardstock in Black and White. In the video I demonstrate how to use both of these inks with this new cardstock, when to use Isopropyl Rubbing Alcohol vs Alcohol Blending Solution and how easy they are to clean up with the new Scrapbook.com Crafty Clean Up Cloths!

Cards by Juliana Michaels featuring Scrapbook.com Classic Glossy Cardstock in Black and White, Alcohol Inks and Alcohol Pearls

You can either watch the video below or head over to my YouTube Channel HERE to check it out.


Please feel free to use products from your stash to recreate something similar. However, if you are interested in any of the products I’m using, you can find the supply list with links down below. Using these links does not cost you anything extra and it helps support my business. It also allows me to continue offering free content and keep my class costs low. I appreciate your support!

HELLO BEAUTIFUL CARD

Here is a look at the card I created in this video using the White Glossy Cardstock with Alcohol Inks. The finished card size is 4 ¼ x 5 ½ inches.

Hello Beautiful Card by Juliana Michaels featuring Scrapbook.com Classic Glossy Cardstock in Black and White and Alcohol Inks


SOMETHING TO SMILE ABOUT CARD

Here is a look at the second card I created in this video using the Black Glossy Cardstock with Alcohol Pearls. The finished card size is 4 ¼ x 5 ½ inches.

Something To Smile About Card by Juliana Michaels featuring Scrapbook.com Classic Glossy Cardstock in Black and White and Alcohol Pearls


SUPPLIES

Below you can find the supplies I used to create this card and the swatches. When you shop through the links below, I receive a small commission from Scrapbook.com. These links are at no cost to you and the commission I receive helps me cover the costs of my blog and other expenses, and allows me to continue to provide you with FREE inspiration and tutorials. If you want to learn more about what an affiliate link is, you can see my full affiliate and product disclosure statement here. Thank you so much for your love and support!


Subscribe