I don't know about you, but I'm super excited that the final 24 Mini Distress Oxides from Tim Holtz and Ranger Ink are here! This means the entire Distress palette is now available in mini oxide form—perfect news for those of us with "whole collection syndrome"!

Why I'm loving the minis:
- They take up less space in your craft room and on your work surface
- They enable techniques that are difficult (or impossible) with larger pads
- When watercoloring, you're not wasting nearly as much ink
- They create a beautiful creamy, dreamy watercolor effect
Watercoloring with Distress Oxides: Yes, You Can!
You might be wondering: can you actually watercolor with Distress Oxides? Yes! They're water reactive, just like regular Distress Inks. The only catch? You'll want to restamp your images after watercoloring to bring back the crisp details. The result is that gorgeous creamy, dreamy effect—dimensional watercolor with rich, opaque color and sharp definition. I'll show you exactly what I mean in this tutorial.

A Sweet Personal Touch
Before we dive into the technique, I have to share a special detail on this card. That vintage postage stamp? It's a real stamp from the Netherlands, sent to me by my sweet friend Saskia! Look closely and you'll see the stamp features my name—it's a Queen Juliana stamp (she was Queen of the Netherlands). Saskia generously sent me several of these treasures, and while I usually struggle with "ruining" anything vintage by actually using it, I forced myself to incorporate it here. It was the perfect finishing touch for my faux vintage postcard background, and I couldn't love it more!
Now let's get into the making of it!

Creating the Vintage Postcard Background
I started with Distress Watercolor Cardstock cut to 4 x 5.25 inches. I ink smooshed it into Old Paper Distress Ink spritzed with water, then dried it with my heat tool.
Next, I stamped various postcard images onto the paper using Black Soot Archival Ink and stamps from Tim Holtz, Elizabeth Craft Designs, and Gina K Designs. (I might or might not have a small collection of postcard and postage-themed stamps!) I hand-wrote a note, added a festive faux address, and stamped a postmark cancellation image in the bottom left corner to add another touch of red and create a visual triangle.
After inking the edges with Frayed Burlap and then Scorched Timber Distress Oxide, I added the vintage postage stamp and additional postmark cancellation images. I distressed the edges with the backside of my craft knife and added a few pieces of Tim Holtz Cellotape for vintage flair.
The finished background was adhered to kraft cardstock that I'd inked with Scorched Timber Distress Oxide and spritzed with water for a beautifully aged effect.
The Watercoloring Technique
Here's where the magic happens! For the focal images, I used stamps from Tim Holtz's Forest Floor 2 collection, stamping them with Black Soot Archival Ink onto Distress Watercolor cardstock.
Pro tip: I highly recommend using a stamping platform for this technique. Here's the step-by-step process:
Step 1: Stamp Your Image
Stamp your image with Black Soot Archival Ink (or any permanent, waterproof ink) onto Distress Watercolor cardstock. Leave the paper in the exact same spot in your stamping platform—don't move it!

Step 2: Prepare Your Colors
Smoosh your chosen Distress Oxide color onto your craft mat. Use a waterbrush or paintbrush with water to pick up the ink.

Step 3: Apply Lighter Colors First
Apply your lighter colors to the open areas of the stamped image. Work from light to dark for the best results.
My color choices:
- Berries: Barn Door (light) and Aged Mahogany (dark)
- Leaves: Shabby Shutters (light) and Forest Moss (dark)
- Stem and tree slice: Frayed Burlap (light) and Scorched Timber (dark)
Step 4: Add Darker Shades
Once the lighter colors are applied, add your darker shades to the shadow areas indicated in the stamped image. This creates beautiful dimension.

Step 5: Let It Dry
Allow your watercoloring to dry completely before the next step.

Step 6: Restamp for Crisp Details
Here's the game-changer! Once your watercoloring is dry, reink the stamp and restamp your image right over the watercolored area. Look how it brings the image back to life!

Why Restamping Makes All the Difference
Because Distress Oxides contain pigment ink (along with dye ink), they're more opaque than regular Distress Inks. This creates that beautiful, creamy, dreamy watercolor effect—but it can also cover up fine stamping details. Working in your stamping platform allows you to perfectly restamp the image and restore all those delicate lines and details.
The result? Gorgeous, dimensional watercolored images with crisp definition. It's the best of both worlds!

Adding the Sentiment
The final touch was the "Merry" sentiment, which I die cut multiple times to create dimension. I used the Simon Says Stamp Festive Sentiments die set (sadly no longer available) and cut the sentiment from both black cardstock and gold metallic cardstock. I offset the gold layer slightly to create a shadow effect that adds visual interest.
Since my watercolored focal images were adhered with 1mm foam adhesive, I needed to build up the sentiment to match that same height. I die cut the sentiment several additional times from black cardstock and stacked them together using liquid adhesive. As I added each layer, I trimmed off portions depending on where they hit the other layers to keep everything level and create a smooth, even build-up.
Once all the layers were stacked and dry, I adhered the dimensional sentiment to the card using liquid adhesive, positioning it over the watercolored images to complete the design.
Give It a Try!
I hope this technique inspires you to try watercoloring with your Distress Oxides! The creamy, dreamy effect they create is truly beautiful, and the mini pads make it so easy to work with multiple colors without taking over your entire craft space.
If you give this a try, I'd love to see what you create! Feel free to share your projects with me on Instagram or in the comments.
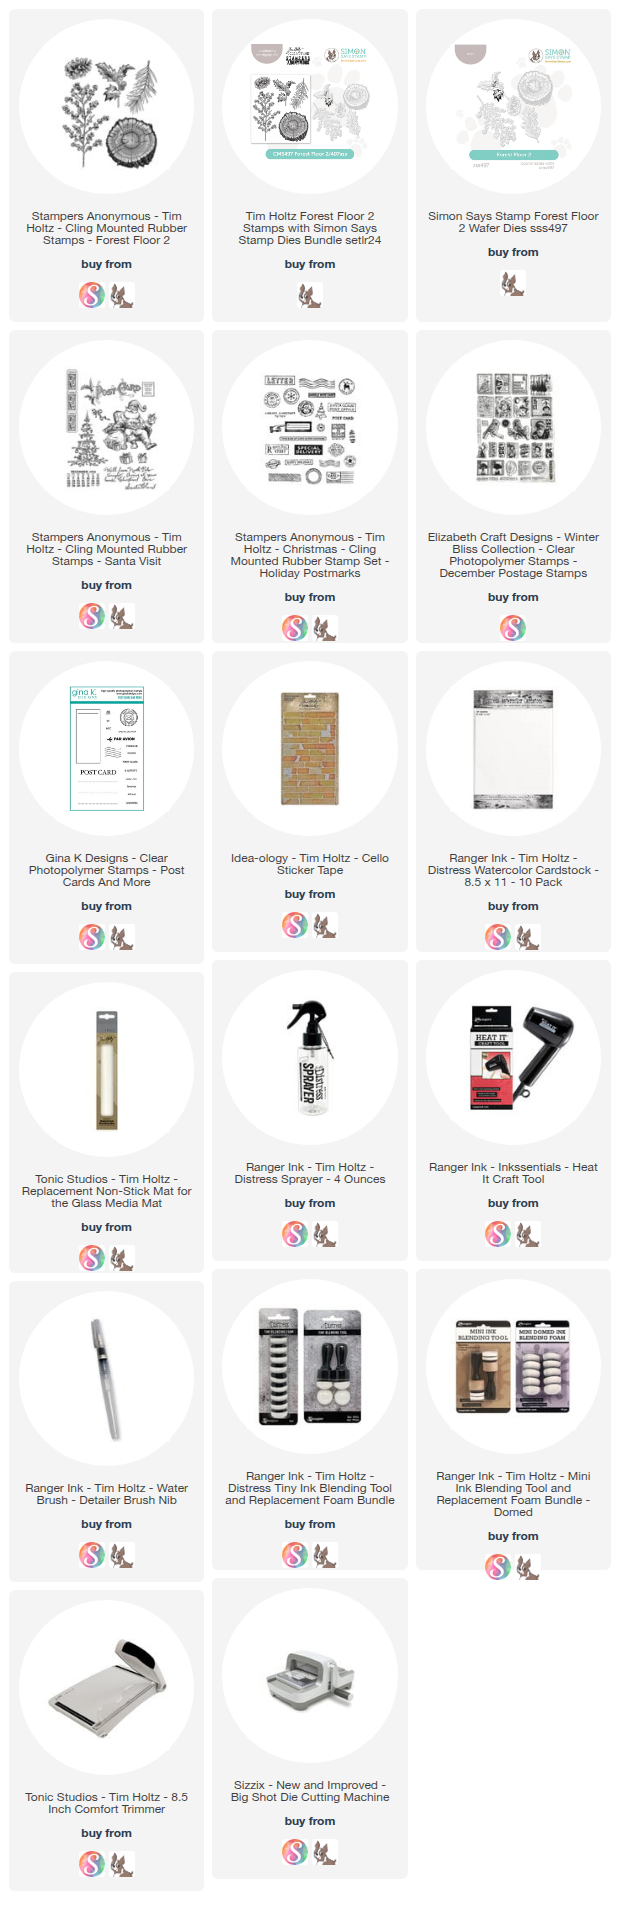
Supply List
Below you can find the supplies I used to create this card. When you shop through those links—whether you purchase that exact item or something else entirely—you're supporting me at no extra cost to you. The commission I receive helps me cover the costs of my blog and other expenses, and allows me to continue to provide you with FREE inspiration and tutorials. If you want to learn more about what an affiliate link is, you can see my full affiliate and product disclosure statement here. Thank you so much for your love and support!