
Hello friend! It's Juliana Michaels and welcome! Thanks so much for being here! Today I'm going to share my first thoughts and how I used Simon Hurley's new Solar Paste to create a card! Simon was kind enough to gift me a set of his new paste and I had a great time playing around and creating with it. If you want to use the exact products I'm using in this video I'll have them linked down below in the description box. When you use these links it helps support me, so I really appreciate it!

Head on over to my YouTube channel to check it out or you can watch it below. In the video I share how I swatched the six colors of Solar Paste on both white and black cardstock. I then share how I created this card using the Solar Paste with a stencil and with Distress Ink.
SIMON HURLEY SOLAR PASTE
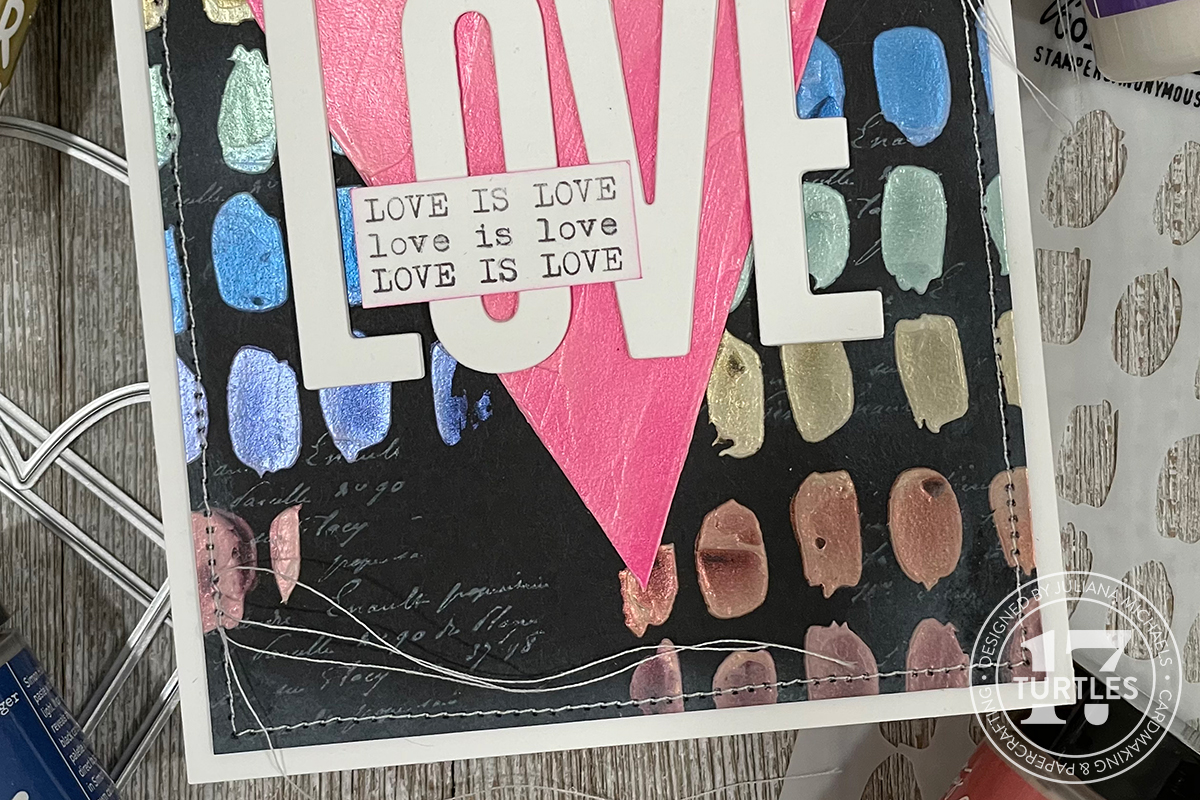
Before I created this card, I spent some time playing around with the paste and swatching the new colors on both white and black cardstock that I had embossed with the Tim Holtz Entangled, Numbered and Mosaic embossing folders. These colors are kind of pastel like with a shimmery iridescence that doesn't show up very well on white cardstock and it's hard to even capture the color on camera, but they do add a subtle hint of color that in person is absolutely gorgeous! When the paste is applied to black cardstock it really pops and I was absolutely smitten with how it looked on black. I also found that you can apply the paste and then add another color over it and it will cover up the previous color.The paste is not water reactive, so once it dries it's permanent on paper. I also tested out drying it with my heat tool and had no issues with it bubbling or burning. However, I did keep the heat tool moving so as to minimize anything like that. I would certainly say that you can use your heat tool to speed up the dry time if you are impatient when it comes to things like that.
I can also share that the paste cleans off easily when it's still wet. However, once it dries on your skin it takes a little effort, along with warm water and soap to remove. With regards to your work surface, I worked on a non-stick craft mat and the paste cleaned off of it with no problems, even after it had dried.
The next thing I tried was to add some Lunar Paste. I had a small jar of Lunar Paste in Slippery When Wet and I was curious how it compared to the Solar Paste. This is the only color I have of this paste and it is definitely much more bold in color when compared to the Solar Paste. I added it over some of the Solar Paste and I really liked the contrast it added. So if you happen to have some of the Lunar Paste colors I would think it would be fun to combine them with the Solar Paste to create some stunning backgrounds!
SOLAR PASTE WITH STENCILS & DISTRESS INK
When applying paste through a stencil it helps to go in the direction of the design. I could have used some Mint Tape to mask off the areas above and below each section to allow for this. But to be honest, I didn't want to mess with having to remove and reapply the tape for each color. So as Tim likes to say, you get what you get and you don't throw a fit!
To add some interest to the background, I used a script stamp from the Tim Holtz Tiny Toadstools Stamp Set and stamped it with Picket Fence Distress Ink. The Paste acts as a resist and this type of ink won't dry on the paste, so I used a damp rag to wipe it off. You could also use a baby wipe. The next thing I did was to grunge up the background a little by inking the edges with Lost Shadow Distress Oxide Ink.
With the background mostly completed, I moved on to embellishing the card. I die cut the letters LOVE from white cardstock using the Tim Holtz Alphanumeric Bulletin Die Set. I die cut each letter 3 times and I used Distress Collage Medium to adhere the layers. By doing this, it gives the letters some dimension. You could skip this part if you need a flat card or you could cut them once and adhere them with foam adhesive as another way to add some dimension.
.jpg)
Now onto the heart. For this I applied Picked Raspberry Distress Ink onto a piece of white cardstock using a foam blending brush. I then die cut the cardstock using the largest heart from the Scrapbook.com DIY Heart Pockets Die Set and because I'm not using this as a pocket I trimmed off the tabs with scissors. Next, I applied Cross My Heart Solar Paste over the inked cardstock using a palette knife and set it to the side to dry. Once it was dry, I could really see the shimmer and shine and how the color of the ink soaks into the paste and lifts the color.
To finish off the card I added some machine stitching around the outside edge and then mounted it onto a piece of white cardstock. I adhered the heart and letters using Scrapbook.com Clear Double-Sided Permanent Adhesive Roll. The final touch was the addition of the Love is love piece which I typed up using my vintage typewriter, trimmed to size and adhered using Scrapbook.com Clear Double-Sided Permanent Adhesive Roll.
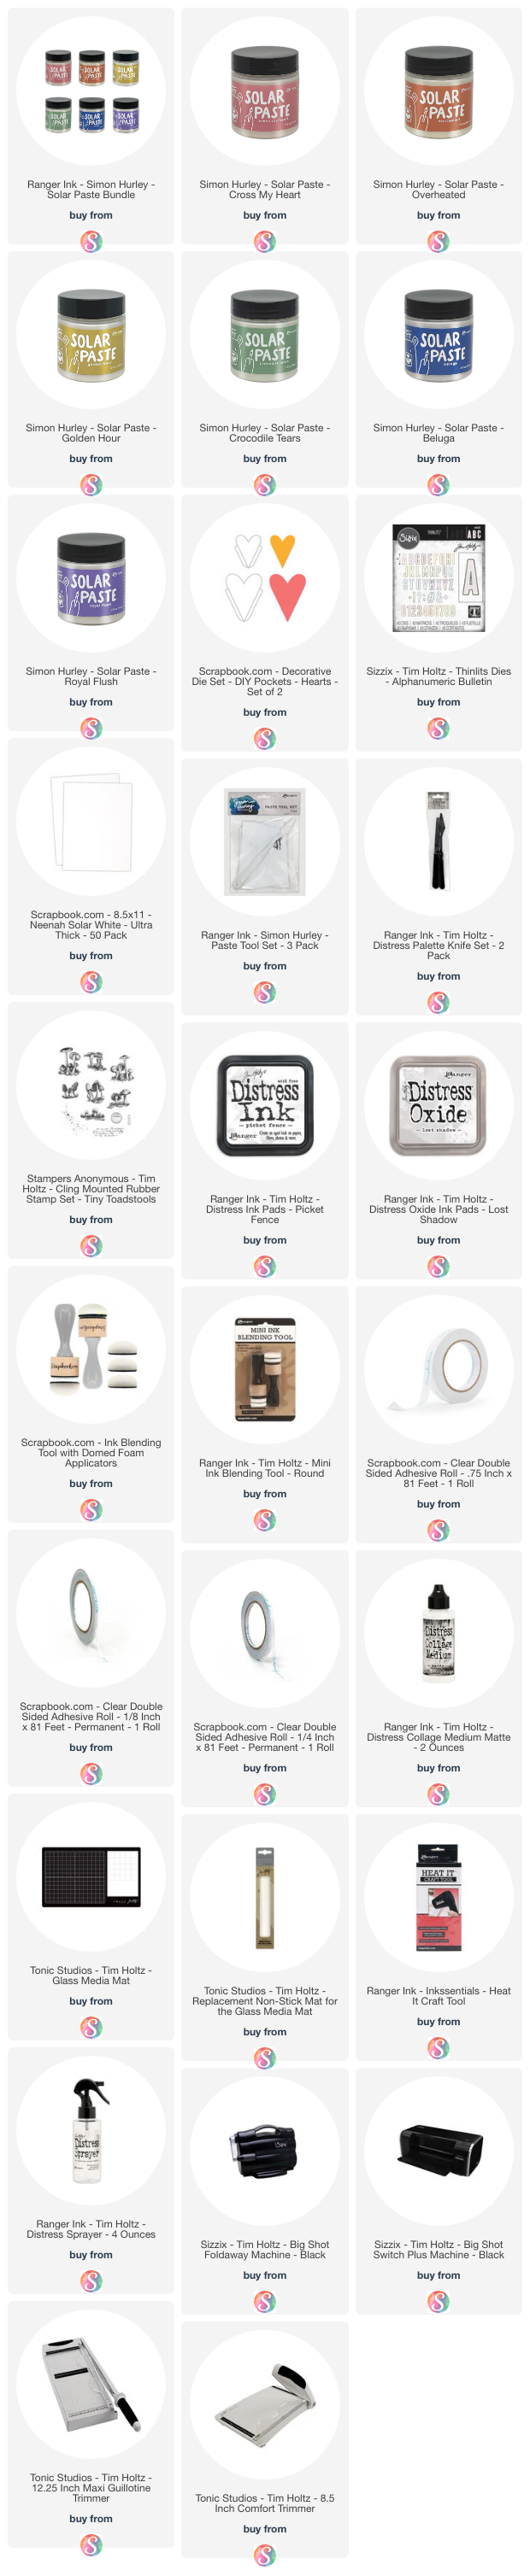
SUPPLIES
SIMON HURLEY SOLAR PASTE


No comments
Every time you smile at someone, it is an action of love, a gift to that person, a beautiful thing. ~Mother Teresa
HUGS!
JULIANA