
I'm starting off the year with a plethora of birthday card inspiration for you. This is in part because I have a ton of family and friend birthday's during the next couple of months and my goal is to create a card for each one of them! The card I'm sharing today was created for my Mom, who's birthday happens to be today. By now she'll have received her card, so I figured I'd be safe to finally share it. The elements and colors I used on this card were greatly inspired by things she loves...flowers and the color purple!

BRUSHSTROKE AND BUTTERFLY BIRTHDAY CARD
To get started, I die cut a piece of Distress Watercolor Paper using the middle size of the Scrapbook.com Nested Large Butterflies Die Set. I then ink smooshed the paper into a mix of Antique Linen and Old Paper Distress Ink and dried it with my heat tool. Next, I embossed the paper using the Tim Holtz 3D Lumber Texture Fade. Before embossing it though, I inked the folder with Vintage Photo Archival Ink, making sure to get the ink down into all the cracks, spritzed the paper once on the back side, placed it into the embossing folder and then ran it through my Sizzix Foldaway. By inking the folder, it pushed the ink down into the design. I then lightly applied Vintage Photo Distress Ink over the paper and Walnut Stain to the edges using a ink blending tool.

The sentiment is from the Scrapbook.com Happy Birthday Stamp Set. It is stamped onto white cardstock using Black Soot Archival Ink. I applied Walnut Stain Distress Ink to the edges with a foam blending tool, after I had trimmed it into a strip. Before I adhered the sentiment with double sided foam tape, I placed some strands of Tim Holtz Mummy Cloth underneath it to add a little texture.
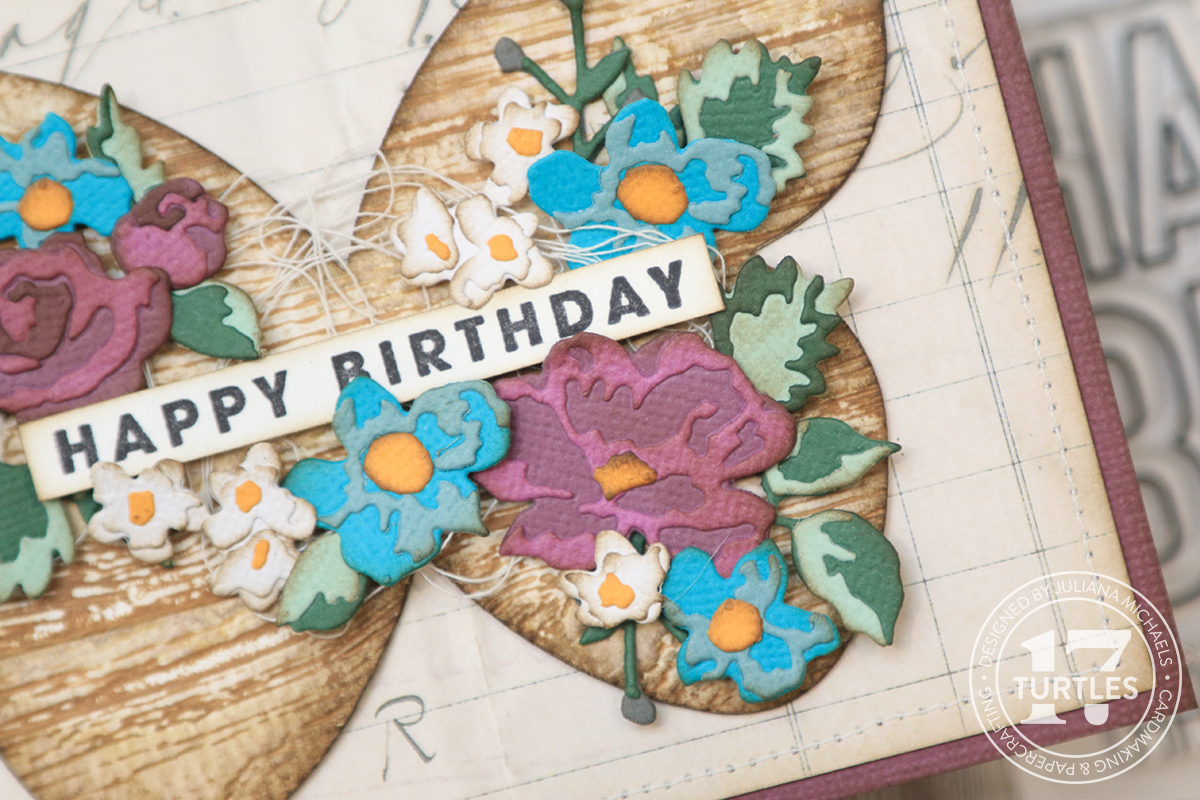
I used the Tim Holtz Brushstroke Thinlits Die Set for the flowers and cut them from different colors of Sizzix Cardstock. Before I die cut the flowers, I ran the paper through a Xyron Create-A-Sticker to apply adhesive to the backside of the paper which makes assembling the flowers much easier and less messy than trying to use a liquid adhesive. After I had assembled the flowers, I inked the edges with Walnut Stain Distress Ink. I then used double sided foam adhesive to adhere them to the butterfly and to create a little dimension.
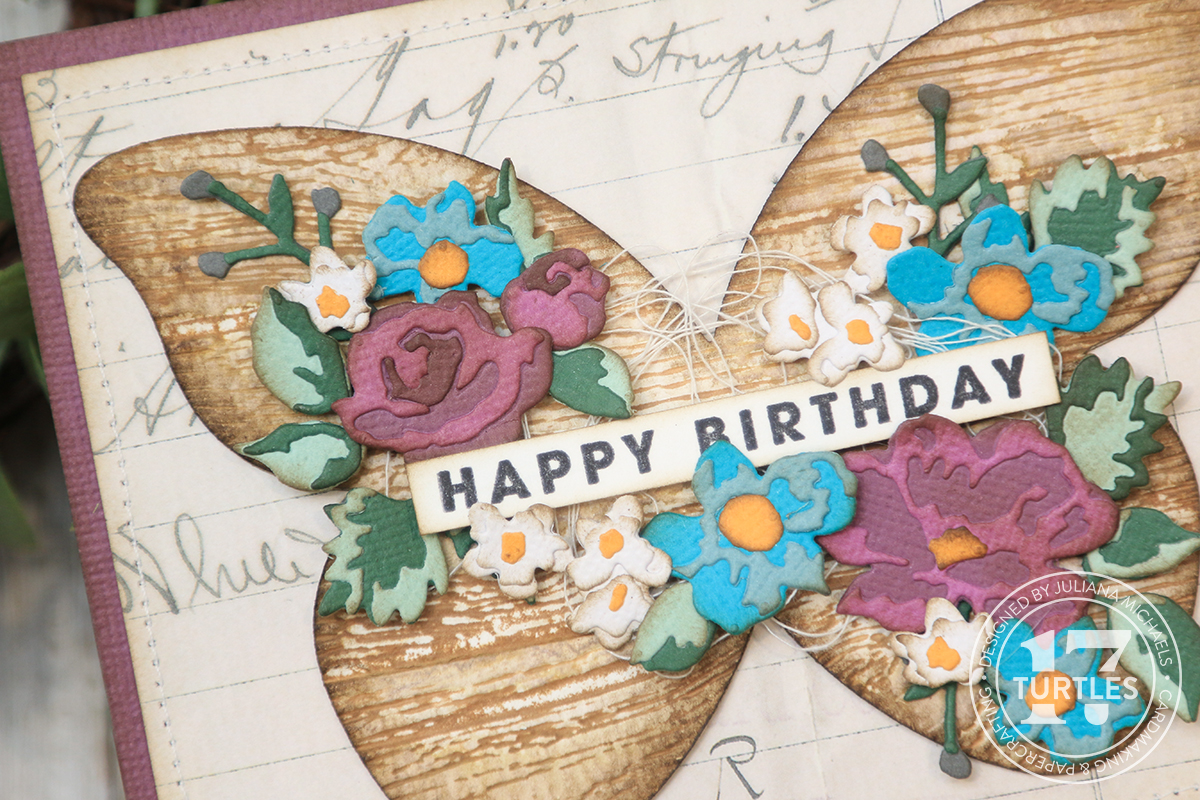
To finish the card, I trimmed a piece of patterned paper from the Tim Holtz Backdrops Paper Pack, inked the edges with Walnut Stain Distress Ink, added some machine stitching and adhered it to a piece of purple cardstock. The completed card size is a standard A2 card of 4.25 x 5.5 inches.

Thanks for stopping by today! I'll be creating and sharing more birthday cards soon. Should I put them all into one post or keep them separated? Just curious if you all have any thoughts on that.
SUPPLIES
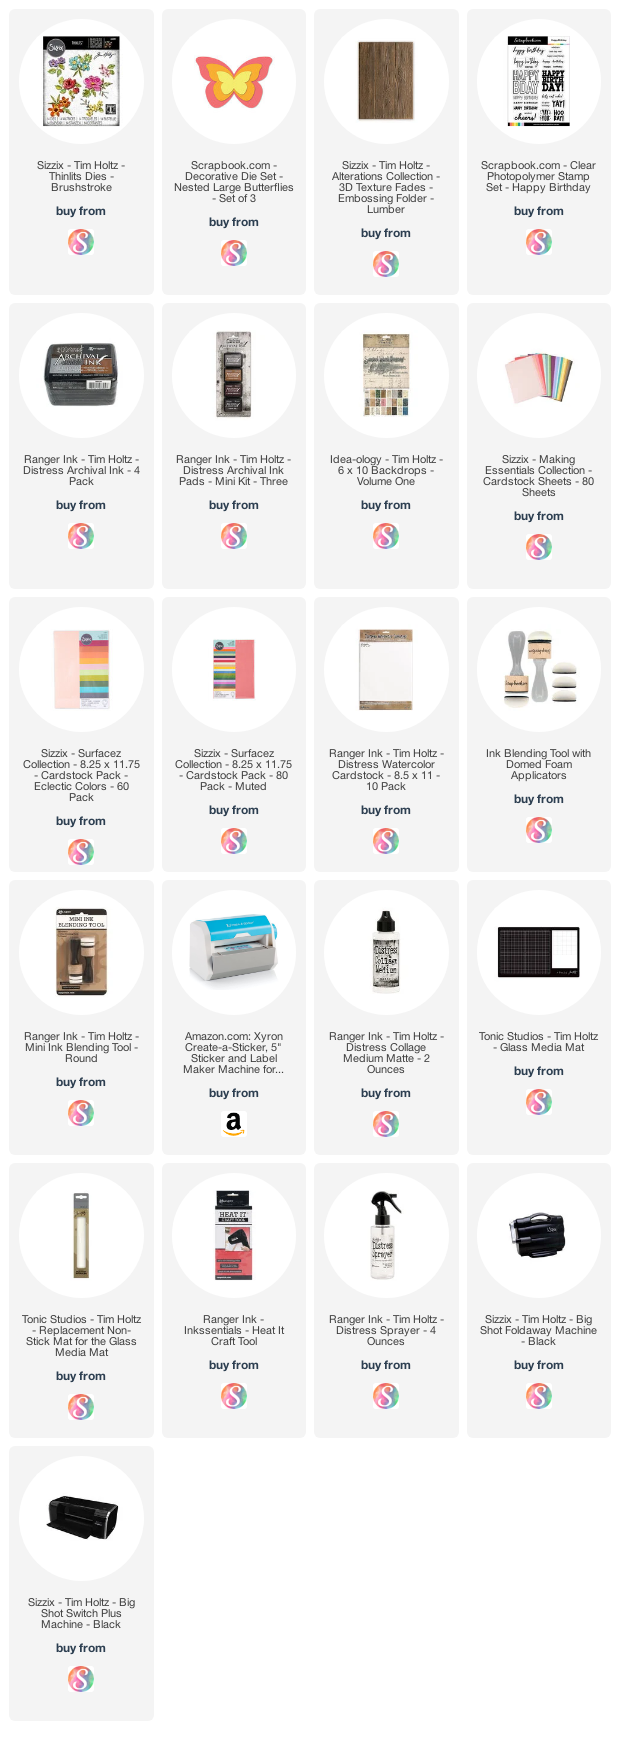
Below you can find the products I used to create this card along with compensated affiliate links to Scrapbook.com. These links are at absolutely no cost to you. When you shop through the links below, I receive a small commission from Scrapbook.com. These links are at absolutely no cost to you and the commission I receive helps me cover the costs of my blog and other expenses, which allows me to continue to provide you with FREE inspiration and tutorials. If you want to learn more about what an affiliate link is, you can see my full affiliate and product disclosure statement here. Thank you so much for your love and support!


No comments
Every time you smile at someone, it is an action of love, a gift to that person, a beautiful thing. ~Mother Teresa
HUGS!
JULIANA