
Hello friends! In today's blog post I'm going to share a quick tip for inking die cuts, discuss why you might want to start die cutting from white cardstock and then walk you step by step through how I created this card. I'll be working with the Scrapbook.com Spanish Mosaic Tile Stencil, Nested Arches Die Set and Layered Roses Die Set. But feel free to use any stencils and dies you have in your stash.

You can continue reading to learn how I created this card or if you would prefer a video you can check that out below. If you are unable to view it below, you can also head over to YouTube.
QUICK TIP FOR INKING DIE CUTS
As I mentioned, one of the things I want to share with you is a quick tip for inking die cuts. Obviously you can always cut your dies from colored cardstock, but there are many reasons why you might not want to use colored cardstock. I often like to add some mixed media to my projects which is why I often cut all of my shapes from the smooth side of Distress Watercolor Cardstock. This paper can stand up to whatever I want to throw at from ink to paint and everything in between. Sometimes it's as simple as not knowing what colors I want to work with, so cutting them out in white lets me play around with the layout before committing to my color palette. So even if you're not into mixed media, cutting them out of plain white cardstock might be something you find helpful during the planning stages.

I began by taking a piece of Distress Watercolor paper and die cut it using the greenery dies from the Layered Roses Die Set. I cut each of the dies out of one piece of paper and left some space around each one. I'm going to use this as a template of sorts to hold my die cuts in place as I ink them.
To help hold everything in place, I used the Scrapbook.com Clearly Amazing Mat. This is a low tack mat and is a great tool to help hold the paper in place. First, I adhered the template to the mat and then I put the die cuts into place. If there are any in between pieces that you would normally throw out after you die cut, make sure to keep those and put them in place so you don't get ink on your mat. However, if you do get ink on there, it's not the end of the world. You can easily clean the mats with a damp lint free towel or baby wipe.
Once the die cuts are in place, I inked them using Distress Oxide Inks and an ink blending brush. The colors I used are Peeled Paint, Forest Moss, Iced Spruce and Wild Honey. These die cuts are rather delicate and if you've ever tried to ink this sort of die cut before, then you know it can be difficult to apply the ink without wrinkling or tearing the die cut. This is where the Scrapbook.com Clearly Amazing Mat comes in SO handy. It holds them in place so I don't have to worry about them wrinkling or tearing as I apply the ink. And that template I made? It prevents me from getting ink all over the mat.

Another fun thing you can do when inking your die cuts is to add some shading. So even if you did cut your shapes from colored cardstock, you can use this trick to add some shading which I did on the green leaves. Just grab an ink color slightly darker than your paper to create the shadow.
Once I had finished with the inking, I decided to add a little interest by spritzing the die cuts with water using my Distress Sprayer. I told you I liked to throw stuff at my die cuts! I held the sprayer away from my paper and quickly pulled the trigger so that I got more of a fine mist rather than larger droplets which is what happens if you pull the trigger more slowly. I then dabbed them with a dry paper towel to lift off some of the ink.

Next onto the rose die cut. I cut the layers for this piece from Distress Watercolor paper so I could do the ink smooshing technique. I applied Old Paper Distress Ink directly to my craft mat, spritzed the ink with a little water, smoothed out the edges of the ink with my finger and I then smooshed the paper into the ink. You can repeat this process as desired. To speed up the drying time, I used heat tool. I then added the outline layer which I kept plain with no ink added to it.
Behind the rose and greenery cluster, I layered die cuts I created from Distress Watercolor paper using two of the Scrapbook.com Nested Arches Dies. For the top layer, I used the same ink smooshing technique, but for this one I used Tea Dye Distress Ink. Once the paper was dry, I placed the Spanish Tiles Stencil on top of the paper and use some Mint tape to hold it in place. I then used a blending brush to apply Tea Dye Distress Oxide Ink through the stencil. When working with stencils, I prefer to use a brush as the bristles tend to allow the ink to better get into the corners of the stencil and allow for a more crisp looking image.
I wanted the colors to match so for the second arch, I created my own colored cardstock by inking it with the same color of ink I used for the stencil work - Tea Dye Distress Oxide Ink. I applied the ink around the outer edge of the paper because you won't be able to see the center. This is a great way to save time and ink!

Next, I added the sentiment from the Rainbows and Wishes 2 Stamp Set. I heat embossed it with Gold Embossing Powder and then trimmed it down to a thin strip, adhered it to the background and then trimmed it to match the shape of the arch.
For the background of the card, I very lightly applied Tea Dye Distress Oxide Ink through the Spanish Tile Stencil. I didn't want the background to detract from the other elements so I choose to keep the application lighter which kept the color lighter. If you do this step immediately after the other stencil work, you might even be able to just use the left over ink on your brush. If you do need to add more ink, but want that softer look, just wipe some of the excess off onto your craft mat.
To finish off the card, I adhered the die cuts using some foam squares to pop up the large rose die cut. I then adhered some pearls for a little more shimmer and interest.
Thanks so much for stopping by and I hope you enjoyed learning this quick tip for how to ink your die cuts, why you might want to die cut from white cardstock and how this card came together.

SUPPLIES
Below you can find the products I used to create this project along with compensated affiliate links to Scrapbook.com. These links are at absolutely no cost to you. When you shop through the links below, I receive a small commission from Scrapbook.com. These links are at absolutely no cost to you and the commission I receive helps me cover the costs of my blog and other expenses, which allows me to continue to provide you with FREE inspiration and tutorials. If you want to learn more about what an affiliate link is, you can see my full affiliate and product disclosure statement here. Thank you so much for your love and support!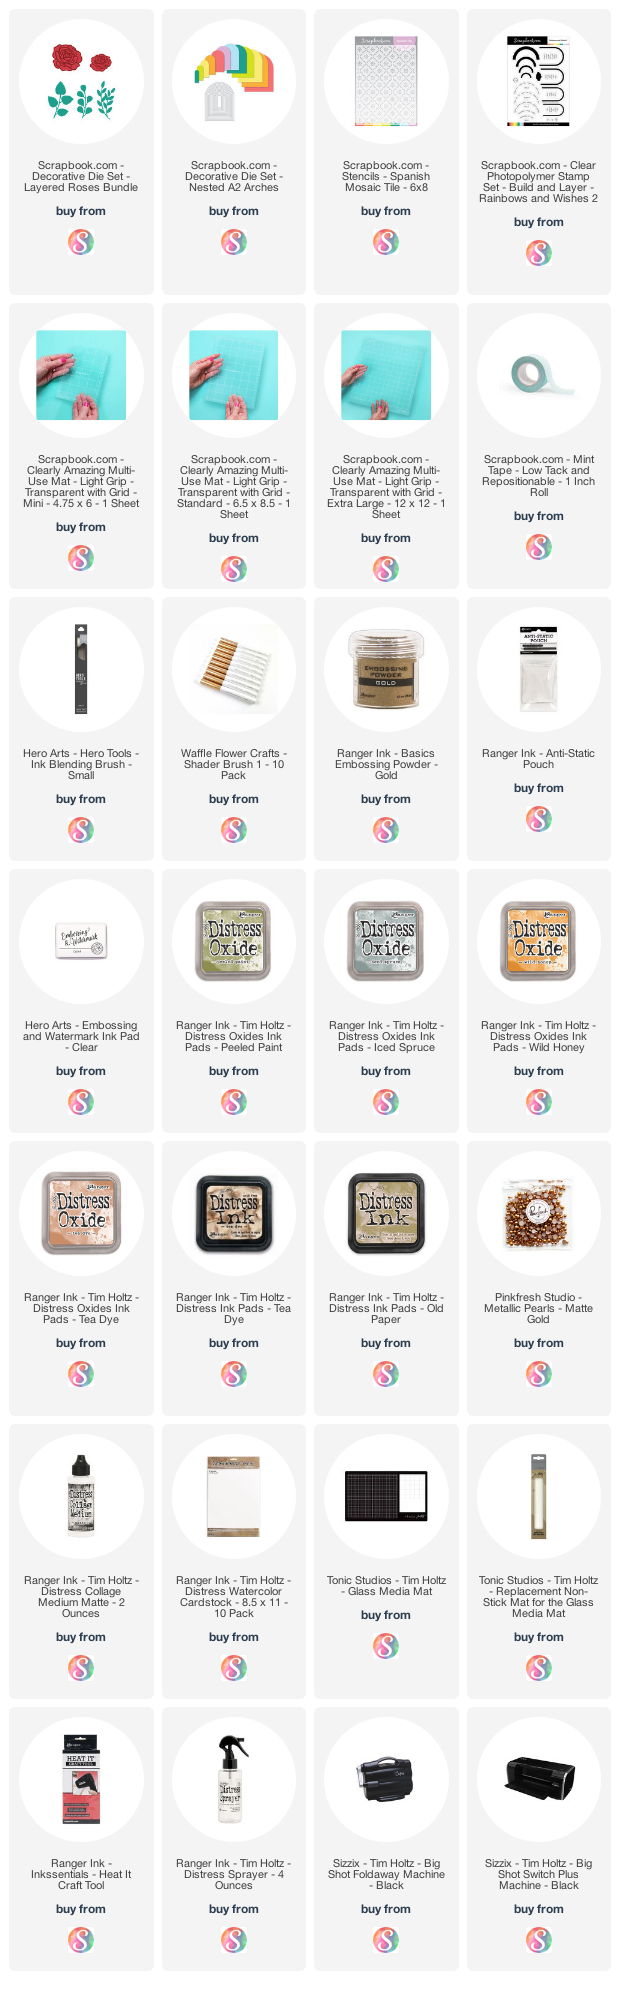


No comments
Every time you smile at someone, it is an action of love, a gift to that person, a beautiful thing. ~Mother Teresa
HUGS!
JULIANA