You are enough. Say that outloud to yourself. Shout it from the rooftops. Tell everyone you meet. I am enough. Do you know anyone who needs to hear this? Maybe it's a friend. Maybe it's you. Either way, I am here to tell you that you are enough. In the words of Brandi Kincaid..."we need not show up gloriously, we must just show up as we are" and as we are is enough.
This You Are Enough card carries all these thoughts with it and these thoughts are what inspired the final design. To get started I grabbed all the Wildflower stems Thinlits including Wildflower Stems 3 from Tim Holtz's recent Sizzix Chapter 1 release. I die cut the daisy looking flower from each set (each set has this flower from a different angle) and a few of the wispy delicate ones from watercolor paper.
I sometimes find it easier to watercolor these super delicate flowers if I leave them in the paper I cut them from and use a bit of Mint Tape on the backside to hold them in place. I colored a bunch of the flowers before settling on using the purple ones with the daisies.
For the background, I took a sheet of Distress Heavystock and embossed it using the Swirls Texture Fades Embossing Folder. I applied Speckled Egg Distress Oxide to the top portion of the embossing folder (the one with the design printed on it) and then ran the paper and folder through my die cutting machine. This applied the ink to the more flat areas of the design.
I then lightly ink blended over the raised areas and the edges of the paper with Gathered Twigs Distress Ink. If you tend to have a heavy hand you might try wiping off some of the ink onto your craft mat or even a paper towel before you begin applying it to the paper and then repeat until you achieved the desired amount of ink.
Next, I wanted to add a little shine to the design with some embossing glaze. To prevent the powder from sticking to areas that I didn't want it, I dried the entire piece with my heat gun and then rubbed an embossing bag over the surface. I then gently rubbed an embossing ink pad over the raised areas, sprinkled it with Speckled Egg Embossing Glaze and heat set it with my embossing gun. The shine is difficult to photograph, but in real life it adds a nice touch of texture and interest. The final step for the background was a bit of machine stitching around the outside edge.
With the background completed, I gathered the wildflowers and created a little bouquet. I added a hand dyed crinkle ribbon using Snug Hug Seam Binding in Chalk White and Speckled Egg Distress Spray Stain
For the sentiment, I die cut the letters from Blackout Kraftstock using the Alphanumeric Stretch Upper Thinlits. To give this extra dimension, I die cut the each letter three times, glued each layer together and then adhered them to my card. I then stamped the sentiment from the Tiny Text Stamp Set onto a piece of white cardstock, inked the edges and adhered it on top of the die cut letters.
I hope you enjoyed learning how this You Are Enough Card was created using the Tim Holtz Wildflower Stems 3 Thinlits, Alphanumeric Stretch Thinlits and Swirls Texture Fade Embossing Folder. Thank you so much for stopping by!
Supplies
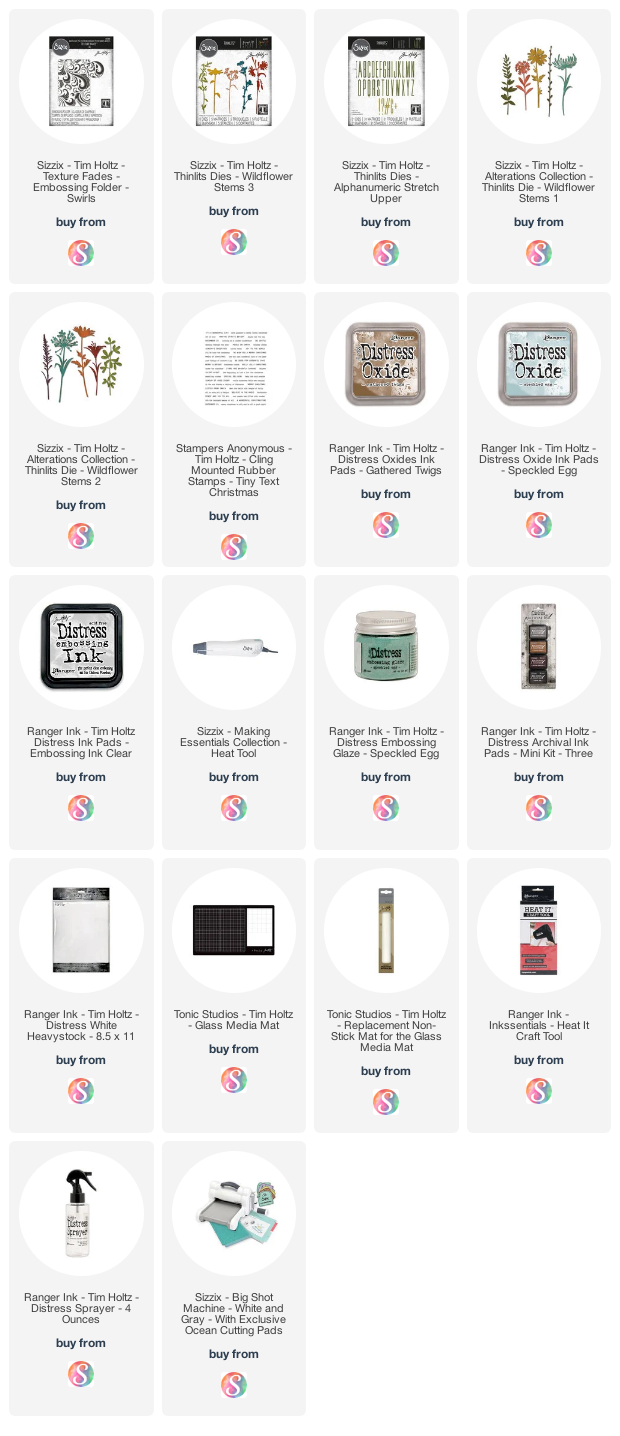
Below you can find the products I used to create this project along with compensated affiliate links to Scrapbook.com. These links are at absolutely no extra cost to you. If you want to learn more about what an affiliate link is, you can see my full affiliate and product disclosure statement here.


very beautiful card Juliana. I love the soft colors you have used to create the background and flowers. So, so pretty.
ReplyDelete