
If you own a die cutting machine and are frustrated about warped cutting plates, then you must check out The Magic Mat™by Scrapbook.com. It's a die cutting game-changer! With The Magic Mat™ there will be no more warped cutting plates. If you aren't familiar with The Magic Mat™ keep scrolling to find out why you need The Magic Mat™ from Scrapbook.com.


The Magic Mat™ now comes in 4 sizes and is compatible with a wide range of die cutting machines including the Sizzix Big Shot, Spellbinders Platinum, Crafters Companion Gemini, and the Cricut Cuttlebug. For additional features, details on the different sizes, die cutting sandwiches for your machine and all the machines it can be used with, please refer to The Magic Mat™ for Die Cutting article by Scrapbook.com.
Now that you know a little bit more about The Magic Mat™ from Scrapbook.com, let me share a couple of cards I made using this game-changing die cutting tool. It's sure to become your favorite new die cutting tool!

On this first card, I used The Magic Mat™ to die cut a piece of paper from the Boho Slimline Paper Pad using the Moroccan Tile Slimline Die. Because the slimline dies are nearly the same size as the slimline papers and to avoid the possibility of the paper sliding as you run it through your die cutting machine, I recommend adhering the paper to the die using a couple pieces of Mint Tape. Simply wrap the tape around the die and paper to hold them together.

I layered this onto another piece of paper from the same paper pad to create the background for my card. Before adhering the layers together, I added some stamping to the base layer using the script stamp from the Tim Holtz Entomology Stamp Set and inked the edges with a bit of Vintage Photo Distress Ink. I also lightly sanded the top die cut layer to reveal a bit of the white core of the paper, adding another bit of texture and interest to the card.

Another great thing about The Magic Mat™ is that is also works with Sizzix Bigz Dies. Again, just replace the bottom cutting plate and run the Bigz Die through your die cutting machine. Here I'm using the Tim Holtz Tattered Butterfly to die cut papers from the Boho A2 Paper Pad. After die cutting the design, I added some stamping using Distress Oxide in Rusty Hinge, Wild Honey, Gathered Twigs and Aged Mahogany. I used stamps from the Tim Holtz Correspondence Stamp Set. After I stamped each image, I lightly rubbed over the still wet ink to smudge it slightly. I love the look of this and if you are interested in learning more about it the Stamp and Smudge technique, feel free to check out my Something Dreadfully Wicked Card.

For the sentiment on each card, I adhered a piece of 2" Double Sided Foam Adhesive to the back side of a strip of Metallic Kraftstock. I then die cut it using the Thank You Sentiments Dies. I just love how the foam adds dimension to the die cuts! And of course it cuts perfectly using The Magic Mat™!

For the second card, I used the same Moroccan Tile Slimline Die, but instead of die cutting with it, I used it to emboss the paper. Yes, you read that correctly, I used the die to emboss the paper!

This time, I placed a Silicone Cutting Pad on top of The Magic Mat™ and ran it through my die cutting machine. You may need to do a little research to find out the correct sandwich for your die cutting machine, but you can emboss with any metal die and The Magic Mat™once again is the perfect tool for this technique.

I again, did a light sanding over the paper to reveal the white core and give the card a slightly distressed feel. The rest of the card is similar to the first card with just a flip flop in colors on the butterfly and a different sentiment.

I then finished off each card with a typewritten sentiment using a manual typewriter. I happen to have a vintage Royal Junior typewriter, but if you don't have a real typewriter you could also use the We R Memory Keepers Typewriter or print it out using your computer and a typewriter font.

I hope you enjoyed learning more about The Magic Mat™ from Scrapbook.com and why you will have no more warped cutting plates when you start using it!
Supplies
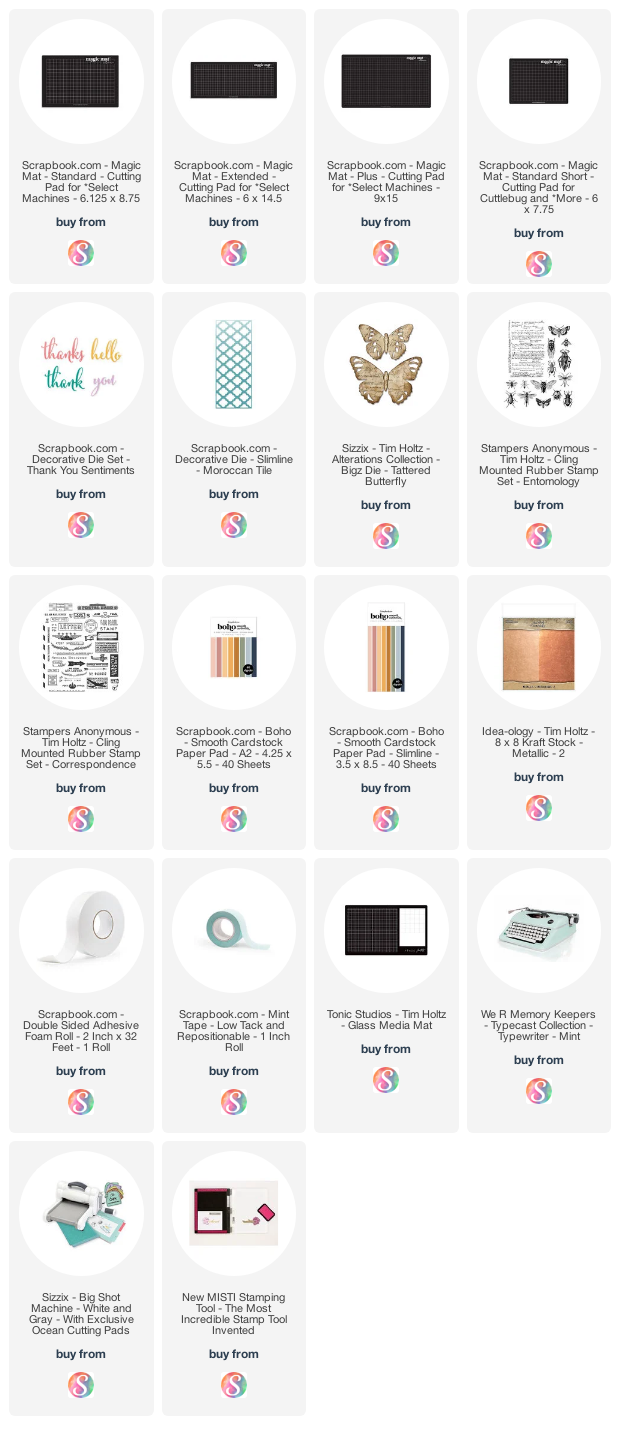
Below you can find the products I used to create this project along with compensated affiliate links to Scrapbook.com. These links are at absolutely no extra cost to you. If you want to learn more about what an affiliate link is, you can see my full affiliate and product disclosure statement here.


No comments
Every time you smile at someone, it is an action of love, a gift to that person, a beautiful thing. ~Mother Teresa
HUGS!
JULIANA