

Where should I begin? How about the cute little bluebird and wreath? I had so much fun creating this little die cut scene. To get started, I used watercolor paper to die cut all of the pieces. The bird is from the Feathered Friends Thinlets, the wreath is from the Funky Wreaths Thinlets and the flowers are from Funky Floral #1. If you didn't know, the wreaths were designed and sized to work with all the Funky Floral sets. Oh the possibilities!

Next, I watercolored them using Distress Inks and a water brush. To do this, tap the ink pad of choice onto your craft mat and use the waterbrush to pick up the color and apply it onto the paper. I find this to be such a relaxing and fun process, but I did cut and color the bird three times before I got him to look like I wanted!
Once all the watercoloring was finished, I added some pen details for a bit of interest. I'm still not sure if I like them, but it does seem to make the little details stand out.

Let's move onto the background paper behind the wreath. This was from a play session following one of Tim Holtz's Saturday Facebook Live in which he taught the Eroded Metallic Technique. Definitely one of my favorite new techniques! I cut it down to size and then added some machine stitching around the edge.
I then layered everything onto a piece of white cardstock that I embossed using the 3D Texture Fade Brickwork. I lightly inked over it with Gathered Twigs Distress Ink to bring out some of the texture and add a hint of color.

To give the bird and flowers a bit of dimension, I adhered them using double sided foam adhesive. I then finished off the card by adding a couple Clippings Stickers that fit the theme of the card.

Thanks so much for stopping by today! I hope you enjoyed learning a bit about how this In The Garden Card came together. Now go get crafting!
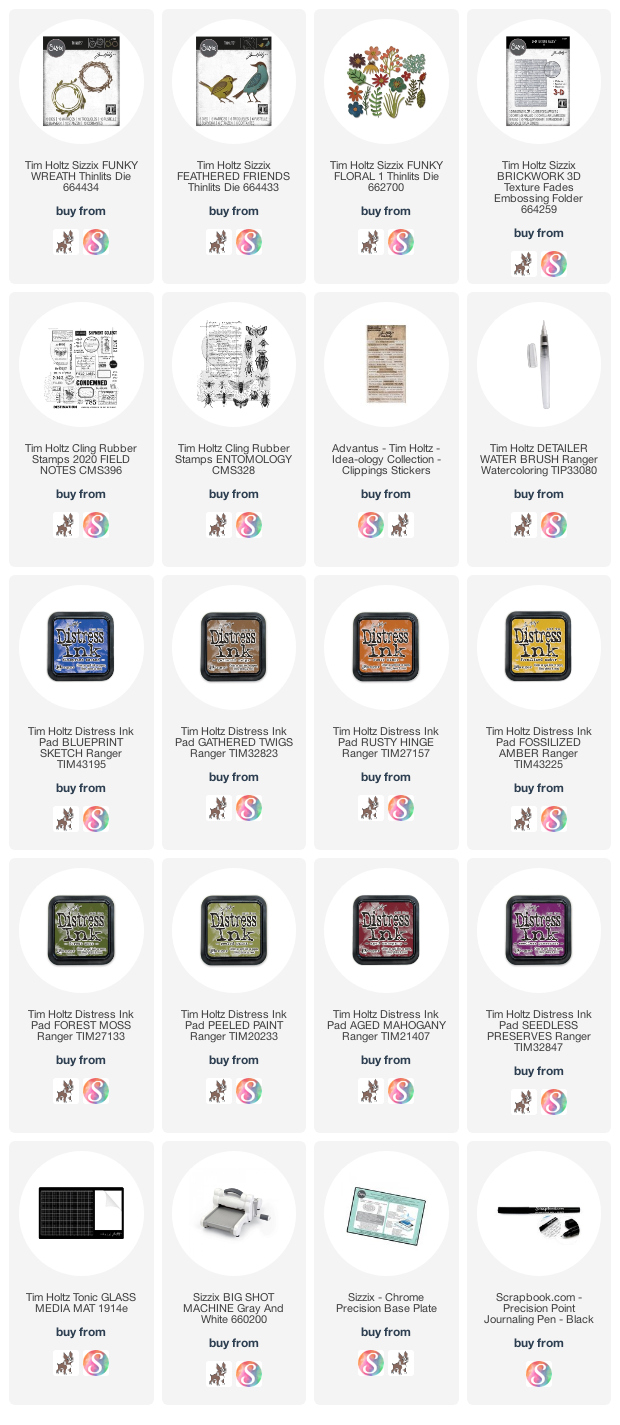
SUPPLIES
This post contains affiliate links to Scrapbook.com and Simon Says Stamp. If you buy anything through my links, it adds no extra cost to you. I truly appreciate and thank you for your support! (If you're interested, you can see my full disclosure statement here.)


This card is stunning & your explanation is fantastic!!! (SUE)
ReplyDeleteThank you so much Sue! I appreciate your feedback!
Delete