
Today is the day my friends! The 2020 Tim Holtz Sizzix Chapter 2 Release is now available and I'm thrilled to be sharing a project I created using some of these new products. The Journey features the Funky Wreath Thinlits Dies and 3D Texture Fades Embossing Folder Brickwork. I combined them with one of the beautiful butterflies from Scribbly Butterflies Thinlits Dies and some fun Idea-ology goodies to create a tag with a theme that couldn't be more fitting with the direction of my life at this moment.
So let's get started on how The Journey came together. First off, the base of this project is an Etcetera Thickboard Small Tag that I covered with patterned paper from the 8x8 Etcetera Paper Stash. I used Collage Medium to adhere it the both the front and back of the tag. I then inked the edges with Vintage Photo and Walnut Stain Distress Ink and then used my finger to apply a bit of Crackle Texture Paste here and there to the edges. I just love how the ink come through the texture paste and makes the cracks more apparent.

For the brick background, I took a piece of watercolor paper, spritzed it with water and placed it inside the Brickwork 3D Texture Fades Embossing Folder. I then ran it through my Sizzix three times to get a good impression in the paper. I then took the embossed paper and inked it with a foam blending tool using Distress Oxide in Vintage Photo, Frayed Burlap, and Ground Espresso. I applied the colors here and there over the paper to give it some interest and keep it from being all one color. I then spritzed it with a bit of water to activate the oxides and then dabbed it dry.

I then adhered this to the tag and placed two Scallop Chipboard Trims along the bottom to create a shelf/ledge. I covered the piece under the shelf, which is what the actual shelf part is resting on, with patterned paper. I knew I wanted to create a garden along the top of the shelf and it would mostly be covered by that, so I decided to paint it with Vintage Photo Distress Paint. I then added a bit of Crackle Texture Paste to the edge of the shelf.

As I continued creating the scene, I die cut one of the Funky Wreath Thinlits Dies from watercolor paper and watercolored it with Distress Ink and a water brush. The colors I used were Peeled Paint, Shabby Shutters and Forest Moss. I knew I wanted to mount this in the middle of the brick wall, but I felt like it needed something behind it, so I die cut a piece of patterned paper using the Stacked Label Die. I inked the edges with Old Paper and Vintage Photo Distress Ink. I then adhered the wreath using some double sided foam adhesive.

Next came the butterfly from the Scribbly Butterflies Thinlits Dies. This was die cut from watercolor paper and then inked with Fossilized Amber Distress Ink. I added an Idea-ology Pen Nib colored with Mushroom Alcohol Ink to create the body of the butterfly.
Once the focal point was created, I then began adding the rest of the touches. This includes the Paper Doll colored with Distress Crayons. I followed the tutorial by Paula Cheney on how to do this and you can find it here and most recently she created a new post here.

To create the garden I added some flowers from the Idea-ology Bouquet and colored them with Distress Ink in Spun Sugar, Worn Lipstick and Fossilized Amber. I used a water brush to apply the ink. I filled in around them with florist moss. The garden and brick wall still needed a something, so I added a bit of ivy die cut using the Garden Greens Thinlits Dies. I watercolored them using a waterbrush and Distress Ink in Peeled Paint, Shabby Shutters and Forest Moss.

The final touch was the addition of a border flourish from the Idea-ology Halloween Adornments and a Word Band. Each of these was colored with Mushroom Alcohol Ink.
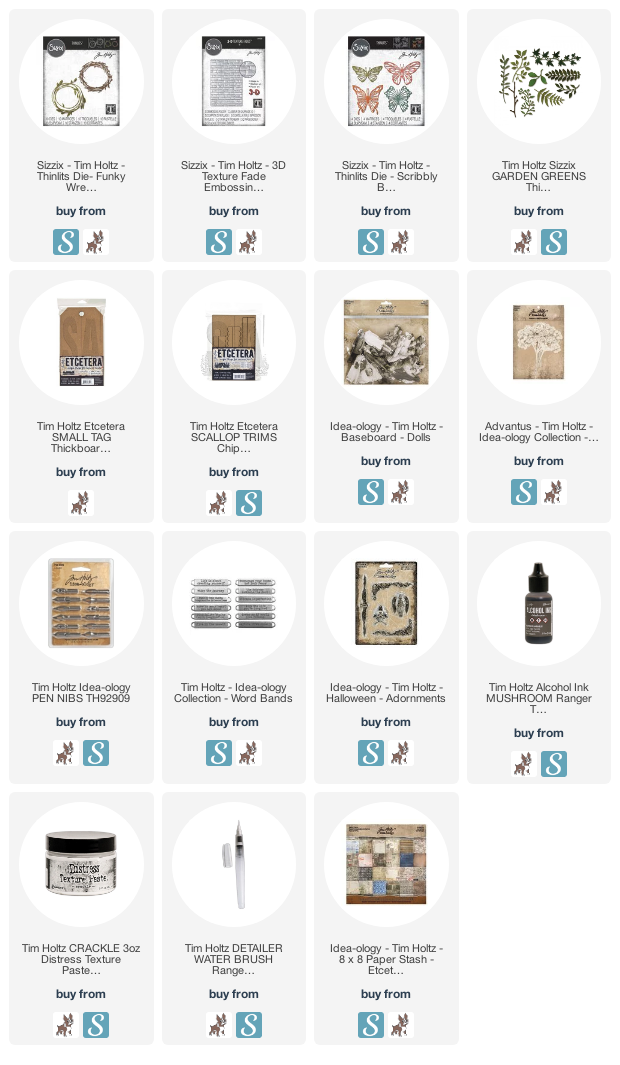
SUPPLIES
This post contains affiliate links to Scrapbook.com and Simon Says Stamp. If you buy anything through my links, it adds no extra cost to you. I truly appreciate and thank you for your support! (If you're interested, you can see my full disclosure statement here.)


No comments
Every time you smile at someone, it is an action of love, a gift to that person, a beautiful thing. ~Mother Teresa
HUGS!
JULIANA