Showing posts with label Sizzix Chapter 1 2022. Show all posts

Alcohol Ink Shaker Cards | Tim Holtz Bold Text Thinlits

Hello friends! I'm so glad you stopped by to check out my blog! Today I'm sharing a couple of shaker cards I created using the Bold Text Thinlits from the Tim Holtz Sizzix Chapter 1 Release. I used these fun dies to create a shaker box that I then adhered to an alcohol ink background. I only made 2 cards, but I think it would be so fun to make a card for each of the six sentiments that are included in this new die set and give each one a different alcohol ink background!

Keep on reading for a tutorial on how I created these cards that includes step out photos for even more explanation.

Alcohol Ink Shaker Cards by Juliana Michaels featuring Tim Holtz Sizzix Bold Text Thinlits

All supplies are linked at the end of this post. Compensated affiliate links to Scrapbook.com may be used at absolutely no cost to you. As always, I appreciate your support of my blog posts and videos!

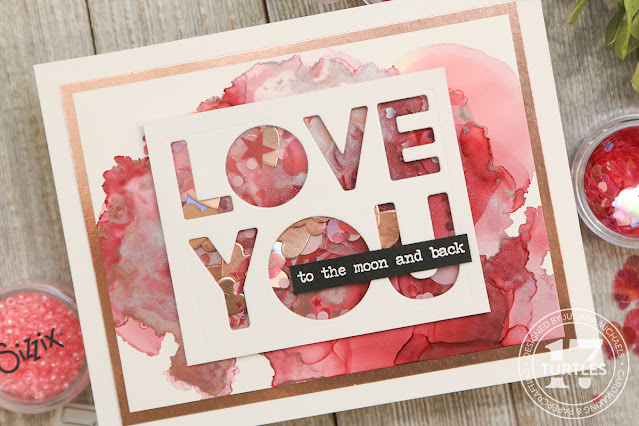
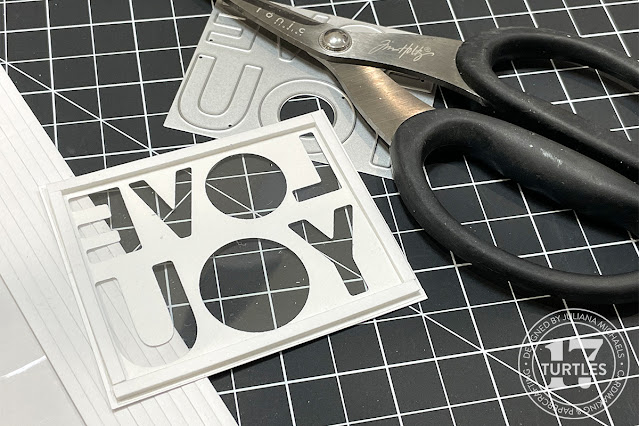
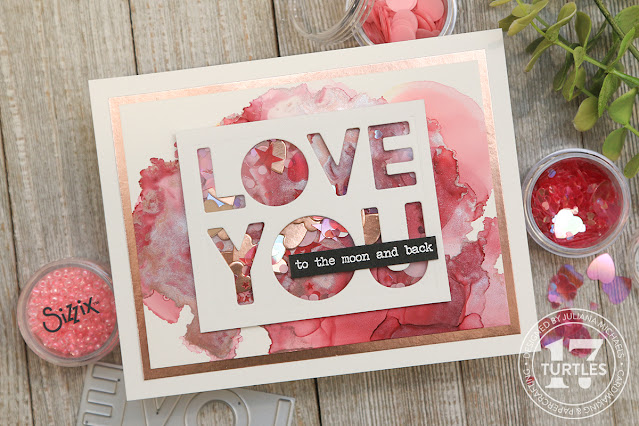
Love You Shaker Card | Alcohol Ink Shaker Cards

Love You Alcohol Ink Shaker Card by Juliana Michaels featuring Tim Holtz Sizzix Bold Text Thinlits

The background for this card is from my stash of Alcohol Ink backgrounds I created when I was playing around with the recently released new Alcohol Pearls. I'm seriously SO in love with them! On this background I used Deception Alcohol Pearl,  Cranberry Alcohol Ink and Rose Alloy. These were done on Yupo paper that I then trimmed to 3.5 x 4.75 inches. This was then layered onto a piece of rose gold Metallic Kraftstock trimmed to 3.75 x 5 inches. This was then layered onto a white A2 card base.


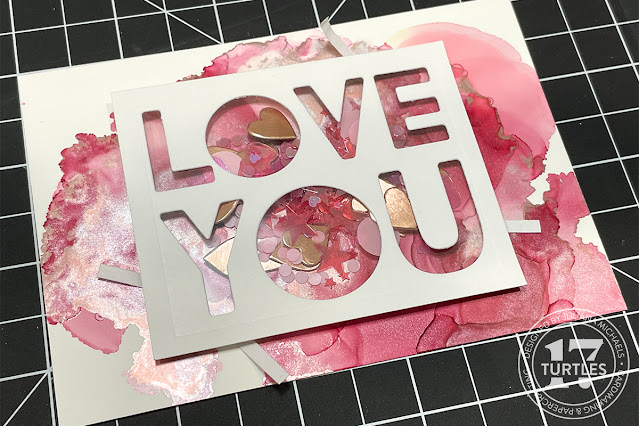
Now onto the shakety shake! To create the shaker, I took the Love You die from the Bold Text Thinlits and die cut it from white cardstock. I then trimmed it down leaving about a 1/4" around the outside of the letters. Next, I applied Scrapbook.com 1/8" Double Sided Adhesive Tape on the back side of the die cut and around the outside edges as shown below. I then cut a piece of acetate to this size and adhered it to the back side of the die cut.


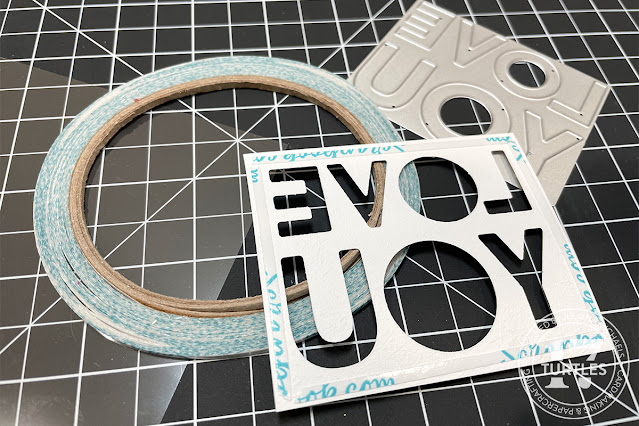
After applying the acetate I applied Scrapbook.com 1/8" Double Sided Foam Strips on the backside of the acetate making sure that the ends were touching each other. This is necessary to keep the sequins from getting out of the shaker box.


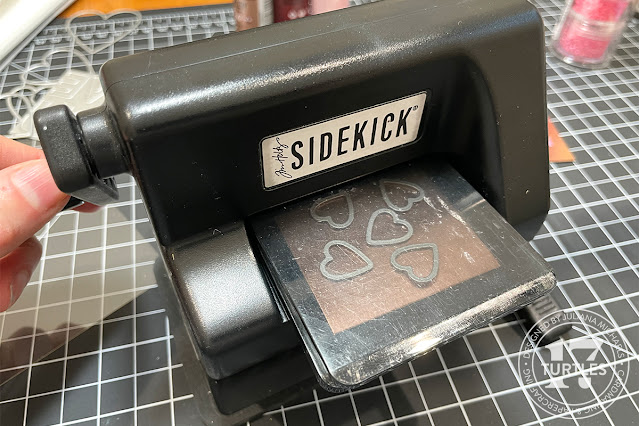
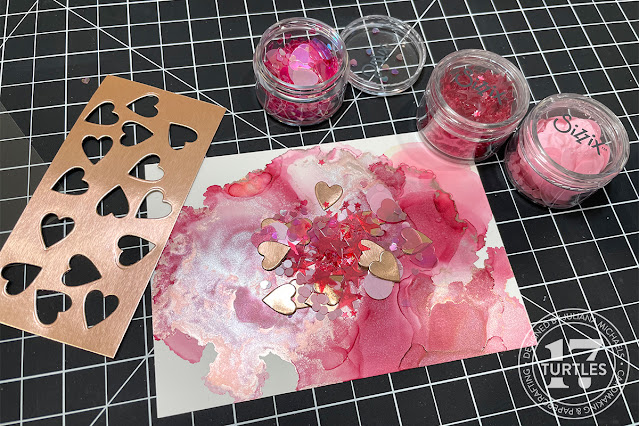
To fill the shaker box, I added some small hearts die cut from rose gold Metallic Kraftstock using the Stacked Tiles Hearts Thinlits. Having multiples of the same size are really helpful when you need multiples of the same shape.


Along with the die cuts, I added a mix of sequins from the Sizzix Ballet Slipper Sequins and Beads. I poured them out onto the background to get an idea of how much I wanted to add to the shaker box.

Making Tips: 

  • A little trick to adhering the shaker box when working with double sided adhesive tape.  The trick is to only peel up the corners of the adhesive liner and fold them outward. This allows you to place something with adhesive tape onto a card surface with more ability to move it around and get it into position before it is fully adhered to the surface.
  • Gently place the piece onto your card surface. Once you have the shaker box exactly where you want it, press down and then peel off the liner and press down again to firmly attach it to your card.

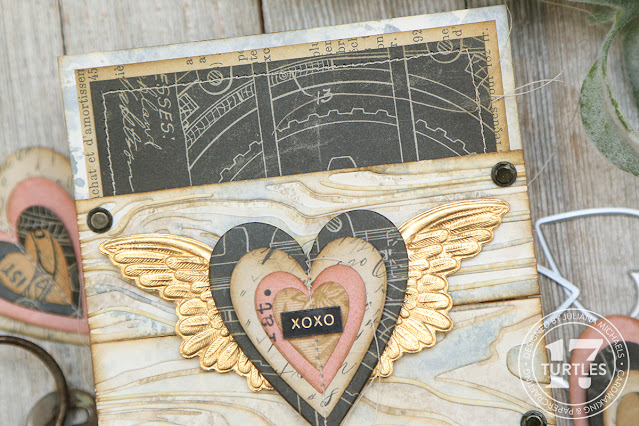
The final touch on this card was the addition of the sentiment strip. I used a stamp from the Tim Holtz Tiny Text Stamp Set and stamped it onto black cardstock using embossing ink. I then heat set it using my heat gun and trimmed it to size before adhering it to the card.

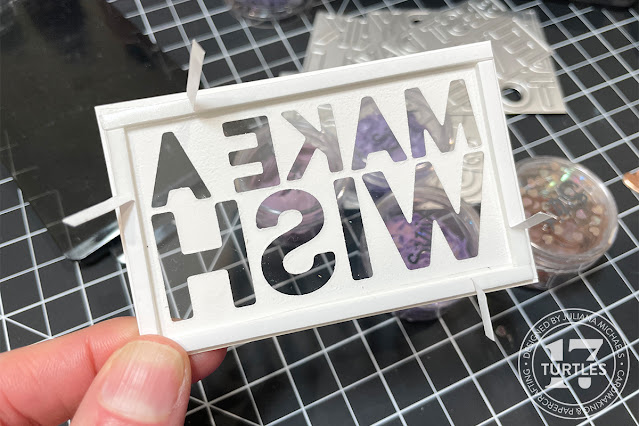
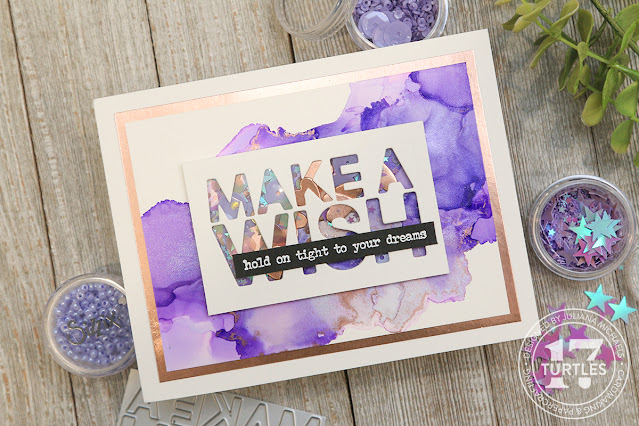
Make A Wish Shaker Card | Alcohol Ink Shaker Cards

Make A Wish Alcohol Ink Shaker Card by Juliana Michaels featuring Tim Holtz Sizzix Bold Text Thinlits

On this card, I used Villainous Alcohol Pearls, Purple Twilight Alcohol Ink and Rose Alloy to create the background. As on the previous card, I used Yupo paper and layered it onto rose gold Metallic Kraftstock and then onto a white cardstock base.


I used sequins from the Lavender Dust Sizzix Sequins and Beads along with some die cut hearts to fill the shaker. The stamped sentiment is once again from the Tim Holtz Tiny Text Stamp Set.


Thanks SO much for stopping by and checking out my Alcohol Ink Shaker Cards featuring the Tim Holtz Bold Text Thinlits.
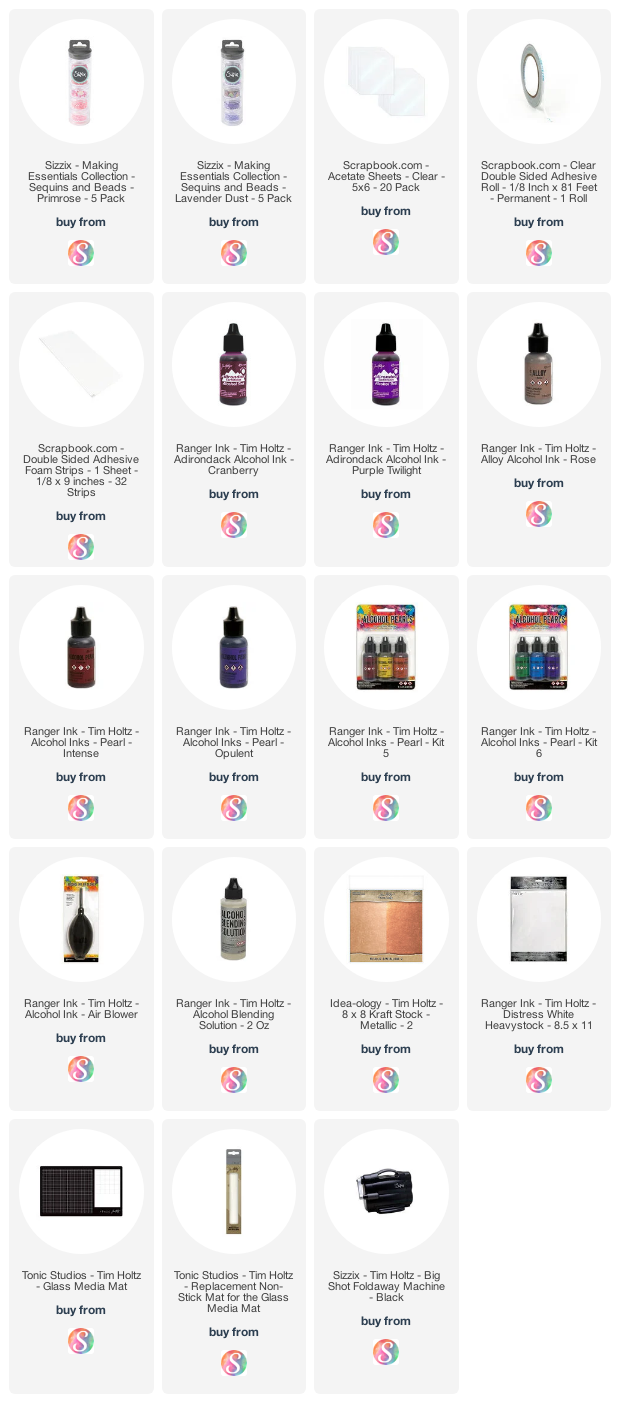
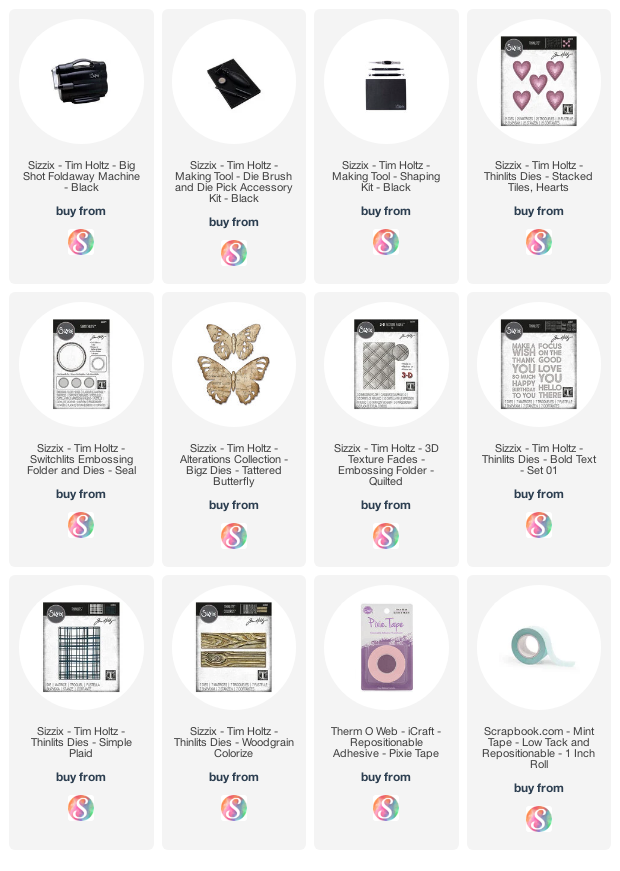
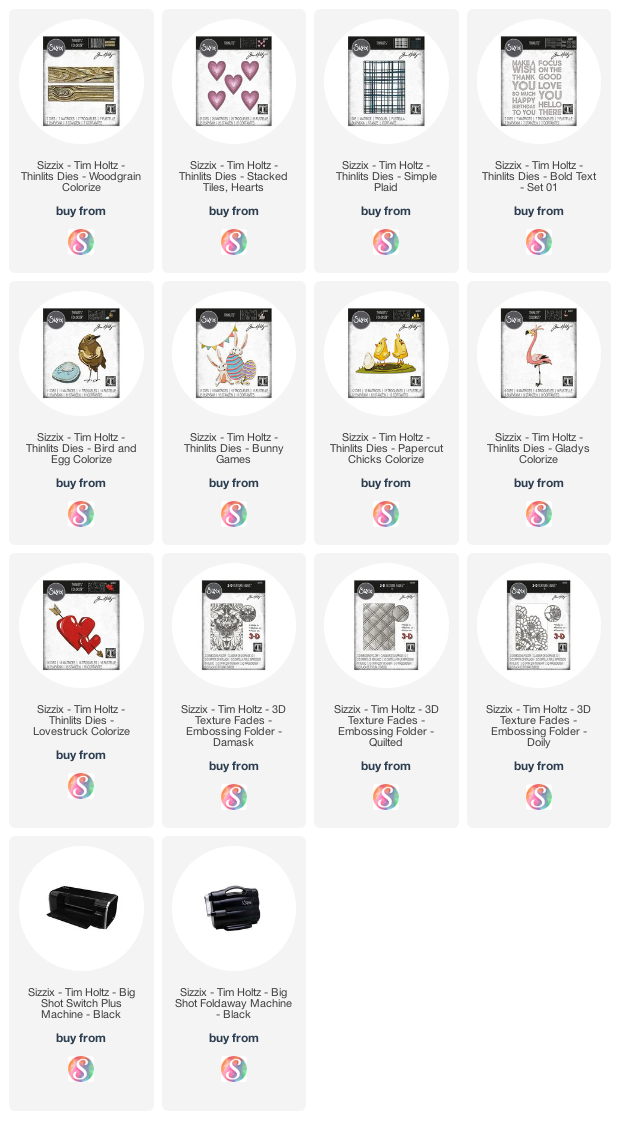
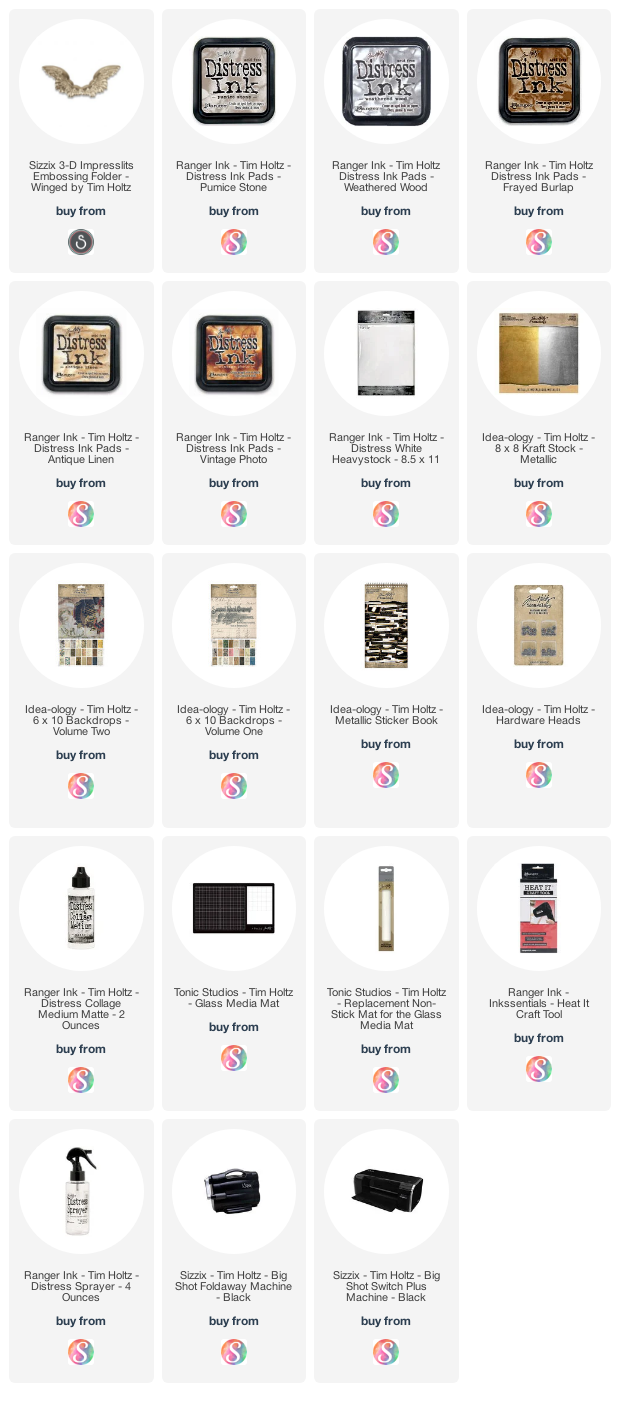
Supplies

Below you can find the products I used to create this card along with compensated affiliate links to Scrapbook.com. These links are at absolutely no cost to you. If you want to learn more about what an affiliate link is, you can see my full affiliate and product disclosure statement here. I really appreciate your support of my blog and videos!

Tim Holtz Sizzix Big Shot Foldaway

Hello friends and welcome! I wanted to share with you today about a new video up on my YouTube channel. I'm sharing all about the brand new Tim Holtz Sizzix Big Shot Foldaway along with some fun tips and tricks for die cutting. I've linked to some of the main products I mentioned during the video below. In this blog post, I'm sharing a link to my video along with some cards I've made using the Foldaway.

Tim Holtz Sizzix Big Shot Foldaway

All supplies are linked at the end of this post. Compensated affiliate links to Scrapbook.com may be used at absolutely no cost to you. As always, I appreciate your support of my blog posts and videos!

I've created a video sharing all about the Tim Holtz Sizzix Big Shot Foldaway. You can check it out below. If the video isn’t showing up, click HERE to watch it.

I recently got this new machine and it couldn't have come at a better time. My previous Sizzix Big Shot was well loved, but definitely starting to show her age. I'm absolutely loving how much pressure this machine has as compared to the regular Sizzix Big Shot and I share all about this in my video.

I also share what types of dies and other products are compatible with this machine and some accessories that have upped my die cutting game, such as the Tim Holtz Die Pick and Brush Kit.

Tim Holtz Sizzix Big Shot Foldaway

Here are some cards I created using the Tim Holtz Foldaway.

XOXO Vintage Valentine Card

XOXO Vintage Valentine Card by Juliana Michaels featuring Tim Holtz Sizzix Foldaway, Stacked Tiles Hearts Thinlits, Woodgrain Colorize and Winged Impresslit

Lucky Is A State Of Mind Card

Lucky Is A State Of Mind Card by Juliana Michaels featuring Tim Holtz Sizzix Foldaway, Stacked Tiles Hearts Thinlits and Simple Plaid Thinlits

Alcohol Ink Shaker Cards

Alcohol Ink Shaker Cards by Juliana Michaels featuring Tim Holtz Sizzix Foldaway, Bold Text Set 1 Thinlits

The new Tim Holtz Sizzix Big Shot Foldaway is an amazing die cutting machine and I'm looking forward to all the cards and paper crafting projects we will make together!


Supplies

Below you can find the products I used to create my XOXO Vintage Valentine Card along with compensated affiliate links to Scrapbook.com and Sizzix. These links are at absolutely no cost to you. If you want to learn more about what an affiliate link is, you can see my full affiliate and product disclosure statement here. I really appreciate your support of my blog and videos!

XOXO Vintage Valentine Card | Tim Holtz Stacked Tiles Hearts and Colorize Woodgrain

Hey friends! I'm SO excited to be continuing on as a Maker for Tim Holtz this year and I'm starting it off by sharing one of the makes I created for the Sizzix Chapter 1 release. I created a vintage Valentine card using a mix of old and new dies. And yes, Valentine's Day is almost here, but as far as I'm concerned we should celebrate the ones we love every day of the year! Now keep on reading to check out all the details on how this card came together.

The Tim Holtz Sizzix Chapter 1 Release is available NOW at Scrapbook.com!

• • • • • • • • • • • • • • • • • • • • • • • • • • • • •

XOXO Vintage Valentine Card

XOXO Vintage Valentine Card by Juliana Michaels featuring the Tim Holtz Stacked Tiles Hearts and Colorize Woodgrain

All supplies are linked at the end of this post. Compensated affiliate links to Scrapbook.com may be used at absolutely no cost to you. As always, I appreciate your support of my blog posts and videos!


To create this vintage Valentine card, I used the new Woodgrain Colorize Thinlits, the Stacked Tiles Hearts Thinlits and the 3D Wings Impresslit. I began by die cutting the various pieces from the Woodgrain Colorize from Distress Heavystock. There are 4 layers that are combined to give you the fabulous depth and texture. I used the ink smooshing technique to apply Distress Ink to each layer.


On the bottom (first layer) I used Frayed Burlap, on the second layer I used Pumice Stone, on the third Weathered Wood and on the fourth layer I used Antique Linen. Once the ink was dry, I adhered all of the layers using Distress Collage Medium and then inked the edges with Vintage Photo.

Making Tips: 

  • Go with very little ink when applying the Weather Wood, otherwise it seems to take over the finished piece. 
  • It's easier to ink smoosh the fourth layer (the tiny little pieces) if you leave the die cuts in place so that you have something to hold onto and then remove them afterwards. Apply Mint Tape or washi tape to hold them in place if needed.
  • Originally I was going to leave off the very top layer, but in the end I ended up adding them. They add a nice touch, but because they are so thin they are bit of a challenge to adhere. I used Collage Medium which is perfect for things like this because if you get a little too much on there it dries clear and doesn't look like a hot mess!

Next up, I created the central heart piece using the Stacked Tiles Hearts which comes with 5 different heart sizes and 5 of each size so you can die cut multiple pieces all at the same time. I die cut 4 different sizes of hearts (all but the very smallest heart) from a mix of Tim Holtz Ideaology 6x10 Backdrops. I then inked the edges, layered them and then ran them through my sewing machine to stitch them together. You can then "fluff" up the edges and it adds a nice bit of dimension!

With the heart completed, I layered it onto the gold wings.  This piece was cut from gold Metallic Kraftstock and created using the 3D Wings Impresslit which embosses and die cuts the paper. I then finished off this piece by adding the XOXO from the Metallic Sticker Book.


For the background of the card, I took a piece of Distress Heavystock cut 4.25 x 5.5 inches and ink smooshed it into a bit of Weather Wood Distress Ink. Once again, I recommend using just a tiny bit of ink so that it doesn't get too dark. I then trimmed a piece of brown colored backdrop paper to 4 x 5.25 inches and then a piece of black to 3.75 x 5 inches and inked the edges. I also added a bit of machine stitching to the top layer before adhering all of the layers together.


To finish off the card, I trimmed the woodgrain pieces to 4.25 inches and then adhered them to the card front. I then added some Hardware heads which I distressed with a bit of Mushroom Alcohol Ink. The final step was adhering the wings and heart die cuts using double sided foam adhesive to give it a little more dimension.

XOXO Vintage Valentine Card by Juliana Michaels featuring the Tim Holtz Stacked Tiles Hearts and Colorize Woodgrain

Thanks so much for stopping by my blog! I'm truly grateful for you! I hope you were inspired by my XOXO Vintage Valentine card using the Tim Holtz Stacked Tiles Hearts and Colorize Woodgrain Thinlits!

• • • • • • • • • • • • • • • • • • • • • • • • • • • • •

The Tim Holtz Sizzix Chapter 1 Release is available NOW at Scrapbook.com!

XOXO Vintage Valentine Card Supplies

Below you can find the products I used to create my XOXO Vintage Valentine Card along with compensated affiliate links to Scrapbook.com and Sizzix. These links are at absolutely no cost to you. If you want to learn more about what an affiliate link is, you can see my full affiliate and product disclosure statement here. I really appreciate your support of my blog and videos!

Subscribe