
Today I'm sharing some Spring Card Ideas using the new Sunny Lane Paper Pad from Scrapbook.com. I've combined these papers with a mix of other Scrapbook.com Exclusives including the Sunny Lane Stamp Set, Spring Sprigs Stamp Set (which now has a coordinating die set!) and Thank You Sentiments III Die Set.

THANKS SO VERY MUCH CARD
On this first card, I began with the idea of creating a "quilt" for my background using the Nested Hexagons Die Set and the Sunny Lane Paper Pad. I took the 3 smallest die and cut out a bunch of hexagons from several of the patterns from the Sunny Lane Paper Pad. To give them a bit of a vintage feel, I added some stamping using the Tim Holtz Eccentric Stamp Set and Hickory Smoke Archival Ink. I then inked all of the edges with Walnut Distress Ink by using a foam ink blending tool. I then debated for a bit about adding machine stitching around the edge of each hexagon because of how long it would take. In the end I knew the stitching would give me the "quilt" look I was after, so I took the time to add the stitching and I'm so glad I did.

Next, I took a piece of cardstock cut to 4.25 x 5.5 inches and applied double sided tape to the paper. I then began laying out the hexagons to create my quilt. Once I had them all laid out, I used a paper trimmer to trim off an 1/8 inch around, inked the edges with Walnut Stain Distress Ink and then adhered the quilt to a piece of Distress Blackout Kraft Stock.

For the sentiment, I used the Thank You Sentiments III Die Set. I took a piece of Distress Blackout Kraft Stock and embossed it using the Tim Holtz 3D Woven Embossing Folder. I then die cut the embossed paper using the thanks die. Next, I took a Distress Sanding Disk (you can also just use regular sand paper) and lightly sanding the paper to reveal some of the kraft core. I then die cut the shadow layer from a piece of blue cardstock from the Scrapbook.com Playful Paper Pad. To finish off the sentiment I used the Scrapbook.com Sunny Lane Stamp Set and stamped "so very much" onto the same blue paper, trimmed it size. I then adhered both pieces to the card with foam adhesive.

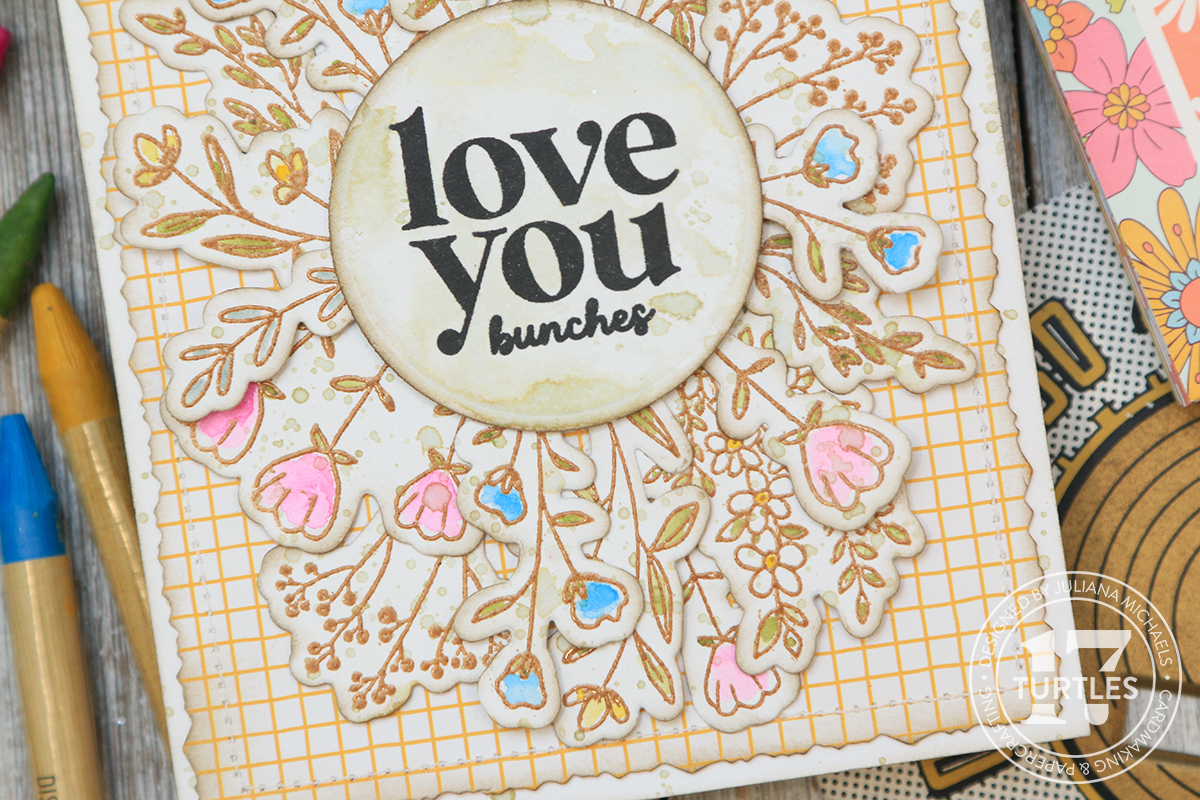
LOVE YOU BUNCHES CARD
On this second card I used the Scrapbook.com Spring Sprigs Stamp Set. This came out awhile back, but they just recently came out with a coordinating Spring Sprigs Die Set for it, so with the stamp and die set in hand, I stamped out multiples of some of the florals onto Distress Watercolor Paper using Tsukineko VersaMark Watermark Ink. I sprinkled it with Distress Embossing Glaze in Vintage Photo, tapped off the excess and heat embossed it with my heat gun. I then used the coordinating Spring Sprigs die set to cut out the florals. To add some color I used Distress Watercolor Pencils and a waterbrush. When working with these pencils, I prefer to touch the waterbrush to the pencil to pick up the color and then apply it to the paper. You can also color direct to paper with the pencil and then add the water, but I prefer the look you get when taking the color from the pencil with the waterbrush. After coloring each of the images, I added some ink splatters using Distress Ink in Old Paper, dried the ink with my heat tool. I then inked the edges of each die cut with Walnut Stain Distress Ink.

Next, I took a piece of patterned paper from the Scrapbook.com Sunny Lane Paper Pad and trimmed it to 4.25 x 5.5 inches using the Tim Holtz Deckle Edge Paper Trimmer. I added some machine stitching around the outer edge and then inked the edges with Walnut Stain Distress Ink. I adhered this to a piece of Distress Watercolor Paper that I had lightly ink splattered with Old Paper Distress Ink.
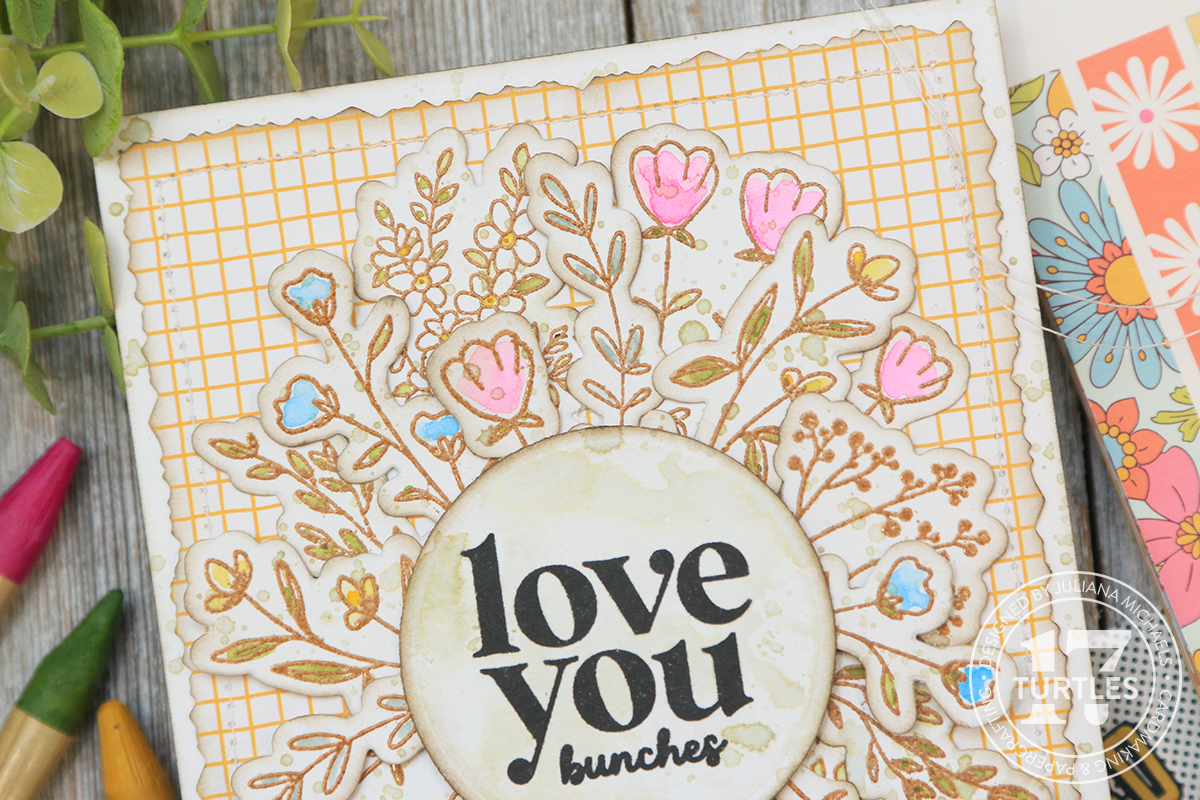
For the sentiment, I used the Scrapbook.com Sunny Lane Stamp Set. I stamped the sentiment onto Distress Watercolor Paper using waterproof ink and then die cut it using the Nested Circle Die Set. Next, I smoosed the Old Paper Distress Ink Pad onto my craft mat, spritzed the ink with water, and smooshed the paper into the ink. I then dried the paper with my heat tool and inked the edges of the circle with Walnut Stain Distress Ink.

Thanks so much for stopping by today to check out these Spring Card Ideas featuring the Scrapbookc.om Sunny Lane Paper Pad and Spring Sprigs Stamp Set.
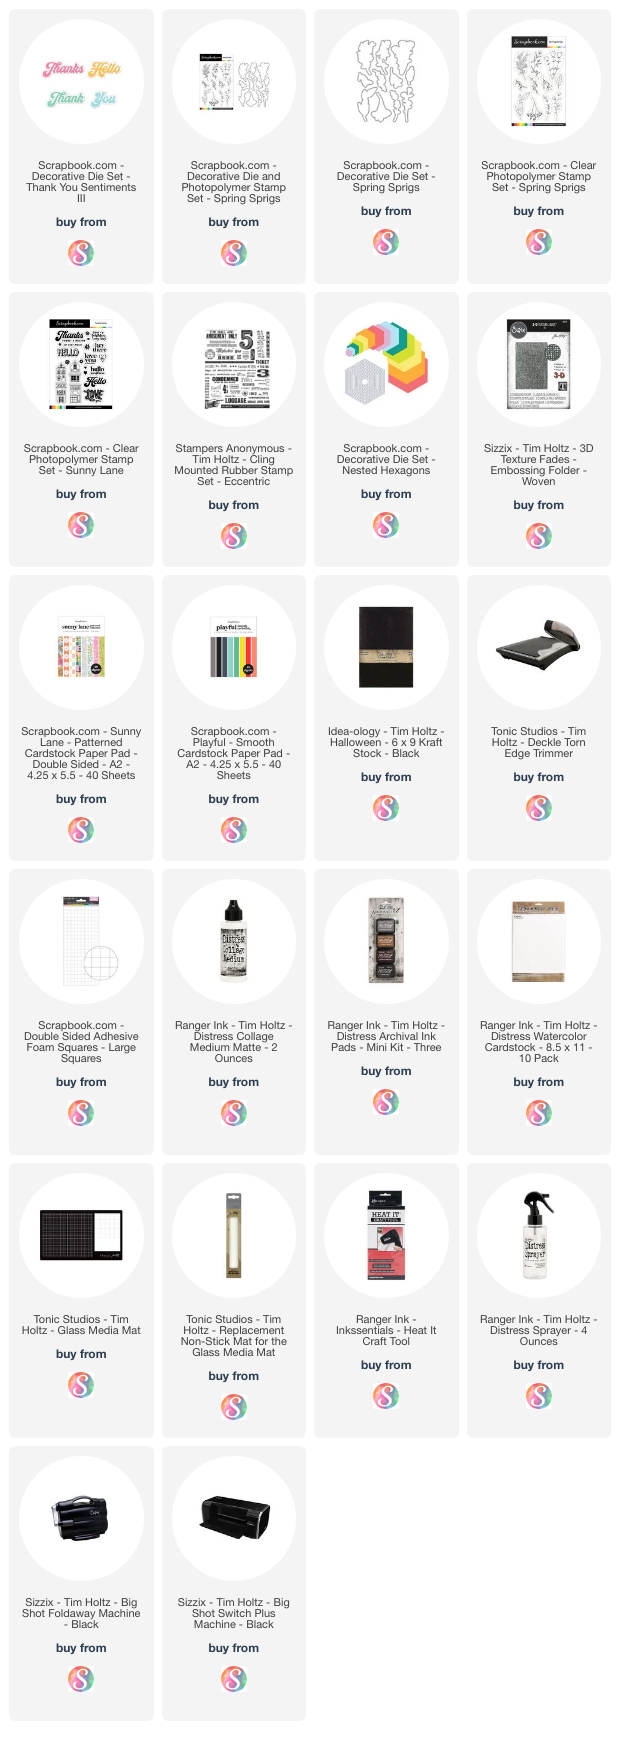
SUPPLIES
Below you can find the products I used to create this card along with compensated affiliate links to Scrapbook.com. These links are at absolutely no cost to you. When you shop through the links below, I receive a small commission from Scrapbook.com. These links are at absolutely no cost to you and the commission I receive helps me cover the costs of my blog and other expenses, which allows me to continue to provide you with FREE inspiration and tutorials. If you want to learn more about what an affiliate link is, you can see my full affiliate and product disclosure statement here. Thank you so much for your love and support!


No comments
Every time you smile at someone, it is an action of love, a gift to that person, a beautiful thing. ~Mother Teresa
HUGS!
JULIANA