
I love dies. I love all dies. I also love nested dies. What are nested dies you ask? Well, let me tell you! They are a set of dies that are all the same shape and come in graduated sizes. You can use them to create layers, mat photos, cut out a frame or even create a mosaic. Scrapbook.com has a great assortment of basic shapes that are available as nested dies and today I want to share some Christmas tags and cards I created using their Nested Circles and Squares dies.
NESTED CIRCLES CHRISTMAS TAGS
First up are these Christmas tags I made using the Nested Circles Dies. This set contains 6 dies that range in size from 4 inches to 1.5 inches. To create these tas I used the 3 and 3.5 inch circle dies and layered them together. By adding some stamping, festive greenery and a bow you are ready to deck out your holiday gifts in style!

MODIFIED KISSING TECHNIQUE
You may be wondering how I achieved the plaid number. Well let me share the details with you. It's a modified kissing technique using a stamping platform. I began with a piece of Neenah Solar White Cardstock which I placed into my stamping platform. I then placed the 25 from the Large Bold Numbers Stamp Set in my stamping platform and inked it up with Lumberjack Plaid Distress Oxide Ink and stamped it onto the paper. I then cleaned off the stamp, but left it in position on the stamping platform. I also made sure not to move the paper in the stamping platform. I then took the plaid stamp from the Plaid and Nordic Stamp Set placed it onto a large stamping block, inked it up with Black Soot Distress Ink and stamped it onto the number stamps in my stamping platform and then stamped them over the previously stamped image. And viola you get a red and black plaid stamped image!
If you don't have a stamping platform you could do the traditional kissing technique in which you ink up your plaid stamp and leave it ink up on your crafting surface. Next, you place the number onto a stamping block, ink it, stamp it onto the inked plaid stamp and then stamp it onto your paper. I personally am not that great of a stamper when it comes to working with stamping blocks. I never get a good crisp image. When I got a stamping platform it really changed my stamping game and so that is why I chose to use this modified technique here.

Once I had the stamping completed, I then took the 3 inch circle die, lined it up over the stamped image, used some Mint Tape to hold the die in place and ran it through my die cutting machine. I then layered it onto a piece of Black Woodgrain paper die cut using the 3.5 inch circle.
The holly piece is die cut from a piece of Distress Watercolor cardstock that I had inked with Rustic Wilderness Spray Stain. To add a little sparkle, I applied Glossy Accents to the leaves and sprinkled them with some Distress Rock Candy Glitter, tapped off the excess and allowed it to dry. I then added the sentiment which is from the Wordfetti December Stamp Set. The bow is a piece of seam binding which I dyed using Rustic Wilderness Spray Stain.
For this second tag, I used the same process just reversed the colors.

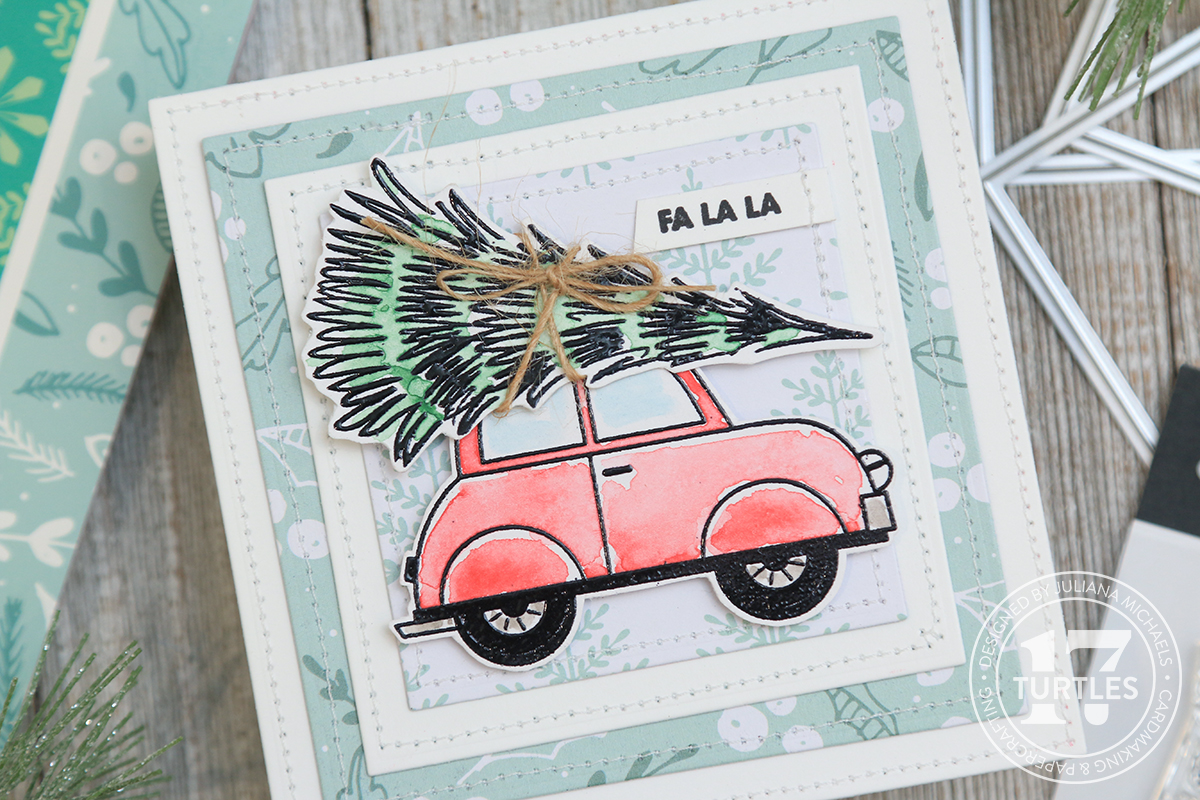
NESTED SQUARES CHRISTMAS CARD
To make this Christmas card I used the Nested Squares dies. These range in size from 4x4 to 1.5x1.5 inches. I began by die cutting a piece of white cardstock using the 4x4 and the 3x3 square dies. I added machine stitching around the outside edge for a little texture.
I then took two different patterns from the Peppermint 6x8 Paper Pad and die cut them using the 3.5x3.5 and 2.5x2.5 square dies. I also added machine stitching to them.

For the stamping, I used the Joyful Ride Stamp Set. I stamped the images onto Distress Watercolor Paper using Versamark Embossing Ink, sprinkled them with Black Embossing Powder and heat embossed them using a heat gun. Before I stamped the image, I wiped an anti-static pouch/brush over the paper to help lessen the static on my paper and to have less embossing powder where I don't want it. I find the anti-static pouch to work better than the brush, but with the brush you don't get the powder on your hands. The powder from the pouch can get a little messy, but I store mine in an old Altoid Tin to prevent the mess.
Once the embossing was completed, I watercolored the image using Distress Watercolor Pencils and a waterbrush. I used the waterbrush to pull the pigment from the pencils and apply it to the paper. The colors I used were Rustic Wilderness, Candied Apple, and Tumbled Glass (for the windows). I then fussy cut the images using a pair of precision tip scissors. I tied a piece of jute twin around the tree and then adhered them to the card using double sided foam squares. To finish off the card, I added a sentiment from the Wordfetti Fa La La Stamp Set.
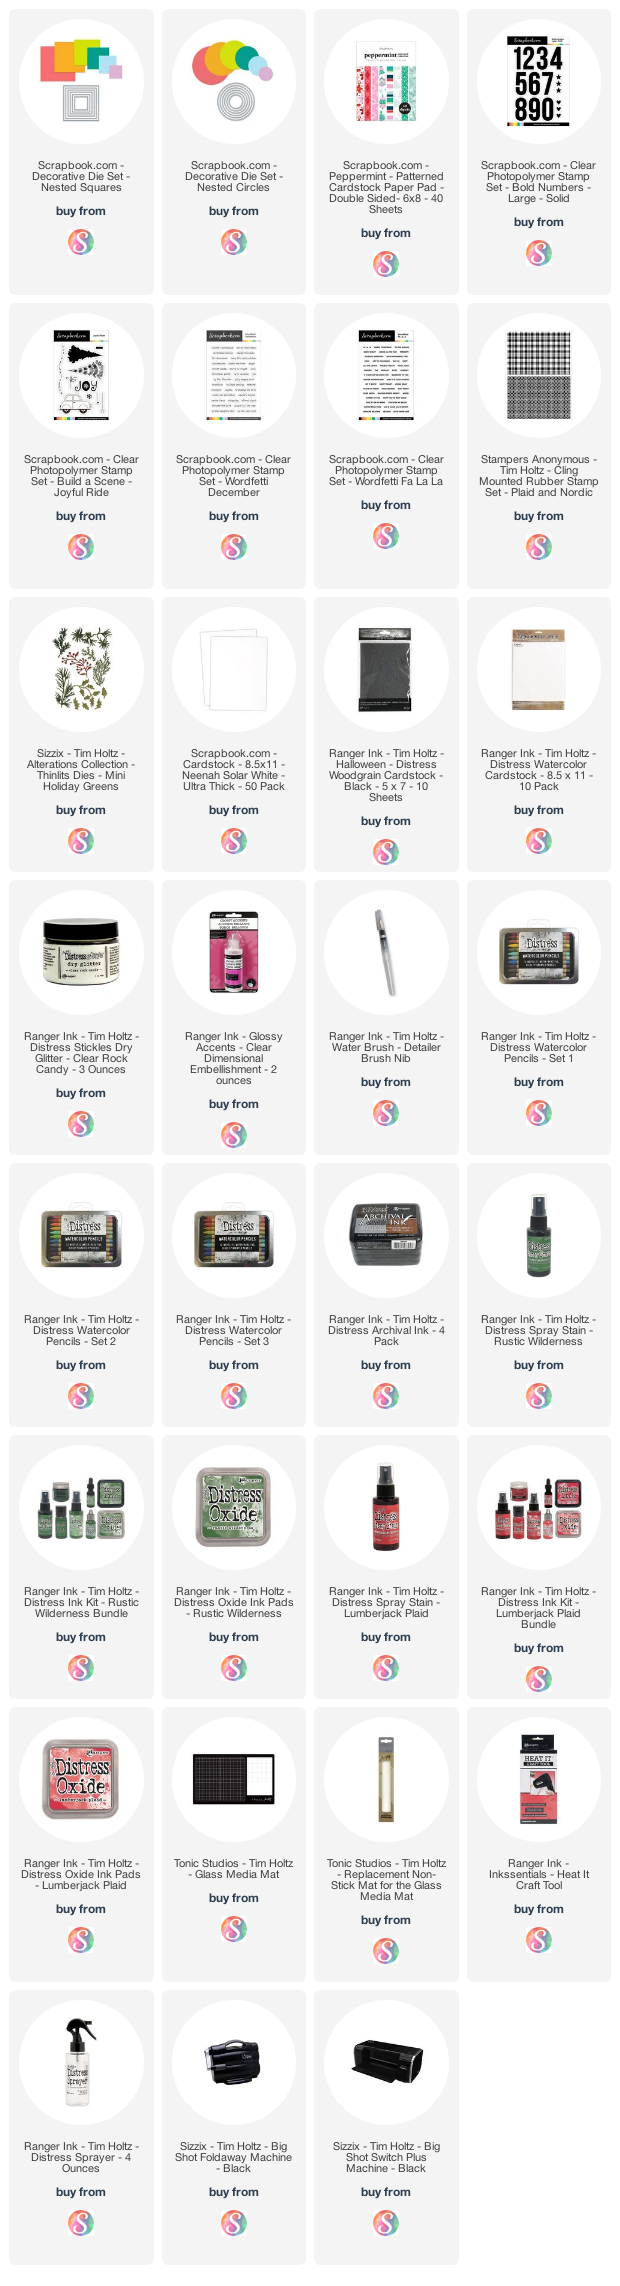
SUPPLIES
Below you can find the products I used to create these projects along with compensated affiliate links to Scrapbook.com. These links are at absolutely no cost to you. When you shop through the links below, I receive a small commission from Scrapbook.com. These links are at absolutely no cost to you and the commission I receive helps me cover the costs of my blog and other expenses, which allows me to continue to provide you with FREE inspiration and tutorials. If you want to learn more about what an affiliate link is, you can see my full affiliate and product disclosure statement here. Thank you so much for your love and support!


No comments
Every time you smile at someone, it is an action of love, a gift to that person, a beautiful thing. ~Mother Teresa
HUGS!
JULIANA