
During my last post, I shared with you some tips and tricks for creating a Slimline card. After creating that slimline Christmas card I was inspired to create a set of coordinating Christmas tags using some of the techniques I used to create that card. In that post, I focused on how to use your stamps, stencils and dies and create a slimline card. I did not however, go over how I created the background for the card. Today, I'm going to share how I created that background and then used it to mass produce a set of Christmas tags.

I love being able to mass produce an idea, but I also like a little variety as well. By using the Big and Bold Christmas Stamp Set, I was able to easily repeat the design from one tag to the next AND get a little variety by using a different sentiment on each tag.

To get started, I began with a piece of Distress Heavystock which I die cut using one of the tags from the Nested Tag Dies. Scrapbook.com Mint Tape works wonderfully to hold the hole part in place as you die cut each tag and the Magic Mat is a wonderful new tool that replaces one of your cutting plates and keeps them from warping.

After die cutting the tags, I smooshed some Old Paper Distress Ink onto my craft mat, spritzed it with water and dabbed the paper into the ink. I dried the ink with my heat tool and repeated the dabbing and drying until I was pleased with the ink coverage. I repeated this process for all three tags.

Once the tags were dry, I began to add the stamping. For this I used the Tim Holtz Forest Floor and The Poinsettia Stamp Sets. I stamped various images with Distress Oxide Ink in Rustic Wilderness, Frayed Burlap and Fired Brick. After I stamped each image, I lightly wiped over it with a dry paper towel to smear the ink. I then stamped the music notes and script stamps with Archival Ink in Vintage Photo. By using a stamp platform, such as the MISTI, I was able to do the same stamp on each tag before moving onto the next stamp image. After I had finished the stamping, I added some stenciling using the Scrapbook.com Star Stencil with a bit of Vintage Photo Distress Ink. I then finished off the background by inking the edges with Vintage Photo Distress Ink.

At this point, the tags all looked exactly the same. To add some variety, I stamped one of the Big and Bold Christmas Stamp sentiments using embossing ink and then heat embossed it with Copper Embossing Powder. If you want even more variety make sure to check out the Big and Bold Holidays Stamp Set which will add three more sentiments to your options.
To finish off each tag, I added some Hug Snug Seam Binding. I love that you can dye this ribbon using Distress Spray stains. For these ribbons, I sprayed them with Old Paper Distress Spray, crinkled them and then dried them with my heat tool.
To finish off each tag, I added some Hug Snug Seam Binding. I love that you can dye this ribbon using Distress Spray stains. For these ribbons, I sprayed them with Old Paper Distress Spray, crinkled them and then dried them with my heat tool.

Thanks so much for stopping by today and I hope you enjoyed learning how easy it is to mass produce a design while adding some variety with your sentiment stamps.
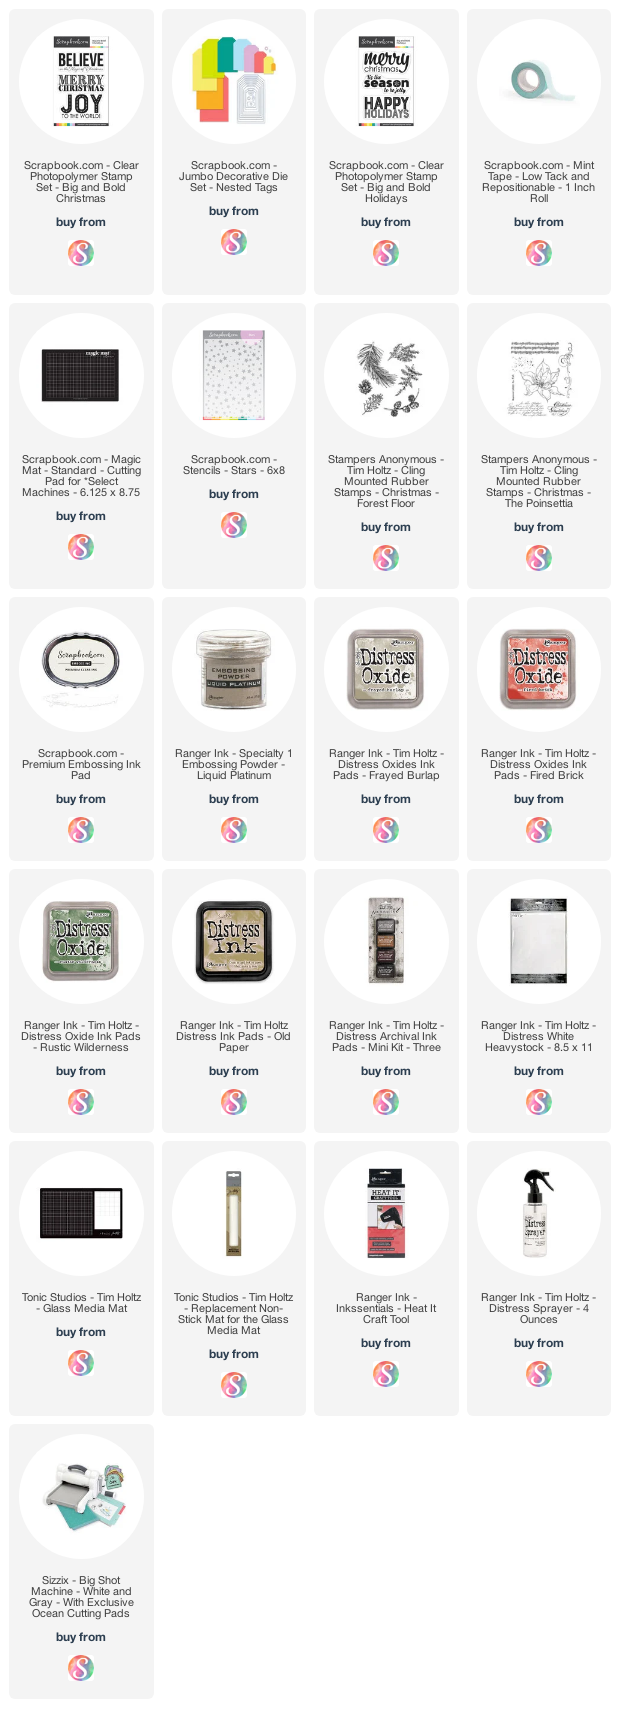
Supplies
You can find a supply list of the products I used to create this project below. This post contains compensated affiliate links to Scrapbook.com at no cost to you. If you want to learn more about what an affiliate link is, you can see my full affiliate and product disclosure statement here.


No comments
Every time you smile at someone, it is an action of love, a gift to that person, a beautiful thing. ~Mother Teresa
HUGS!
JULIANA