
Hey friends! Skelly's Apothecary is now open and ready for business! Today I'm sharing this Halloween themed project I made using a mix of Tim Holtz Sizzix dies from this past year. I'll warn you now though, this is a long one as I take you through each step of creating the main elements of Skelly's Apothecary. So sit back, grab your favorite snack or a cup of coffee and enjoy!

Before I get into all the fun details, here is the scoop for the background and frame. The background paper was creating with Distress Spray Stain in Black Soot and Pumice Stone. I sprayed it onto watercolor paper and spritzed it with my Distress Sprayer. I then trimmed it to size to fit the Idea-ology Framed Panel. The framed panel was painted with Distress Paint in Black Soot. I used my finger to paint the top edge to keep the paint from getting down into all the cracks and to give the frame a more distressed look.
The spider webs are die cut from watercolor paper using the Spider Web Thinlits. The paper was lightly misted with Hickory Smoke Distress Spray Stain and then die cut. The spiders are from the Spider Web Thinlits as well, and are cut from black cardstock. I trimmed off the web part and gave each one a covering of Glossy Accents to help them stand out a bit more before I adhered them with some double sided foam adhesive.

SKELLY COLORIZE®
Now on to the main feature...Skelly! This is one of the Colorize® Thinlits and I have to say these are fast becoming a favorite of mine. Yes, they take a little time to assemble, but the end result is SO worth it!
To get started, I sprayed and inked a piece of watercolor paper using Distress Spray Stain in Antique Linen, Old Paper and Pumice Stone. I also added a little smoosh and spritz with Distress Ink in Pumice Stone and Antique Linen. For the smoosh and spritz you simply smoosh the ink pad onto your silicone craft mat, spritz it with a little water using your Distress Sprayer and then smooth your paper into the droplets. You then use your heat tool to dry the ink and then repeat as desired.

Once the paper was inked and sprayed to my liking, I placed all of the Skelly Colorize dies onto the paper and die cut them. I then went about assembling Skelly with all of the pieces. You will notice that several pieces look black...the openings of the eyes and the cracks. I added this color once he was fully assembled using a water brush and Distress Ink in Black Soot to darken those areas/pieces.
For those of you new to Colorize did you know that Sizzix provides videos on their YouTube Channel that take you step-by-step through the process of assembling each of the Colorize Dies? They have one for each Colorize, including Skelly.

POTION BOOKS
Now let's take a look at the potion books. These were created by cutting strips of chipboard to size and then wrapping them with Distress Cracked Leather Paper.

I glued several pieces of chipboard to together using Collage Medium to get the thickness I wanted. I then glued them to a piece of the cracked leather paper and wrapped it around them.

To embellish the spine, I stamped some flourishes from the Urban Elements Stamp Set with embossing ink and heat embossed them with Distress Embossing Glaze in Vintage Photo. The word Potions was created by die cutting Metallic Kraftstock using the Tiny Type Upper Thinlits.

Once the spine was completed, I colored the books. I used Distress Spray Stain in Black Soot for the Potions Book and Walnut Stain for the other book. I then added a bit more distress using a Walnut Stain Distress Crayon.

POISON BOTTLES
Now we are onto the final piece which ended up being my favorite part of the entire project...the poison bottles!

To create these I used the Bottled Up Bigz Die and cut the bottles from watercolor paper. To give them a more dimensional look, I spritzed the paper with water and then gently rounded the paper over a bottle and let them dry. This took very little time, and gave them a more realistic bottle shape. Next, I inked the paper using an embossing ink pad and heat embossed the it with Distress Embossing Glaze in Vintage Photo. I repeated this embossing process 3-4 times on each bottle to build up the thickness and to achieve the look of glass. Each layer gets more smooth and less transparent in color so the color of the glaze really stands out. As you can see the glaze flows toward the edges because they are rounded and added even more interest to the bottles.

For the labels, I dug through my stash of Halloween ephemera and found three labels that I distressed with Old Paper and Vintage Photo Distress Ink. I then adhered them using collage medium.
So what about the cracked look on the bottles you ask? Once all the other steps were completed, I masked off the labels using Purple Tape (washi tape or any other low tack tape will work) and coated each bottle with Distress Crackle Paint Clear Rock Candy and let it dry. The cracked goodness slowly appeared as it dried. To add a bit more distress, I worked some Walnut Stain Distress Crayon into the cracks.
To finish off each bottle I cut a stopper from a piece of cork paper, inked it up and then wrapped a bit of jute around the top of the bottle. The small tag on the one bottle is from a Halloween Remnant Rub.

There you have it! Skelly's Apothecary is looking forward to your business! I sure hope you enjoyed seeing how this project came to life and that it inspires you one your next project.

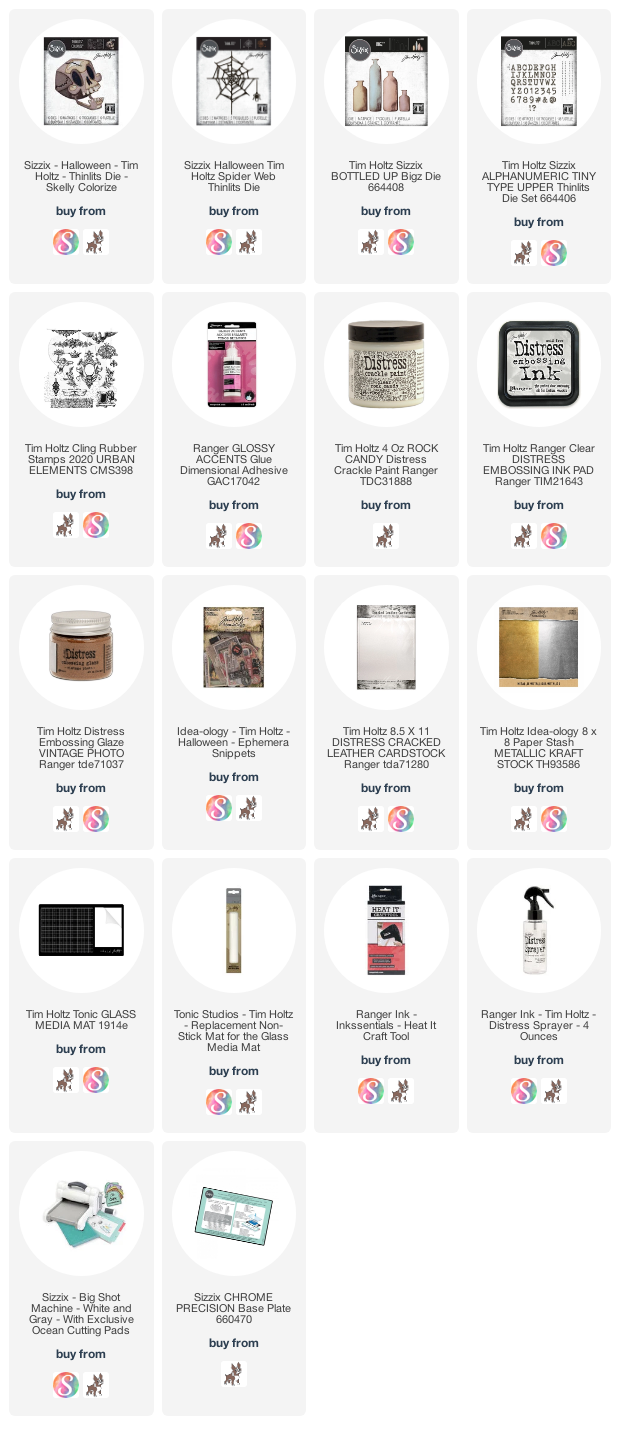
Supplies
You can find a supply list of the products I used to create this project below. This post contains compensated affiliate links to Scrapbook.com or Simon Says Stamp at no cost to you. If you want to learn more about what an affiliate link is, you can see my full affiliate and product disclosure statement here.


Absolutely spooktacular! Especially love the bottles. Great tutorial
ReplyDeleteLove that you showed how you created the books and the bottles - I needed that tutorial!
ReplyDelete