Hello friends! Today is an awesome day because it's time for me to begin sharing some of the Creativation 2020 projects I created for Tim Holtz. I was blessed to have been asked to create projects for both the Sizzix and Stampers Anonymous Booths. I'm going to start with sharing the rest of the project I made for the Sizzix booth. I shared the first one called Collect Beautiful Moments, which features the Scribbly Butterflies Die. If you missed it make sure to click over to check it out.
Hopefully you are already starting to see some images of the booths, but if you missed them, you'll certainly be able to catch a recap of it over on Tim's blog.
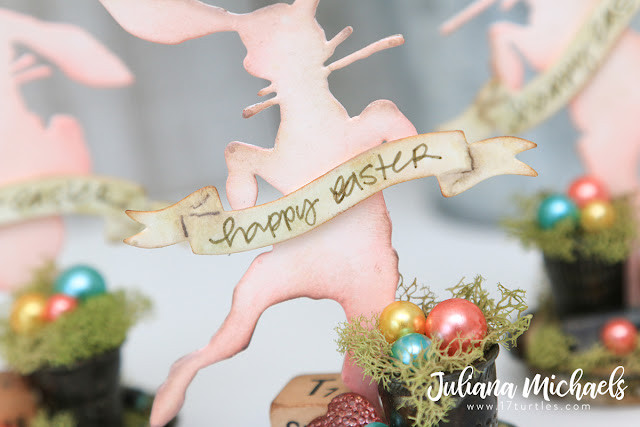
So let's get started with some project inspiration. The first project I'm sharing with you is the Happy Easter Placeholders featuring the Bunny Hop Thinlit Dies. From the moment I first saw them, I had the idea of creating Easter table placeholders...and since there are three bunnies I had to make one for Tim, Mario and Paula!
HAPPY EASTER PLACEHOLDERS
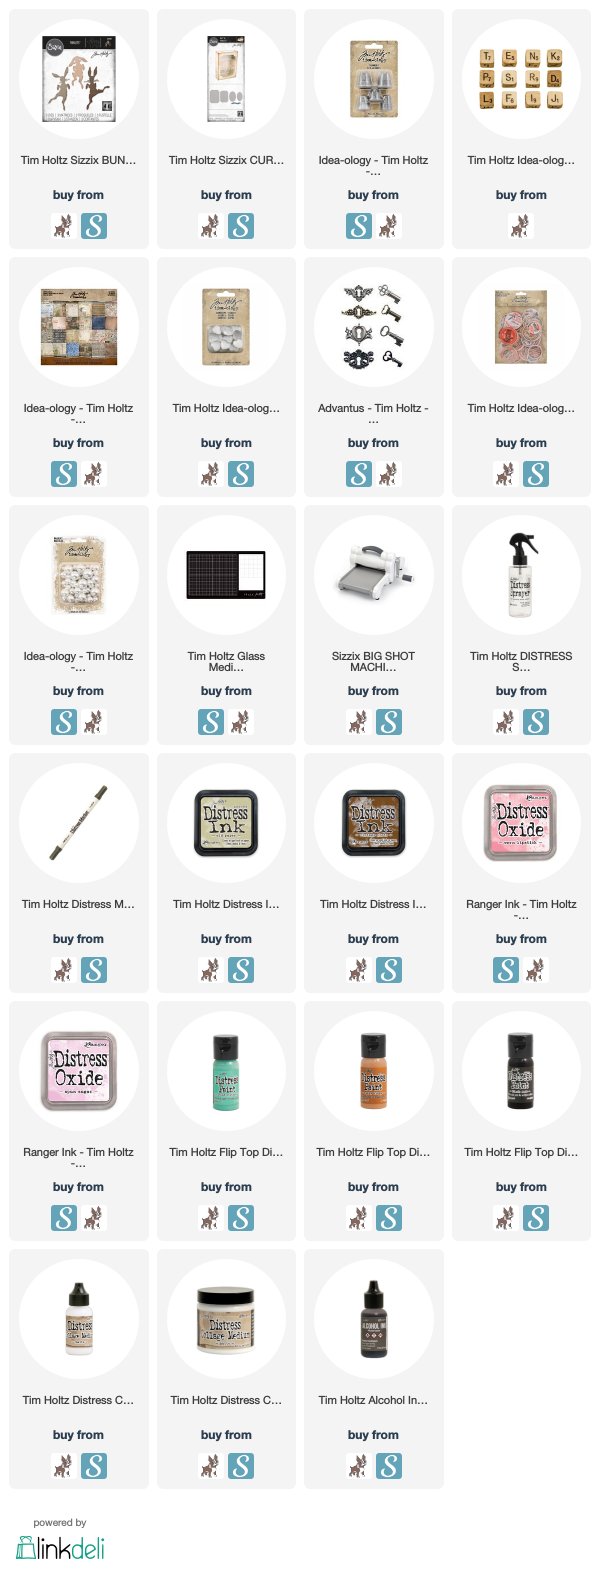
All of the products I've used are listed below with affiliate links to Scrapbook.com and Simon Says Stamp.

TIM HOLTZ SIZZIX BUNNY HOP THINLITS DIE
I began by die cutting the bunnies from watercolor cardstock, a piece of thin chipboard and a piece of patterned paper from the 8x8 Etc Paper Stash. I adhered all of these layers together to give the bunny more substance. I then ink blended the watercolor paper with Distress Oxide in Spun Sugar and Worn Lipstick, spritzed them with water and dabbed them dry. And as I always tend to do, I inked the edges with a bit of Vintage Photo Distress Ink.
I then took the banner die from the Curio Box Bigz Die and cut a banner for each bunny from cardstock. To give the paper a distressed look, I smooshed some Old Paper Distress Ink onto my craft mat, spritzed it with water and then dragged the paper through the ink. To dry the paper, I used my heat tool and then I hand wrote "Happy Easter" on each one using a Distress Marker in Walnut Stain. I then finished them off with a bit of Vintage Photo Distress Ink along the edges.
CREATING THE BASE
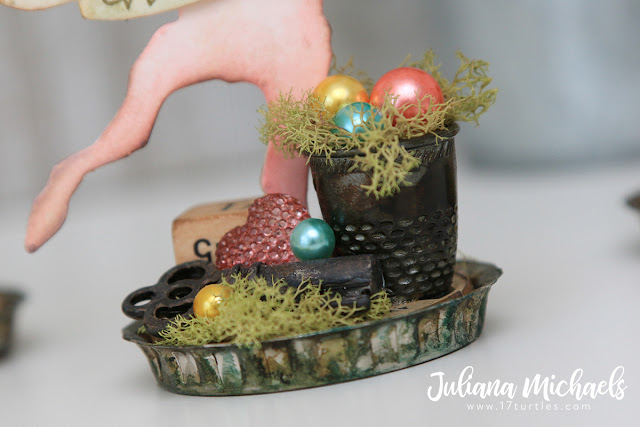
Next, I started on creating a base for them to stand on. This took a bit of trial and error, but in the end I was pleased with final result. I used a metal bottle cap from my stash. These are about 2 inches in diameter. I don't even want to admit how long I've had them in my stash, but at least they finally came to a good use! I did my best to locate them and I was able to find them on Etsy begin sold by Handy Harry.
To fill the inside of the bottle cap, I found that the Idea-ology Milk Caps fit perfectly inside. I also layered some extra chipboard underneath them to raise them up a bit. I carefully cut a slit into the milk cap and chipboard using a craft knife, making sure it was wide enough for the bunnies foot to fit down into. This helped to hold the bunnies in place along with some adhesive. Once the bunnies were securely attached to the base, I then set about decorating the base around them.
DECORATING THE BASE
Since these are Easter bunnies, they needed Easter baskets! I created these from Idea-ology Thimbles and filled them with Baubles colored with Alcohol Inks in Lemonade, Shell Pink and Aqua. I also added a Gumdrop Heart colored with Shell Pink Alcohol Ink. The other bits I added where a Locket Key and Dice. If you look closely, you will see that the letter on top of each of the dice are T, M and P. Remember I said these for Tim, Mario and Paula!
DISTRESSING THE METAL PIECES
All of the metal pieces for this project were coated with Collage Medium.
Bottle caps: Once the Collage Medium was dry, I applied a mix of Alcohol Ink in Mushroom, Pebble and the tiniest bit of Stream. I then used a Qtip to apply blending solution here and there to blend and lighten the ink.
Thimbles and Keys: Once the Collage Medium was dry, I dabbed on Distress paint with my finger in Black Soot, Cracked Pistachio and Rusty Hinge. I used a heat tool to dry between each color and applied much less of the Cracked Pistachio and Rusty Hinge to give it the look of old metal.
The final touch was the addition of some floral moss, which always adds a touch of softness and texture.
And there you have it...Happy Easter Placeholders featuring the Tim Holtz Bunny Hop ThinLits Die by Sizzix. I hope you enjoyed learning how these came together for me. I can't wait to see what you all create and share using this adorable new die. Thanks so much for stopping by today!
SUPPLIES
This post contains affiliate links to Scrapbook.com and Simon Says Stamp. If you buy anything through my links, it adds no extra cost to you. I truly appreciate and thank you for your support! (If you're interested, you can see my full disclosure statement here.)
Metal Bottle Caps found for sale by Handy Harry on Etsy - click here.
Metal Bottle Caps found for sale by Handy Harry on Etsy - click here.


You are amazing!!!!! It was only a matter of time! Kelli predicted it!!
ReplyDeleteYou are too sweet! Thank you so much!!
DeleteThese are so precious! LOVE THEM!
ReplyDeleteSo cute and creative. Makes me want to do something like this. Really fun use of this new die!
ReplyDelete