Showing posts with label Mixed Media. Show all posts

Rainbow Embossed Mixed Media Card | Sunny Studio Stamps

Hello friends! Today I'm excited to be sharing a mixed media style card I recently created featuring the Lots of Dots Embossing Folder from Sunny Studio Stamps.


To get started, I die cut a piece of Bristol Paper using the stitched border die from the Frilly Frames Retro Petals Die. I then embossed this using the Lots of Dots Embossing Folder. Next, I took a rainbow of Distress Oxide inks and applied them at a diagonal rainbow order across the embossed paper. For this card I used Wilted Violet, Blueprint Sketch, Mowed Lawn, Spiced Marmalade, Squeezed Lemon, Picked Raspberries and Candied Apple. I then splattered water onto the paper using a small paint brush and dabbed it dry with a paper towel.


To further add to the mixed media style I then splattered a slightly darker Distress Ink onto each section. I used Seedless Preserves, Faded Jeans, Peeled Paint, Carved Pumpkin, Mustard Seed, and Festive Berries. To do this, I tapped the ink pad onto my glass mat, added a bit of water and then picked up the ink and water with a small paint brush and splattered it into the corresponding section of color.


Once the background was complete, I then went about adding the sentiment. I die cut the Rainbow Word Die from black cardstock 3 times and glued them together. I then stamped the sentiments from the Over The Rainbow Stamp Set onto white cardstock and trimmed it into small strips.


Since you can't have a rainbow without a little rain, I decided to add some clouds cut from white cardstock using the Fluffy Clouds Dies. I then finished it off with some Clear Drops Mix #2 to represent the rain!

Thanks so much for stopping by today! I hope you enjoyed this mixed media style card featuring the Lots of Dots Embossing Folder. If you are looking for more inspiration using the adorable products from Sunny Studio Stamps, make sure to visit the Sunny Studio Stamps Blog!

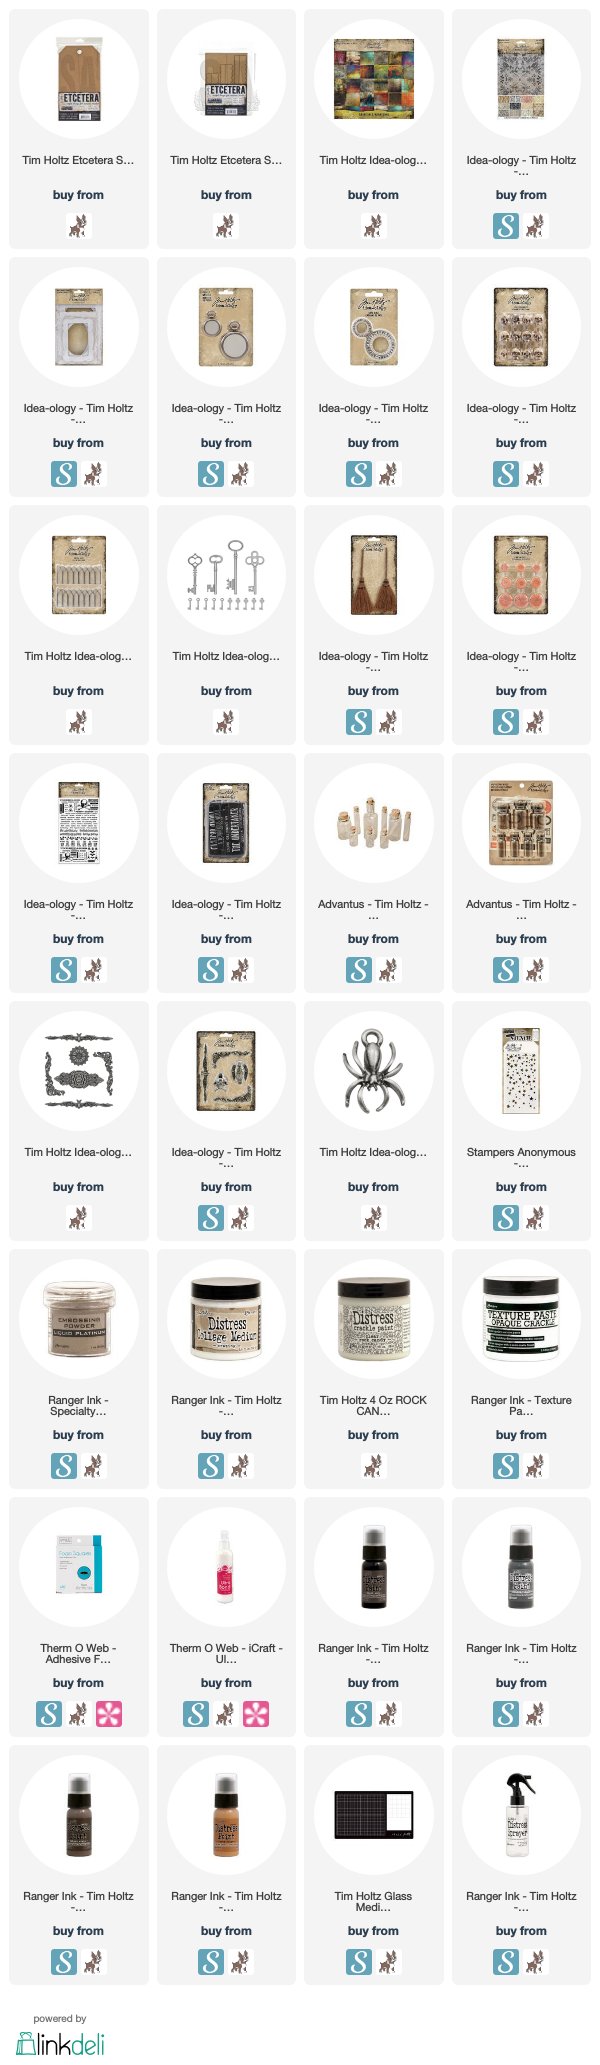
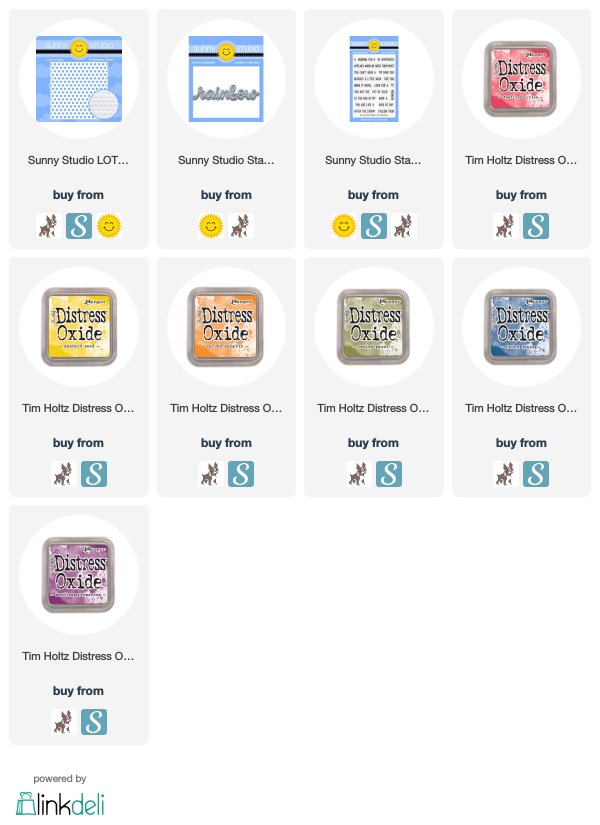
SUPPLIES

This post contains affiliate links to Scrapbook.com and Simon Says Stamp. If you buy anything through my links, it adds no extra cost to you, but it does help me keep my blog up and running and allows me to share this content with you! I truly appreciate and thank you for your support! (If you're interested, you can see my full disclosure statement here.)


The Witching Hour

Hello friends and welcome back! I want to thank all of you who stopped by to check out my last post! Today I'm back with another Halloween Mixed Media project, because well...it's that time of the year! At least for me anyway! I recently got my hands on some of the new Tim Holtz Halloween Idea-ology and I couldn't help but grab the paper doll witches and use them as the focal point for this Halloween project. The day after I got the new goodies, I went to a friend's house for a crafty weekend and created this project. I'm excited that I've finally found the time to share it with you. This project is a Halloween themed Etcetera Tag called The Witching Hour!

The Witching Hour Halloween Mixed Media Tag featuring Tim Holtz Halloween products by Sizzix, Stampers Anonymous, Idea-ology and Ranger Ink

Small Etcetera Tag Base

To get started, I used a Small Etcetera Tag as my base. I covered it with a piece of paper from the 8x8 Paper Stash Abandoned. I lined up the paper with the top of the tag and trimmed off the excess. Because the paper is smaller than the tag, I used a scrap from what I trimmed off the top and adhered it to the bottom of the tag. Later on when I added the shelf, I was able to cover up the seam. This paper is already so wonderfully distressed, but I did ink the edges a bit and then added some Crackle Paste to grunge it up a little more. Once the paste was dry, I inked over it with some Distress Ink.

One thing I wanted to share with you that I've learned after working with a couple of these tags, is that it really helps to cover the backside of the tag with paper too. My first two tags warped quite a bit from all the stuff on the front side, so I decided to see what would happen if I put some paper on the back side of this tag. I had absolutely no warping, so I will definitely be using that trick on future projects. For this one, I used a piece of paper from one of the past Halloween Paper Pads. In my mind it was a great way to use up some of my stash too!

The Witching Hour Halloween Mixed Media Tag featuring Tim Holtz Halloween products

Metal Adornments & Findings

Before I continue on, let me share about the metal pieces on this project. This includes the following: Metal Gate, bat from the Halloween Adornments, small Pocket Watch, metal spiders, chain (which was from my friends stash), keys and Vintage Clip. With all of these, I painted them first with Collage Medium using my finger. Once this was dry, I used either my finger or a bit of paper towel to dab on Distress Paint in Black Soot, Hickory Smoke, Walnut Stain and a tiny bit of Rusty Hinge. I still find this to be trial and error, but if you just keep adding paint, let it dry and add some more it will build up the layers and eventually it starts to take on a nice grungy look!

The Witching Hour Halloween Mixed Media Tag featuring Tim Holtz Halloween products

Lace Baseboard Frame

Next I began working on the Lace Baseboard Frame. I sprayed it with some Vintage Photo and Walnut Stain Distress Oxide Spray and some water to give the frame an aged look. I then backed it with a piece of Halloween Worn Wallpaper. I felt like it still needed something, so I grabbed the Falling Stars Stencil, placed it on top of the frame and inked over it with Ranger Embossing Ink. I then removed the stencil and sprinkled it with Liquid Platinum Embossing Powder and heat set it with a heat gun. Now the frame was making me happy!

Paper Doll Witches

The Baseboard Frame was of course created to frame those awesome paper doll witches. I hate to admit this, but this is my first time to make something using the paper dolls and I'm afraid I'm now a bit addicted to them! I added some color to it using a finger dauber and Distress Oxide Ink. I tried several other methods of adding color, including a technique Paula Cheney shared that uses Distress Crayons. I however, found this option to be the easiest for me.

The Witching Hour Halloween Mixed Media Tag featuring Tim Holtz Halloween products

Etcetera Scallop Trims Shelf

Below the frame, I created a shelf using one of the Etcetera Scallop Trims. I painted it with Black Soot Distress Paint and adhered it to the Tag. I then added some Crackle Paste and then inked over it once the paste was dry. 

The Witching Hour Halloween Mixed Media Tag featuring Tim Holtz Halloween products

Next, I began gathering the items I wanted to sit on the shelf. They of course, needed to fit the witch theme, so I grabbed a Broomstick, skull, pumpkin and a mix of Corked and Apothecary Vials. I also made a set of keys using a jump ring and some of the small keys from the Keys Adornments. For everything, except the keys, I used similar techniques to distress them as I did on The Witches' Kitchen project I recently shared. Feel free to jump over there to check that out. 

Once I had all the metal pieces and the shelf items ready to go, I adhered them to the shelf, along with a piece of inked cheesecloth. Tim makes Mummy Cloth which looks very similar. I can't speak to the differences between these since I don't have any Mummy Cloth, but I have tons of cheesecloth on hand and sometimes you just have to make do with what you do have on hand.

The Witching Hour Halloween Mixed Media Tag featuring Tim Holtz Halloween products

The final touch on this project was the addition of the swirl green die cut from the Sizzix Thinlits Twisted Edge. I cut it from watercolor paper and then inked it with a combination of Distress Oxide in Peeled Paint, Shabby Shutters and Forest Moss.

Thanks so much for stopping by today and I hope you enjoyed learning more about how I created The Witching Hour Halloween Mixed Media Project.

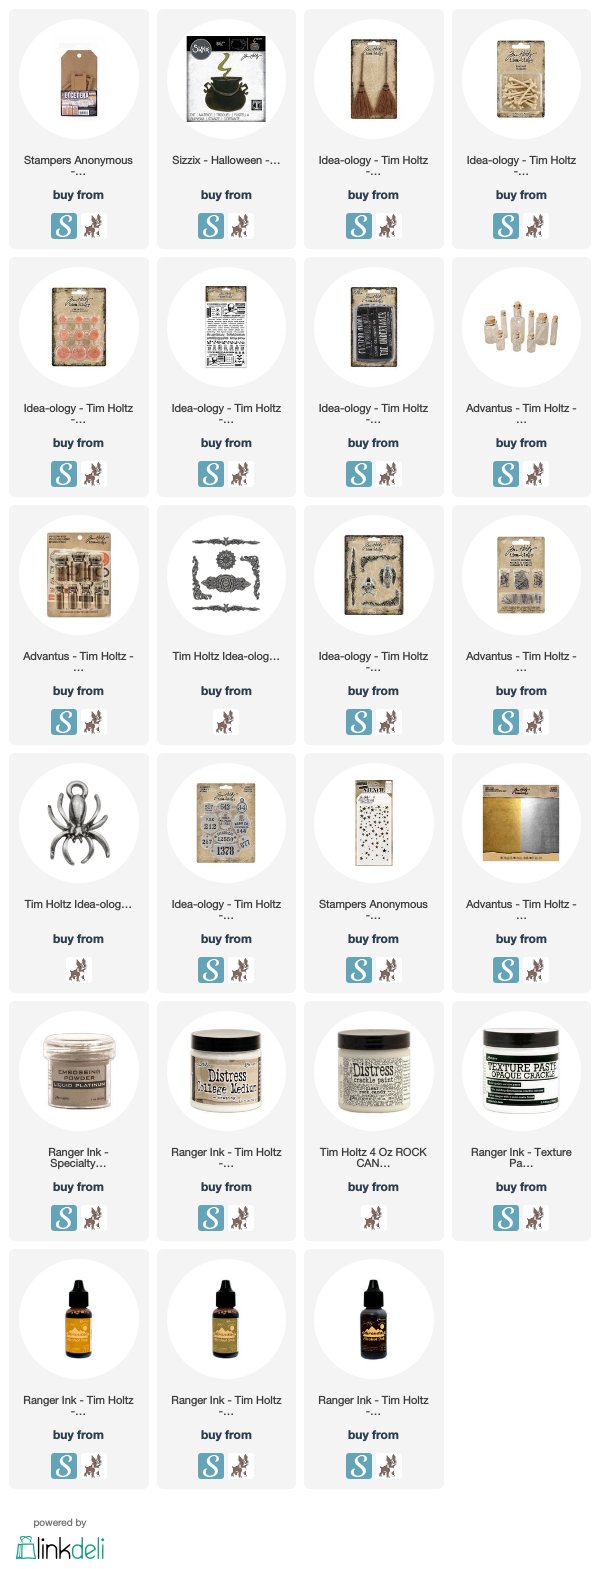
SUPPLIES


This post contains affiliate links to Scrapbook.com and Simon Says Stamp. If you buy anything through my links, it adds no extra cost to you, but it does help me keep my blog up and running and allows me to share this content with you! I truly appreciate and thank you for your support! (If you're interested, you can see my full disclosure statement here.)


The Witches' Kitchen

Hey friends! I'm back in Halloween mode and sharing a project I started on nearly a year ago. Yes, you read that correctly. Last year I had gathered all my Tim Holtz Halloween goodies from the 2018 release to play with them at a weekend crop. I finished one project and started on this one as the crop was coming to an end. I knew I wouldn't have time to finish it, but assumed I'd find some time to do so once I got home. Well...that never happened, so it stayed packed up until a few weeks ago when I went to another weekend crop. However at this point, I had more new Tim Holtz Halloween goodies to play with so I knew I had to add them in. This adding in, ended up causing me to redo a bit of the original piece, but in the end, I really love how it turned out. Welcome to The Witches' Kitchen!

Beware The Witches Kitchen Halloween Mixed Media by Juliana Michaels featuring Tim Holtz products

I will say, the final piece kept the original witch theme. That happens to be one of my favorite themes for Halloween and when I saw the new Sizzix Bigz Cauldron Die, I KNEW it would be perfect for this piece. Now that you've entered The Witches' Kitchen, let's take a look around!

The base of the piece is a Stampers Anonymous Tombstone Overlay Small that was released last year. They have released some new ones for this year, that I know I will be adding to my stash for future Halloween projects! I covered the pieces with patterned paper from past Halloween paper pads. The top and base pieces were inked up with a mix of Distress Ink and Distress Oxide to give them a worn wood look. For the inlaided section of the top, I also covered with patterned paper and then inked with a mix of Distress Ink and Distress Oxide. I did this part nearly a year ago, so I can't remember all of the details, but I think I used Vintage Photo, Black Soot, and Peeled Paint to get the colors you see. Next, I stamped the spider web from the Tangled Web Stamp Set with embossing ink and heat embossed it with white embossing powder. I then covered the entire area with Collage Medium Crazing to give it a bit more distressed look.

Beware The Witches Kitchen Halloween Mixed Media by Juliana Michaels featuring Tim Holtz products

I'm going to continue on with the base of the piece. I love how these pieces are all separate so you can work on each piece separately before putting them together. I again adhered another piece of Halloween paper to the background and inked the edges with Distress Ink. Make sure to allow the ink to dry before continuing on to the next step. Embossing powder will sticker to Distress Ink when it's still wet. Ask me how I know! LOL Once the ink was dry, I took the Falling Stars Stencil and used a palette knife to add Opaque Crackle Texture Paste. I then removed the stencil and sprinkled the stars with Liquid Platinum Embossing Powder, let the paste dry and then heat embossed them to give them a super crackly effect!

Beware The Witches Kitchen Halloween Mixed Media by Juliana Michaels featuring Tim Holtz products

For the bottom part of the tombstone, I actually built out a ledge to make a shelf for the witches' cauldron and other goodies. I cut foam core board to the size of the larger piece, covered it with scrap patterned paper and adhered it to the bottom of the tag base and then added the other parts to complete the tombstone. All of these were covered with patterned paper from past Halloween paper pads. I then added the cool metal bat and used the same technique on it that I used on the metal tag, and also added in some Pitch Black Alcohol Ink. I have personally found that I just keep playing with adding the media to the piece until I like the look of it!

Once the base was completed, I adhered all the pieces together. I then added some Opaque Crackle Texture Paste to random areas and once it was dry, I inked it with Walnut Stain and Vintage Photo Distress Ink.

Beware The Witches Kitchen Halloween Mixed Media by Juliana Michaels featuring Tim Holtz products

Now that the base is complete, let's continue with all the little details. On the top, I added the Webb Co. metal tag from the Tim Holtz Idea-ology Adornment Foundry and a spider (from last years Halloween Wicked Metal) hanging from a bit of twine. All of the metal pieces where first painted with Collage Medium. Once this was dry, I added Alcohol Inks in Mushroom and Butterscotch to give them the look of aged metal. I also rubbed over it with some Black Soot Distress Crayon using my finger. For the spider here at the top, as well as the one I the broom, I painted them with Black Soot Distress Paint.

Beware The Witches Kitchen Halloween Mixed Media by Juliana Michaels featuring Tim Holtz products

To give the broom, I used feel, I applied Distress Stain in Black Soot to the bristles and scrunched it up a bit while it was wet. I then dried it with my heat gun.  I thought the handle needed some distressing as well, so I applied some Opaque Crackle Texture Paste, allowed it to dry and then inked it with Walnut Stain and Vintage Photo Distress Ink.  I finished it off by tying another metal spider to it using a bit of twine.

Beware The Witches Kitchen Halloween Mixed Media by Juliana Michaels featuring Tim Holtz products

Next on the tour, you'll see the witches' shelf with her cook books and other ingredients. I created the shelf from foam core, covered it with patterned paper and inked it until it was distressed to match the other wood looking sections. I then adhered it to the base to create a shelf. While this was drying, I worked on creating the books. They are made from scraps of cardboard that I wrapped in patterned paper and added titles to the spines using Halloween Remnant Rubs. I then inked the edges with Black Soot Distress Ink. The pumpkins and skull where distressed with Distress Crayons...mostly Walnut Stain and Peeled Paint. I then glued on a bit of moss to the pumpkins.

One other small detail, that was actually one of the last things I added is the Beware sign. It's a Halloween Quote Chip, distressed a bit with sand paper and then inked with Walnut Stain Distress Ink. I wanted it to be a hanging sign, so I attached it using hooks from the Vignette Hardware. I was able to carefully screw them into the Quote Chip and then into a the space between the top of the tombstone and the tag portion.

Beware The Witches Kitchen Halloween Mixed Media by Juliana Michaels featuring Tim Holtz products

Now onto the bottles! I'll be talking about those at the top and bottom of the piece. Some of them were already amber and others started out clear. To give them all a similar look, I painted them with Collage Medium, let that dry, then added Clear Rock Candy Crackle Paint and let that dry. I then added some Grit Paste to the tops and let that dry. Once all that was dry, I applied a mix of Alcohol Ink in Mushroom and Butterscotch and even a touch of Pitch Black.  I also inked the corks using Walnut Stain and Black Soot Distress Ink. Once the bottles were all grunged up, I began adding labels and other details to them. Some of these are stickers from the Tim Holtz Idea-ology Apothecary Vials and others are from past Halloween Ephemera. I also distressed the edges of the paper with the back side of an X-acto Knife and then inked them up with some Walnut Stain Distress Ink. Now, I want you to look closer at some of the bottles....see anything?! Yes, there are eye balls in that one jar! They are googlie eyes from my stash, but don't they add a fun touch?! I also filled the other large bottle with some bones!

Beware The Witches Kitchen Halloween Mixed Media by Juliana Michaels featuring Tim Holtz products

Last but not least is the witches' Cauldron! With this being a Bigz die, I was able to cut it from chipboard. I cut two layers for the cauldron and glued them together. I then painted it with Black Soot Distress Paint. Once the paint was dry, I applied Collage Medium Crazing to give it a little texture. For the handle, I cut if from chipboard and then again from Silver Metallic Kraft Stock. And finally for the smoke tendrils, I cut them from chipboard and painted them with Peeled Paint and Frayed Burlap Distress Paint. I then filled the cauldron with the smoke, bones and some funky moss!

Phew! I think that's it! Hopefully I covered enough of the details on how I created The Witches' Kitchen to give you some ideas of your own. And as always, if you any questions, don't hesitate to ask! I'm more than happy to answer them.

SUPPLIES


This post contains affiliate links to Scrapbook.com and Simon Says Stamp. If you buy anything through my links, it adds no extra cost to you, but it does help me keep my blog up and running and allows me to share this content with you! I truly appreciate and thank you for your support! (If you're interested, you can see my full disclosure statement here.)


The Traveling Professor and Friends

This past weekend I had a crafty weekend getaway at my dear friend Tracey from Garden of Grace. We had a wonderful time crafting the weekend away. While I was there, I was inspired to play along with the latest Simon Says Stamp Wednesday Challenge where the theme is travel/vacation.

May I introduce to you The Traveling Professor and Friends! Even though his friends might appear a bit frightful, they sure look dapper in their suit and hats. Wouldn't you agree? And of course, no trip would be complete without a suitcase packed with all the essentials!

Traveling Professor and Friends by Juliana Michaels featuring Tim Holtz, Ranger Ink, Stampers Anonymous

Nothing Like A Dream | Ranger Ink Embossing Powders and Liquid Pearls

Hello friends and welcome! Today I'm excited to share with you a card I created using some fabulous new products from Ranger Ink. A couple of weeks ago, they contacted me and asked if I would like to try out some of the new products they released at Creativation. Of course I said yes and I'm still quite honored they contacted me to do this. 

For the project I'm sharing today, I played with some of their new Liquid Pearls and Embossing Powders. I'll be honest, I've never used Liquid Pearls. But...I think I may have found a fun new product to play with! I love the dimension it added to my project.

Nothing Like A Dream Card by Juliana Michaels featuring Ranger Ink Liquid Pearls, Embossing Powders, Distress Ink and Distress Oxide Inks, Tim Holtz Stampers Anonymous Entomology and Flutter Stamp Sets and Sizzix Skeleton Leaves Dies.

Creating Just For Me | Time For A Confession

Creating Just For Me

Wow, this blog has been silent for a bit hasn't it?! It's not for lack of creating on my part. Rest assured. I just needed a break from some of the "work" involved with creating, and blogging was one of those things. You may (or may not) have noticed that I stepped down from some of my design teams. This was purely based on a need for a break and realizing that I needed more time for me to do my own creating. Creating without deadlines and work. See...it was starting to become work and I was finding that I just didn't have the time for all of it. And...I was starting to not enjoy the creative process. I knew I had to make some tough decisions. In the end though, it was the right thing to do. Since the beginning of the year, I've had more time for me and more time to create just for me. Yes, I know that sounds a bit selfish. It's not that I don't want to share it with anyone. I plan on doing that for sure. It's more the type of creating that doesn't have guidelines, product specifications, deadlines, etc. My soul needed more creating just for me time and I'm so glad to be finally doing just that! It has brought fresh eyes to what I'm creating for my design teams and time for me to just play!

Along with this change in my life, I've also got a bit of confession to share. During the time I was making these decisions I realized something. As much as I tend toward the clean and graphic style, I also really love the grungy and distressed. I love getting my hand dirty with ink and paint and gesso! I've also come to admit that I'm a Tim Holtz crazy fan! Yes, I've got my fair share of Distress Inks and such, but I'm talking about doing more of the grungy, mixed media style that his products can lend themselves toward. I've secretly hoarded tons of his Halloween and Christmas products with dreams of creating vintage and distressed style vignettes and projects. However, when you don't have the time to do anything but your design team assignments, it's difficult to fit in anything extra. And then of course self doubt would set in and I'd wonder about whether or not people would like to see mixed media projects from me when they are used to what I normally share. Yes, I'll admit that thought has crept into my head more than once. It still does, even as I'm writing this post.

So, yeah, I've rarely made the time to do this sort of creating. And maybe those doubts added to my excuses to not do it. A few crafting friends have seen me play with this stuff, but they are the very few who have actually seen what I've made. And truth be told...I've not really made that much until recently. When I decided to step down from some of my teams I gave myself permission to play and create what I wanted to. In January, I began playing with some of my Tim Holtz products and of course I also added to my stash of stuff as well. I needed to fuel this creative fire within me and his products spoke to me in a way I've not had in a long time. I actually day dreamed about what I wanted to create. This is something I used to do years ago, when I spent most of my creative time scrapbooking. I have missed that type of creating. Ideas popping into your head when you aren't even creating. Usually, I've had to sit and play with the products for the ideas to come to me. I now know that this was because my creative brain had been stifled by my own doing. I've learned a valuable lesson when it comes to creating for others. Too much of good thing can be a bad thing. So from here on out, I'll be focusing on my 2 design teams and then spending the rest of my creative time doing things just for me. Yes, I'm open to doing guest design spots and such. In fact I'll be doing one here very shortly for an amazing company and I can't wait to share about it with you! But in the end, the focus will be on creating just for me.

Have you ever felt this way? Join me on IG and share what you create just for you using the #creatingjustforme. It would be great to know that I'm not alone and....that it's OK to step outside your known style and spread your wings and just create! It really is all about finding your creative joy!

Speaking of "creating just for me" here's a project I recently created just for me. It's super grungy and distressed and all things mixed media. I'm going to be putting this little "piece of art" in a prominent place in my craft room. I want it to be a reminder of what I've shared today and learned about myself recently.

Mr. Bones | Possibility Begins with Imagination


Mr Bones Possibility Begins With Imagination Mixed Media piece by Juliana Michaels featuring Tim Holtz, Stampers Anonymous, Ranger Ink, and Sizzix products.

To create this mixed media piece I used some fabulous Tim Holtz products of course.
The background was creating using Distress Oxide Ink in Vintage Photo, Antique Linen and Brushed Corduroy.  I then stamped on it using the following stamp sets by Stampers Anonymous: Inventor 1 and Entomology. I stamped them with a mix of Distress Ink and Archival Ink.

Mr Bones Possibility Begins With Imagination Mixed Media piece by Juliana Michaels featuring Tim Holtz, Stampers Anonymous, Ranger Ink, and Sizzix products.

For the focal stamping, I stamped  Mr. Bones and a moth from the Entomology set using Memento Ink in Tuxedo Black and I colored them in with my Copic Markers.

Mr Bones Possibility Begins With Imagination Mixed Media piece by Juliana Michaels featuring Tim Holtz, Stampers Anonymous, Ranger Ink, and Sizzix products.

Behind Mr. Bones you'll find some die cutting that includes the Gearhead Thinlit Dies and Timekeeper Bigz Die. I used Prima Finnabair Art Alchemy Metallique Wax in several different colors to give some color and shine to these pieces. I also used gesso, crackle paint and Alcohol Inks on the Timekeeper piece to make it look like a piece of metal.

Mr Bones Possibility Begins With Imagination Mixed Media piece by Juliana Michaels featuring Tim Holtz, Stampers Anonymous, Ranger Ink, and Sizzix products.

The phrase on the piece is one of the Tim Holtz Ideology Word Bands that I grunged up with some Alcohol Inks. I then tied it in place with a piece of string that I colored with some Distress Stain.

Mr Bones Possibility Begins With Imagination Mixed Media piece by Juliana Michaels featuring Tim Holtz, Stampers Anonymous, Ranger Ink, and Sizzix products.

To finish it off, I layered the piece onto some patterned paper from the most recent Tim Holtz Halloween Paper Pad and then finally onto a piece of gold paper from the 8x8 Kraft Stock Metallic Paper Pad.
Mr Bones Possibility Begins With Imagination Mixed Media piece by Juliana Michaels featuring Tim Holtz, Stampers Anonymous, Ranger Ink, and Sizzix products.

Finding Your Creative Joy

I hope you aren't frightened away with all that I've shared today. But if you are I completely understand. This new style I'll be sharing here and there may not be for you. This is for me though and I'm so happy to be finding my creative joy again. That alone means so very much to me. And maybe this will inspire you to search for your creative joy and starting creating just for you! Thanks so much for stopping by today and for taking the time to read through this crazy long post.

PS...If you're interested in more details on how I created this piece, just let me know in the comments below or you can message me on IG at julianamichaels.

Halloween Mixed Media Shadow Box | Starting from the Same Place

Hello and welcome! Today, I'm excited to share a mixed media Halloween Shadow Box I created as part of a huge artist collaboration organized by Tina Walker and Susan Brown called "Starting From The Same Place".  Nearly 60 artists are participating today to share what we each created using a package of the same products. To see what we were sent, check out the image below and see if you can locate each piece in my project.

The theme of the challenge was to create anything we wanted, but we had to use all of the stuff that was sent to us. We could supplement with anything from your own stash and all types of projects were welcome.

When I first received my package I was struck by the darkness of the colors and I immediately thought Halloween! I quickly gathered my stash of Halloween products to add to the package we were sent and I started going to town inking, painting, stenciling, die cutting, stamping, glittering and embossing.

Halloween Mixed Media Shadow Box featuring Jillibean Soup Mix the Media 8x8 Wood Plank and Donna Salazar Art Doll Spellbinder Die by Juliana Michaels

The base of my project is the back side of a Jillibean Soup Mix the Media 8x8 Wood Plank. This made for a great shadow box. I covered the inside and frame of the wood with Halloween themed patterned paper to fit my theme. The outside edge is covered with black corrugated paper.

Halloween Mixed Media Shadow Box featuring Jillibean Soup Mix the Media 8x8 Wood Plank and Donna Salazar Art Doll Spellbinder Die by Juliana Michaels

I created the witch using the Donna Salazar Art Doll Die by Spellbinders.

Halloween Mixed Media Shadow Box featuring Jillibean Soup Mix the Media 8x8 Wood Plank and Donna Salazar Art Doll Spellbinder Die by Juliana Michaels

Halloween Mixed Media Shadow Box featuring Jillibean Soup Mix the Media 8x8 Wood Plank and Donna Salazar Art Doll Spellbinder Die by Juliana Michaels

In the end, I ended up with a spooktacular Halloween Shadow Box, that I can't wait to add to my Halloween decorations this year.

Artist Collaboration -  Starting from the Same Place

Thanks so much for stopping by today and I hope you'll check out the InLinkz hop list to be inspired by some of the other talented ladies in this group. 


Top 10 of 2013 Blog Hop & Giveaway

Welcome to the Top 10 of 2013 Blog Hop!

Twenty two fabulous scrapbookers and paper crafters have gathered together for a fun little blog hop to share with you some of our favorite layouts and projects from 2013. Scroll down to the bottom of my post to see the full list of participants and links to their blogs.

I'm going to tell you right now that my Top 10 turned into my Top 12. I was having a difficult time picking my favorites, so I attempted to make it easier on myself by picking one from each month of 2013. It is a combination of scrapbook layouts and home decor projects, both of which are my favorite things to create. For each of my projects, I have included a link back to the original post if you are interested in more details.

GIVEAWAY

To make this blog hop even more fun, I've also included an AWESOME GIVEAWAY that you can enter to win using the Rafflecopter widget below. Included in my prize package are products from Pebbles, Inc., Little Yellow Bicycle, Elle's Studio, Paper Smooches, Faber-Castell and Bella Blvd.

You will have until December 31, 2013 to play along for your chance to win my prize package. (I apologize, but this giveaway is only open to United States residents. If you live outside the United States and are willing to pay the shipping, let me know in the comments section below.)

Top 10 of 2013 Blog Hop Giveaway by Juliana Michaels


a Rafflecopter giveaway


Together Layout and Rusted Metal Chipboard Tutorial by Juliana Michaels

February | Loved Layout

Loved Layout by Juliana Michaels


BoBunny Easter Eggs Tutorial by Juliana Michaels


Round Pen Warm-Up Layout by Juliana Michaels


You Are My Sunshine Layout by Juliana Michaels


Smile Dad Layout by Juliana Michaels


Howdy Sunshine Layout and Free Cutting File by Juliana Michaels


Celebrate Good Times Layout by Juliana Michaels


Working Together Layout by Juliana Michaels


Fright Delight Witches Hat by Juliana Michaels


Friends Forever Layout by Juliana Michaels


Julie Nutting Be Inspiring Canvas by Juliana Michaels

Thanks for stopping by and I hope you enjoy the blog hop! Here's the full list of designers. Just click on their name to hop on over to their blog for even more amazing inspiration! And don't forget to enter my GIVEAWAY using the Rafflecopter widget above!!!


Julie Nutting Classy Beautiful You Mixed Media Canvas


Julie Nutting Classy Beautiful You Mixed Media Canvas #chipboard #leakyshedstudio #bobunny

How are your holidays coming along? I know these weeks since Thanksgiving have been flying by for me.  I've been busy with the typical Christmas and holiday activities, as well as some crafting and creativity. Today, I am sharing my second Julie Nutting Canvas using the Classy 8" doll from Leaky Shed Studio. I had mentioned a couple weeks ago when I shared my Julie Nutting Be Inspiring Canvas and Tutorial that I would soon be sharing the other canvas that I made for my older niece. After I finished this one, I wrapped and shipped both canvases to my nieces for them to open on Christmas morning. I only wish I could be there to see their reaction as they open their gifts.

Julie Nutting Classy Beautiful You Mixed Media Canvas #chipboard #leakyshedstudio #bobunny

I used the BoBunny Isabella collection just like I did on the first canvas, because the girls share a room and I wanted them to coordinate. I switched it up a little bit by using a different background paper and a little less pink. I still used a lot of pink, but not quite as much! I also used the Julie Nutting Classy Doll, which I think gives this one a little more of a sophisticated look for my 8 year old niece.

Julie Nutting Classy Beautiful You Mixed Media Canvas #chipboard #leakyshedstudio #bobunny

I used all of the same techniques as I did when I created the other canvas. If you are interested in how I created the patterned paper dress or the packing tape transfer background, you can find the tutorial in my Julie Nutting Be Inspiring Canvas and Tutorial post. (Just click on the different colored words to go there.)

Julie Nutting Classy Beautiful You Mixed Media Canvas #chipboard #leakyshedstudio #bobunny

Just like with my first canvas, I really enjoyed creating this one. Adding all the little details to the dolls is so much fun. It reminds me of when I used to play dolls when I was a little girl! 

Thanks so much for stopping by today!

JULIE NUTTING BEAUTIFUL YOU CANVAS | SUPPLIES

Chipboard: Leaky Shed Studio / Julie Nutting Classy 8" and Ring Frame Large
Patterned Paper: BoBunny Isabella / Isabella and Divine (used for the dress); Felicity (used for the packing tape transfer)
StickersLayered ChipboardBrads and Die Cuts: BoBunny Isabella
Adhesive: Scotch Double Sided Foam Mounting Tape, Xyron Double Sided High Tack TapeRanger Glossy Accents (used to apply glitter)
Paint: Krylon Silver Leafing Pen; Plaid Folk Art Acrylic Paint in Skintone and Coffee Bean
Modeling Paste: Liquitex
Matte Medium: Liquitex
Other Supplies: Pencil, Scissors, Copy Machine, Copy Paper, Silver Glitter, paint brush

Subscribe