Showing posts with label Stampers Anonymous 2021. Show all posts

Tim Holtz Stampers Anonymous Observations | Stenciled Backgrounds x 2

I'm back friends with a couple more cards to share with you from the Tim Holtz Stampers Anonymous release. My first card features another gel plate background using stencils! I warned you in my last post how much I had fallen in love with this technique! I used the super cool gentleman from the Tim Holtz Observations stamp set. This set is so much fun with this larger than life character and the inspirational sentiments that are also included.

Dreamer Card by Juliana Michaels featuring Tim Holtz Stampers Anonymous Observations Stamp Set

I began with the City Map Layering Stencil for the first layer of my background and used Salvaged Patina Distress Oxide and a first lift. In case you missed it, you can check out my Gel Plate Backgrounds post to learn more about this technique.


For the second layer I used the Dotted Lines Stencil with Fossilized Amber and a first lift. Finally, the third layer was done with the Halftone Stencil and Rusty Hinge.

Once the gel printing background was completed, I added some stamp details using the gears from the Observations stamp set using Pumice Stone Distress Ink.


The gentleman was stamped onto Distress Heavystock using Black Soot Archival Ink and then fussy cut before being adhered to the back panel. I then finished off the card with a sentiment from the Observations stamp set. The finished card is a modified slimline sized to 3.5 x 7.5 inches.


My second card once again features the City Map Layering Stencil. I  began with a piece of Distress Heavystock cut to 4x 5.25 inches. I then placed the stencil at an angle on the paper and ink blended Peacock Feathers, Picked Raspberry, Fossilized Amber and Crackling Campfire Distress Oxide Inks over the stencil.

Found Card by Juliana Michaels featuring Tim Holtz Stampers Anonymous Observations Stamp Set

For a little more interest, I placed the Digits Layering Stencil over the design and ink blended with Picked Raspberry and Peacock Feather Distress Oxide Ink.


With the stenciling completed, I stamped the gears from the Inventor 7 Stamp Set using Hickory Smoke Archival Ink. Before the next step, you want to make sure everything is dry, so either hit it with your heat tool or let it dry overnight. Once it's dry, wipe over the surface with an antistatic pouch, then stamp your gentleman from the Observations stamp set using a black pigment ink, sprinkle with black embossing powder and heat emboss.


To complete the card, add a sentiment from the set and layer the panel onto a piece of black cardstock.


Thank you for stopping by today! I hope you enjoyed this bit of inspiration using the Tim Holtz Stamper Anonymous Observations Stamp Set.

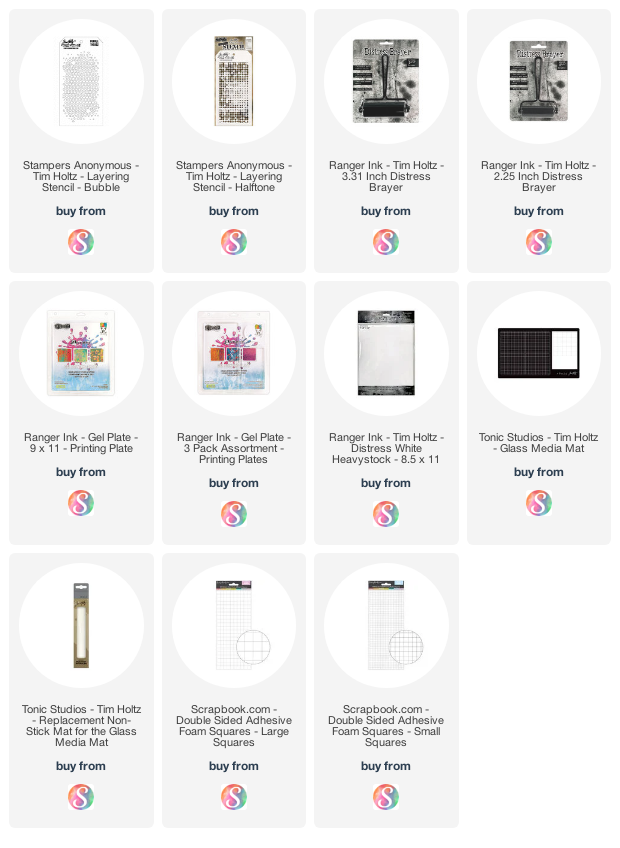
Supplies

Below you can find the products I mentioned in this post along with compensated affiliate links to Scrapbook.com. These links are at absolutely no extra cost to you. If you want to learn more about what an affiliate link is, you can see my full affiliate and product disclosure statement here.
Tim Holtz Stampers Anonymous Inquisitive | Gel Plate Backgrounds

Hey friends! Today I'm sharing a couple of cards I created for the launch of the latest Tim Holtz Stampers Anonymous release and boy are there some good ones! These quirky gentlemen from the Inquisitive Stamp Set grabbed my attention immediately and I had so much fun incorporating them into some card designs. While I was working on my cards, I tried a new to me technique....gel plate printing...which I fell in love with and had a hard time stopping myself from creating background after background with stencils and Distress Oxide Inks.

Now, without further ado, let's take a look at the two cards I created. One card background was created using the first lift of each design from the gel plate and the other background was created with the second lift. I'm so bummed that I didn't take photos of just the backgrounds to give you a closer comparison, but I'll do my best to explain as I go along.

Gel Plate Printing Card Backgrounds by Juliana Michaels featuring Tim Holtz Stampers Anonymous Inquisitive Stamp Set and Gel Plate Printing

The two cards I'm sharing today were created on HP Premium Choice 32 lb. Laserjet Paper now called HP Premium 32. It's on the higher end as far as quality and price when it comes to computer printing, so it's not something I would waste for everyday printing. It was originally recommended to me years ago when I was attempting to learn how to do hand lettering due to it's smooth nature and that it didn't destroy the tips of the markers I was using. I never quite fell in love with doing hand lettering, so the paper has been sitting there with no purpose until now. Because it's thinner than the paper I typically use when creating cards, it gets down into the nooks and crannies of the stencil as you rub over them during the gel plate printing process and gives you a more detailed image.

Guess Who Card by Juliana Michaels featuring Tim Holtz Stampers Anonymous Inquisitive Stamp Set and Gel Plate Printing

Gel Plate Backgrounds First Lift

This first card was created with the first lift from the gel plate. The process I use for gel plate printing on these cards was to smoosh my Distress Oxide Ink Pad onto the gel plate and then use a brayer to spread the ink out over the surface. Next, I placed a stencil (I used the new Dotted Lines for the first layer) onto the inked surface, then the computer paper and then I rubbed over the paper to press it into the ink through the stencil. I then peeled up the paper to reveal the first lifted design. At this time I also removed the stencil and either washed it or let it sit until I was ready to wash a bunch of stencils at one time. Once I was finished lifting ink, I wiped off the gel plate and repeated the process for a first lift. I'll explain the second lift below on the second card.


The thing to keep in mind when working with stencils and a gel plate is that the openings in the stencil are where the ink will come through on the first lift, so that is why this design has more white space showing through on the background.


Another great tip, is if working with Distress Oxide you don't have to rush to wash off your stencils. I accidentally left my stencils with Oxide Ink on them overnight and the ink didn't dry and the stencils were easy to clean off with water and a towel.


Gel Plate Backgrounds Second Lift

Now onto the second lift. So as not to waste the ink that was left on the gel plate and the stencil removed, I placed another piece of paper onto the gel plate, rubbed over it and peeled up the second piece of paper to reveal the second lifted design. Because the stencil was no longer on the plate, there was much more ink to lift which gave me a more color coverage.

What's Up Card by Juliana Michaels featuring Tim Holtz Stampers Anonymous Inquisitive Stamp Set and Gel Plate Printing

For the subsequent layers on each card I used a first lift to get a more detailed design. This would be the dots 


With the gel plate printing completed, I added some stamping using Salvaged Patina Distress Oxide with the number stamp from Inquisitive and Black Soot Archival Ink with some images from Glitch 1 and Glitch 2.


As for my Inquisitive fellows, I stamped them onto Distress Heavystock using Black Soot Archival Ink and fussy cut each one. I then adhered them to the card front using double sided foam tape. To finish off the card, I added a sentiment from the stamp set and popped it up with some foam tape as well.

Thanks so much for popping by today and I hope you enjoyed this bit of inspiration using the Tim Holtz Stampers Anonymous Inquisitive Stamp Set and the gel plate backgrounds I shared with you.

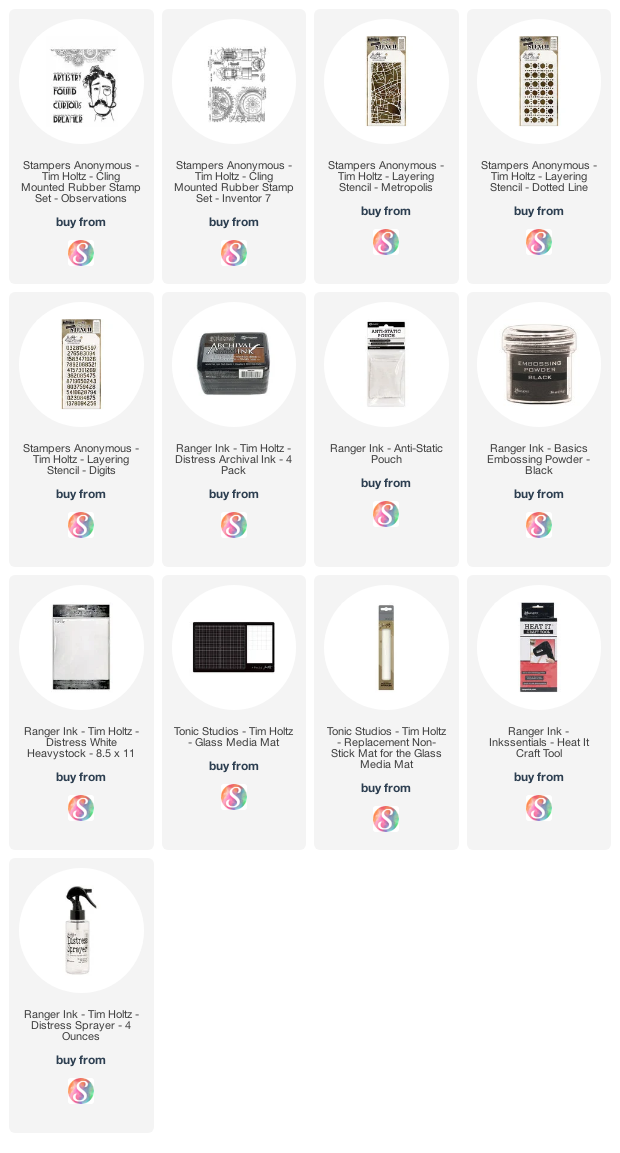
Supplies

Below you can find the products I mentioned in this post along with compensated affiliate links to Scrapbook.com. These links are at absolutely no extra cost to you. If you want to learn more about what an affiliate link is, you can see my full affiliate and product disclosure statement here.
Subscribe