Showing posts with label Sizzix Halloween 2021. Show all posts

Ghost Town 2 Tag Book | Tim Holtz Sizzix Halloween

Hello friends! It's finally here...my Ghost Town 2 Tag Book that I made for the Tim Holtz Sizzix Halloween YouTube Live! I know many of you have been waiting for me to share this project. It's a bit of a long post, so grab a cup of your favorite beverage and sit back and enjoy.

Ghost Town 2 Tag Book by Juliana Michaels featuring Tim Holtz Sizzix Ghost Town 2 and Ghost Town 1 Thinlits

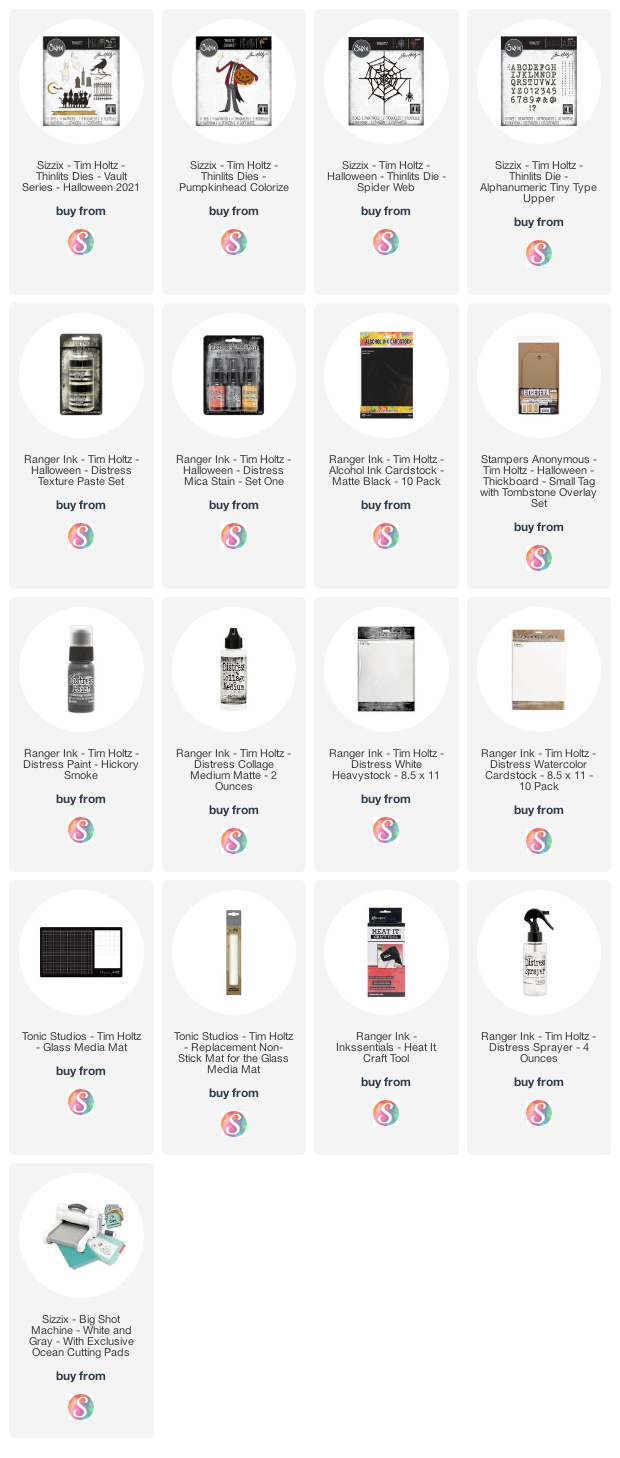
To get started I began by selecting a mix of patterned papers from an older Halloween paper pad. If you don't have these papers, please don't freak your freak as Tim would say! Just grab what you have and start mixing and matching. I selected 10 different patterns to create the front and back of 5 tags and die cut them using a tag die. You will see how all these tags play out later on.


Next I picked the five tags that would be the front side and using a mix of stencils, I applied Grave Distress Texture Paste in random spots on each stencil. The stencils I used are listed below in my supply list if you are interested. I then set these to the side to dry.


While they were drying, I die cut all of the Ghost Town 1 and Ghost Town 2 houses from black cardstock. I stamped each house with white pigment ink using a mix of stamps. This created a kind of ghostly look to each house. The stamps I used are listed below in my supply list if you are interested.


I also stamped and fussy cut out a mix of labels to layer with the houses. These are stamped onto Distress Watercolor paper with Black Soot Archival Ink and then ink smooshed into a bit of Old Paper Distress Ink and inked around the edges with some Walnut Stain Distress Ink.

In the photo below the second and fourth tag were my first run when I was making this tag book. Originally, I was going to do different backgrounds on each tag. These actually have Distress Crackle Paste on them and the one was colored over with the Distress Crayon. I didn't like how it looked, so I ended up redoing them to all have a similar look.


To give each house the look of ghostly lights shining through the windows, I backed them with gold metallic kraftstock. There are various ways you could do this, but I die cut the house from the gold paper, and while it was still in the die, I applied adhesive tape (you could also use washi tape) to the backside to hold the small pieces in place. I then adhered this to the backside of the black die cuts. To grunge them up a bit, I rubbed some Black Soot Distress Crayon around the window openings. 


Another layer of interest I added were some die cut Decor Frames. After I die cut them, I used the 3D Lumber Texture Fade embossing folder to emboss them. These are cut from Distress Watercolor paper and inked with Walnut Stain Distress Ink.


Once again, I grunged them up with a bit of Black Soot Distress Crayon.


A final addition to the tags was a few black die cut florals that were then layered into the frames. Now that each tag was completed, I was ready to start assembling the tag book.


I placed the tags next to each other and used Tim Holtz Fabric Tape to hold the tags together. Make sure to leave a very slight (like the thickness of the tag) between each tag so that when you fold the book each page folds nice and flat.


Because I didn't want the backside to be "ugly", I adhered those extra tags I cut out in the beginning to the backside of each tag.


To create the closure for the tag book, I used seam binding that was dyed with Black Soot Distress Spray. I cut a length long enough to wrap around the book once it was closed and create a nice bow when tied. The only spot I attached the ribbon to was the first tag, so that it stayed with the book when it was opened.

One last final detail is the machine stitching that I added to each tag. I did this at the very end once the entire book was assembled.


Now that you know how I created this tag book, here are some more detailed images of each page for your inspiration and enjoyment.


This is a look at the cover.


Here is a look at the second and third pages on the inside.

Ghost Town 2 Tag Book by Juliana Michaels featuring Tim Holtz Sizzix Ghost Town 2 and Ghost Town 1 Thinlits


These are the fourth and fifth pages.

Ghost Town 2 Tag Book by Juliana Michaels featuring Tim Holtz Sizzix Ghost Town 2 and Ghost Town 1 Thinlits


A look at the entire tag book when it is open.

Ghost Town 2 Tag Book by Juliana Michaels featuring Tim Holtz Sizzix Ghost Town 2 and Ghost Town 1 Thinlits

This is what the backside looks like.


I hope you enjoyed this long detailed blog post about my Ghost Town 2 Tag Book and that it inspires you to create your own version of this. For more tag book inspiration you can check out my Field Notes Tag Book.

Supplies

You can find the products I used to create these projects along with compensated affiliate links to  Scrapbook.com and Sizzix. These links are at absolutely no extra cost to you. If you want to learn more about what an affiliate link is, you can see my full affiliate and product disclosure statement here.
The Legend of Sleepy Hollow Tombstone | Tim Holtz Sizzix Halloween

Happy Halloween Friends! Well, it feels like Halloween to me! I've been creating away with all things Halloween as a seasonal maker for Tim Holtz and as a Halloween lover this makes my heart super happy! Today I'm sharing one of my makes from the Tim Holtz Sizzix Halloween 2021 YouTube Live. So without further ado, Pumpkin Head welcomes you to Sleepy Hollow!

The Legend of Sleepy Hollow Tombstone by Juliana Michaels featuring Tim Holtz Sizzix Halloween Pumpkin Head Thinlits

I began this project by first creating Pumpkin Head. I have to admit, originally I had NO idea what I was going to do with him. I just thought he was so cool, so I took the time to enjoy putting him together and decided to figure what to do with him later.

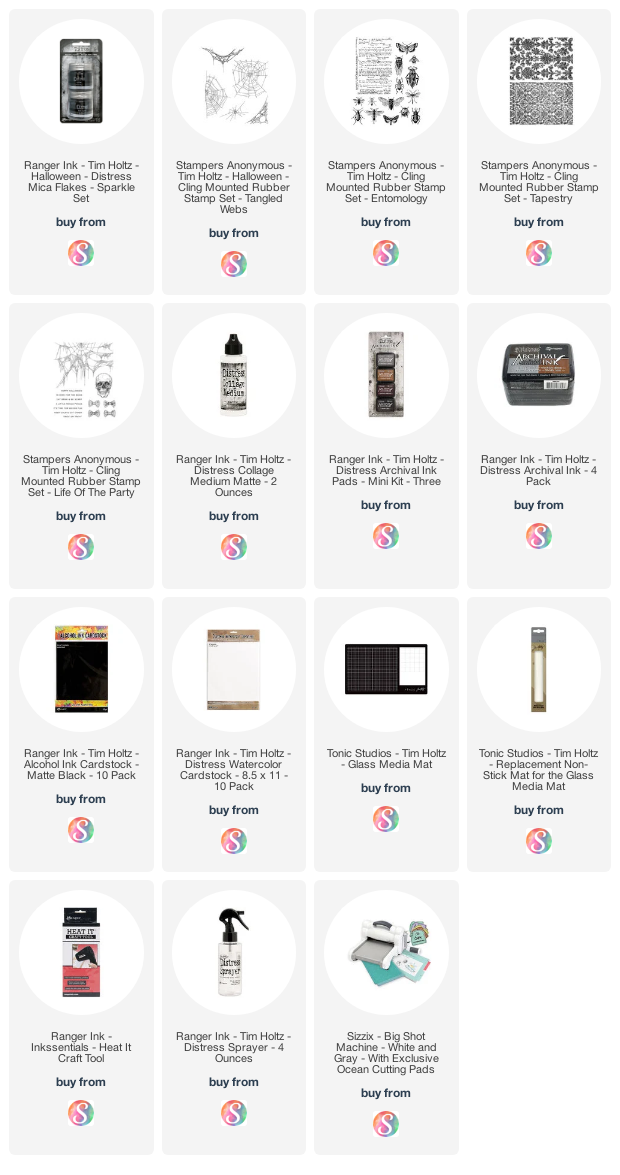
I die cut most of the suit pieces from Black Alcohol Ink cardstock and then applied Distress Oxide Ink in Black Soot to some of the pieces in order to achieve the various shades of black and grey. I cut the other pieces, including the pumpkin from Distress Watercolor. For the bow tie and shirt I used Hickory Smoke, for the skin I used Antique Linen and for the Pumpkin I used Carved Pumpkin and Peeled Paint. And the inside of the pumpkin was cut from a piece sprayed with the new Candlestick Mica Spray which gives it an awesome candlelight like shimmer!


Once Pumpkin Head was assembled, I started the process of trying to figure out what to do with him. My first thought was of the Headless Horseman from The Legend of Sleepy Hollow, which led me down the path of that idea, which then morphed into the project I'm sharing with you here. I decided to use an Etcetera Mini Tombstone as the base since it fit in with the theme of the story and painted all the pieces with Hickory Smoke Distress Paint. Next, I die cut the spider web from Distress Watercolor, gave it a light ink smooshing with Hickory Smoke Distress Ink, and once dry adhered it to the front piece with Collage Medium. I then began to assemble the tombstone and adhered all the pieces together using Collage Medium. Once the tombstone was assembled, I applied Crypt Grit Paste here and there by dabbing it on with my fingers, but you could certainly apply it with a brush or palette knife.


To create the graveyard scene, I die cut the trees (Ghost Town Thinlits), the bats and 2 sets of gates (Vault Series Halloween) from Black Alcohol Ink Cardstock. I took the second set of gates and painted them with the Tombstone Mica Spray. I also dabbed a bit of this onto the trees.

The tombstones (Vault Series Halloween) were cut from Distress Watercolor cardstock and ink blended with Black Soot Distress Oxide Ink. I then applied a bit of Crypt Grit Paste for some texture.


To complete the scene I created a full moon using a circle die from my stash which I ink smooshed with a bit of Pumice Stone and Hickory Smoke Distress Ink. I then added a bit of Antique Linen to the edges.


For the final touch, I die cut the letters from Black Alcohol Ink Cardstock using the Alphanumeric Tiny Type Upper Thinlits and adhered them with Collage Medium.


Thanks so much for visiting Sleepy Hollow and learning how I created Pumpkin Head and this fun Halloween scene using some of the latest Tim Holtz Sizzix Halloween dies.

Supplies

As always, you can find the products I used to create this project along with compensated affiliate links to  Scrapbook.com. These links are at absolutely no extra cost to you. If you want to learn more about what an affiliate link is, you can see my full affiliate and product disclosure statement here.

Halloween Cards | Tim Holtz Sizzix Halloween Toil & Trouble Thinlits

Double, double toil and trouble; Fire burn and caldron bubble.

Hello friends and welcome back! Today I have double the fun to share with you. Not one, but two Halloween cards I created using the Toil and Trouble Thinlits by Tim Holtz. These cards were shared by Tim during his recent Sizzix Halloween YouTube Live. If you are looking for more Halloween inspiration I recommend checking out the replay!

Halloween Cards by Juliana Michaels featuring Tim Holtz Sizzix Halloween Toil & Trouble Thinlits

The background and area just behind each die cut was created using the Ink Smoosh Technique using Distress Ink and then a background or image was stamped onto it using Distress Oxide Ink. If you aren't familiar with this technique, you simply smoosh your Distress Ink pad onto your craft mat, spritz it with a little water using the Distress Sprayer and then smoosh your paper into the ink. Dry the ink using your heat tool and repeat until the paper is covered to your liking with ink.

Hocus Pocus Halloween Card by Juliana Michaels featuring Tim Holtz Sizzix Halloween Toil & Trouble Thinlits

On this first card, the green background was created with Twisted Citron Distress Ink for the ink smooshing. I then stamped the tapestry image using Mowed Lawn Distress Oxide. The purple background was created with Wilted Violet Distress Ink for the ink smooshing, Wilted Violet Distress Oxide for the stamping with the script stamp and then die cut using the Stacked Archway Thinlits.

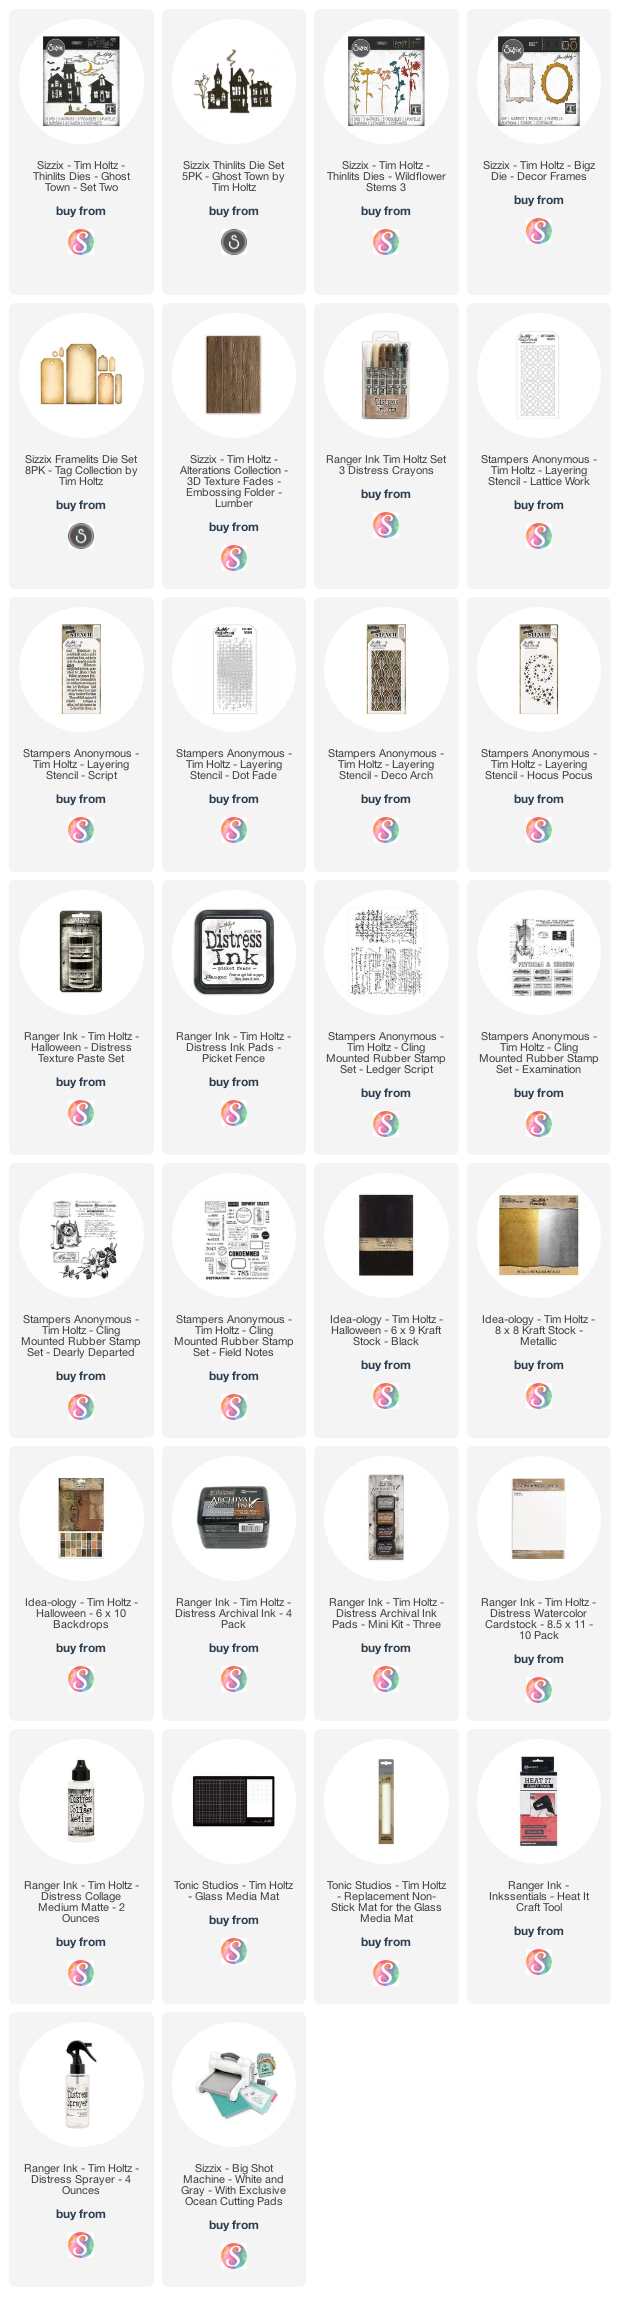
For the main image I die cut some of the images from the Toil and Trouble Thinlits from black cardstock, applied a layer of Glossy Accents, sprinkled it with Nightfall Glitter and set it to the side to dry. FYI, Nightfall Glitter is part of the Halloween Distress Mica Flakes Sparkle Set that is only available while supplies last. Before the glitter was dry, I ran my Craft Pick around the edges to smooth out any glitter that was hanging over the edge.

Once the glitter was dry, I adhered the die cut to the card. I finished it off with a sentiment from the Life Of The Party Stamp Set.


For the background on this second card I used Milled Lavender Distress Ink for the ink smooshing and stamped the tapestry image using Wilted Violet Distress Oxide. For the moon, I used Carved Pumpkin Distress Ink for the ink smooshing and Carved Pumpkin Distress Oxide to stamp the spider web. 

Wicked Fun Halloween Card by Juliana Michaels featuring Tim Holtz Sizzix Halloween Toil & Trouble Thinlits

Once again, I used  some of the dies from the Toil and Trouble Thinlits and repeated the same process as above to apply the glitter. To complete this card, I added a sentiment from the Life Of The Party Stamp Set.


As you might have noticed, sometimes I used the same Distress Ink and Distress Oxide color to get the contrast between the ink smooshing and the stamped image and sometimes I didn't. Not all colors work well together for this technique, which is why on the first card, I used Twisted Citron and Mowed Lawn. When I tried this with Mowed Lawn for both layers, the stamping didn't show up because the stamp design is a bit more bold, which picks up more ink, which in turn covers up more of the background. If you use a stamp that is more detailed, such as the script or spider web stamp, you can use the same colors and still see the stamped image well. So, if you attempt this technique, I recommend that you do a little test run to make sure your colors and stamps work to get the look I'm sharing here. If they don't work, try using a lighter color for the ink smooshing layer.


Thanks so much for flying by today and checking out my Halloween cards featuring the Tim Holtz Sizzix Halloween Toil and Trouble Thinlits.

Supplies

You can find the products I used to create these projects along with compensated affiliate links to Scrapbook.com. These links are at absolutely no extra cost to you. If you want to learn more about what an affiliate link is, you can see my full affiliate and product disclosure statement here.

Subscribe